The first chapati I ever ate was made by a Kenyan friend, who later showed me how to make this simple but delicious and versatile flatbread. After doing my own research, I discovered chapati is one of those food staples that has traveled the globe, branching out long ago from India to other Asian countries, Africa and the Caribbean.
It seems to me that chapati is kind of like cornbread here in the South. If we could set out a sampler of cornbread recipes from my late Grandma Crass, along with your version, your neighbor’s version, and one from me, they’d all be cornbread but they’d all be a little different. Some wouldn’t have sugar and some wouldn’t have any flour, just corn meal. Some would be baked in a cast iron skillet and some would be baked in a pan. But each would be delicious in their own way. Each would taste like ‘home’ and bring back special memories to those that grew up with those recipes.
Chapati is the same way. Some places use finely ground whole wheat flour, while others use all purpose. Some bake theirs over an open flame, others a flat pan. Some add shredded carrots. Some use ghee or oil and others don’t. You get the idea.
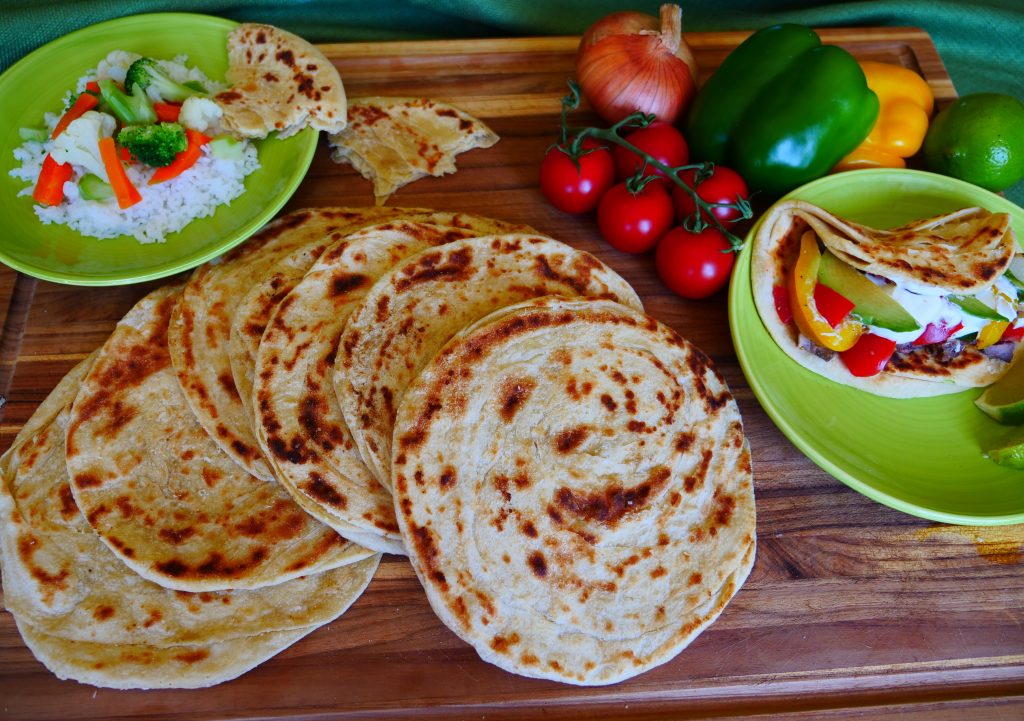
While each region puts their own spin on this dish, I’ll be sharing a Kenyan version. And while their chapati is a often eaten to accompany rice with vegetables or a stew, at my house we sometimes use it instead of tortillas to make yummy fajitas. Just another example of how food migrates and transcends regional boundaries, transforming to be enjoyed in new ways.
This recipe is not hard, but it does take some time. For my family I double the recipe use my large pancake griddle so I can cook two or three at a time. But any skillet will do. At the end of my recipe, I’ve included a link to a video that shows you how to make it completely by hand. I use my stand mixer for the kneading to save time. Enjoy!
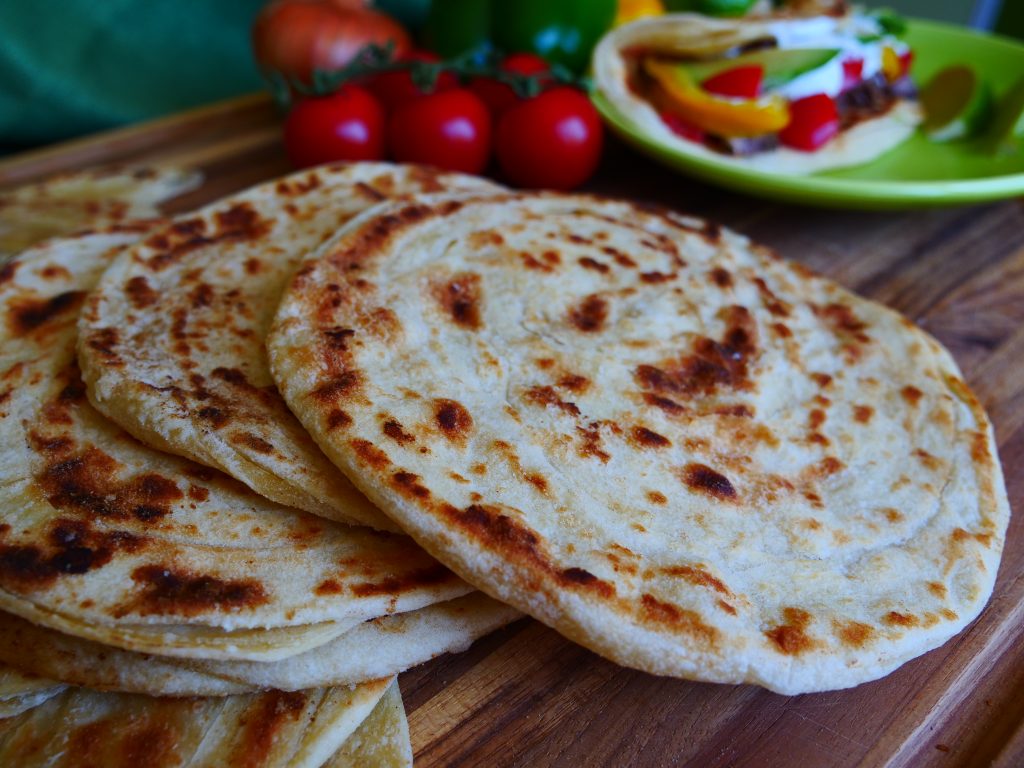
Layered Chapati
In a mixing bowl, mix together:
3 cups all purpose flour
1 1/2 teaspoon salt
1 teaspoon sugar
Once combined, pour in:
1 cup of warm water or warm milk
2 tablespoons oil or ghee (clarified butter, melted)
Using a dough hook, mix together until dough comes together. You can add a little more flour as needed, but the dough will be soft and fairly sticky. Knead in the mixer for 5 minutes. If you do this step by hand, knead on the counter for 8 to 12 minutes, until the dough is smooth to the touch and still stretchy. Just don’t knead too much or the chapati will be tough later.
Put the dough in a lightly-oiled bowl and let set for 40 minutes, so the gluten has time to relax, which makes the rolling out much easier.
Divide the dough into 5 or 6 equal pieces and form each piece into a small ball, using your hand as a ‘cage’ on the counter. Take one ball and roll it out with a rolling pin until about 8 inches in diameter. Don’t be too fussy about it, unless you want to stop right here and cook your chapati. If you want the wonderful layered and flaky version, read on:
Take the rolled out circle of dough and lightly oil one side using a pastry brush. Put it oiled-side down onto a plate covered with flour. Brush the side facing up with oil, then flip it over so both sides are coated with flour. Shake off the excess.
Lay the floured circle on the counter, and fold it up just like you would a paper fan. Press and stretch slightly, then set on the side and roll it up, tucking the end under the roll. Press flat with your hand so it all comes together. (Just watch the video link at the end…it’s not as hard as it sounds!)
Now roll out the dough the last time, until a little thinner than a pancake. Oil each side and place on a hot skillet or griddle. (My griddle was set to 325 degrees.) Let it cook a few minutes on each side, until golden spots appear. Some spots will puff up. Once cooked, keep stacking your finished chapatis together and keep covered to stay warm until ready to serve.
Here’s a video link that shows you the steps. I did mine like my Kenyan friend, where I let the dough rest after kneading instead of after rolling. Either way will work fine.