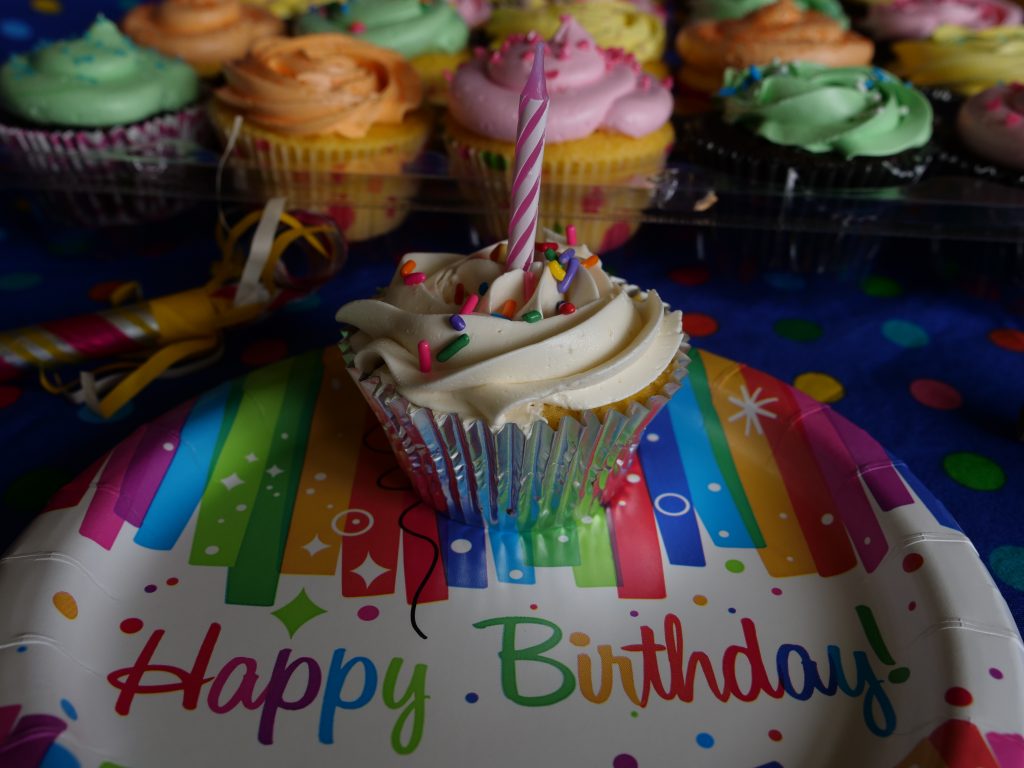
Who doesn’t love cupcakes? I think next to chocolate chip cookies, cupcakes are probably the one treat that most people bake, whether they consider themselves a good cook or not. They’re the perfect go-to goodie for large gatherings, school events, and of course, birthdays!

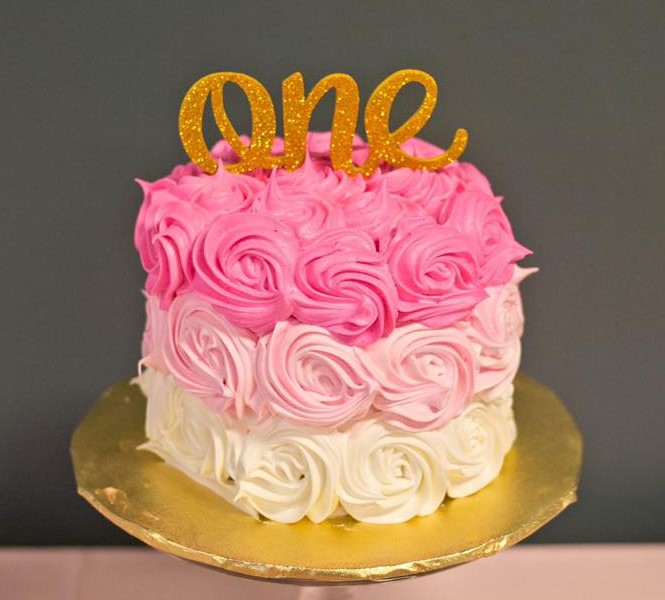
And that’s where the inspiration for my latest Daytime Tri-Cities appearance came from. My sweet granddaughter, Davona, had her 1st birthday party and Nana Ann (that’s me) baked cupcakes for the occasion. One of the guests, a mom of several littles, asked me for my recipes. I realized that everyone needs a few easy, dependable and tasty cupcake recipes in their repertoire and why not share mine with my TV friends?
Before I get to my recipes, here’s a few tips you can use to make wonderful cupcakes, whether you choose to use a cake mix from a box, or one of my homemade recipes below. First, pay attention to what cupcake liners you use. For instance, if you do a chocolate cupcake, light-colored liners will show the dark cake underneath, which isn’t very attractive. While you can find colorful liners designed to not let the cake show through, they are more expensive. My favorite solution is to use silver foil liners, easily found at most grocery stores. You can also buy them in gold and other metallic colors and you’ll not have to worry about any cake showing through, or moisture/oil seeping through. Plus they easily release from the cupcake itself, making your treats easier to eat.
Second, don’t overfill your cupcakes. A cupcake doesn’t look great with a muffin top, which makes them harder to remove from the pan and can cause cupcakes to run together when baking. The easy solution is to use a portion-control ice cream scoop that works for the size of your pan. For me, that means a red-handled scoop, called a size 34 or 1 1/3 oz. That makes the perfect cupcake that comes up to the top, but not like a muffin top.

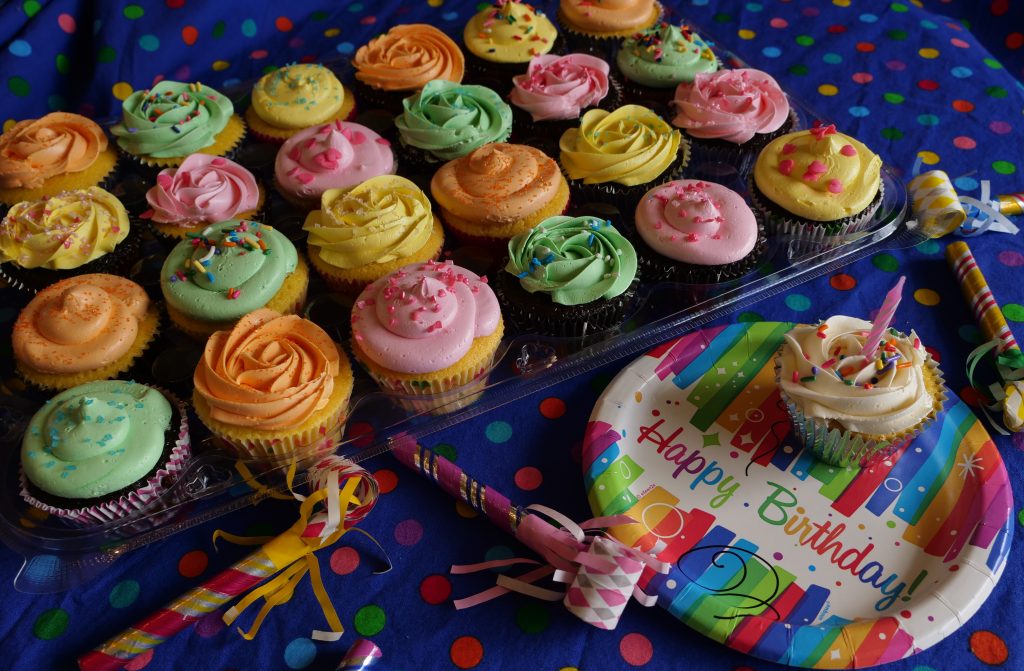
Third, decorate your cooled cupcakes in the container you’re taking them in, or where you’re displaying them. If I’m taking them somewhere, I use clear plastic disposable packaging, just like bakeries do. One holds a dozen, the other 2 dozen. I put my cooled cupcakes in them, and frost them with my pastry bag, right in the container. Then I don’t have to worry about messing them up by moving them too often. If they’re staying home, I can decorate them on the plate or stand, then I don’t have to move them at all. If you use real buttercream like I do, not the powdered-sugar-based frosting type, then you know when chilled the frosting sets up like a stick of butter. So I like to chill my cupcakes in their plastic containers before delivery, and they usually stay cold enough that they are easy to move without messing up the frosting on the other end.
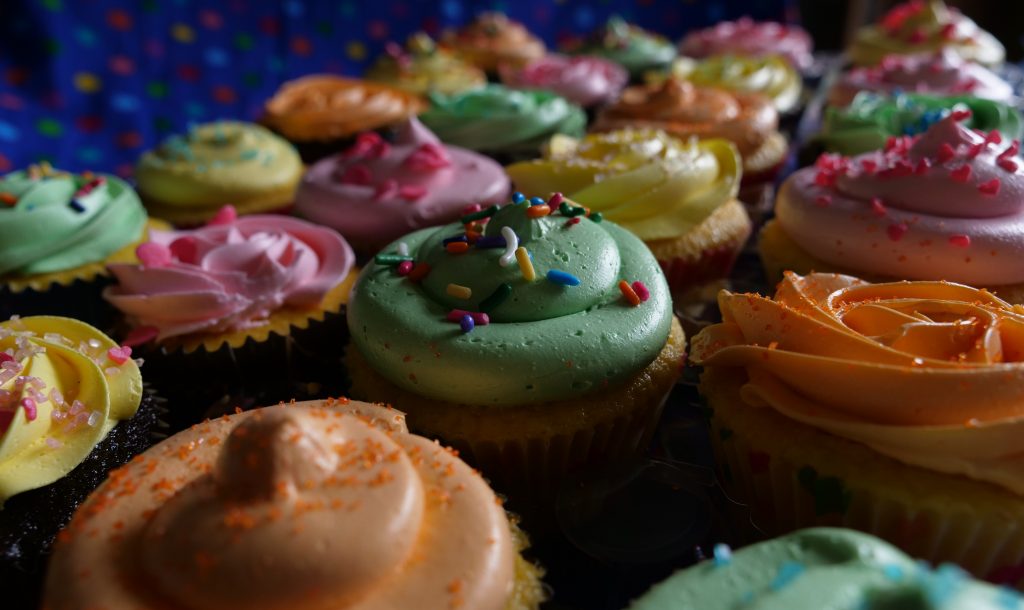
And what about other decorations? The skies the limit on what you can do, from fancy fondant toppers to a wide variety of sprinkles. I usually keep things simple and being a baker at heart, I always think about the eating experience. Whatever I add shouldn’t subtract from the flavor I’ve created. I prefer mini-chocolate chips or crumbled cookies over hard crunchy silver balls and layers of fondant. Of course, kids love colorful sprinkles and they give a festive touch to any party. Just make sure to add your sprinkles while your frosting is fresh. While my Italian-meringue buttercream doesn’t crust up, store bought canned frosting does, as will any powdered-sugar-based frosting. Nothing is more frustrating then shaking out your pretty sprinkles, just to watch them bounce off the frosting and onto the table.
A quick way to frost them is by using a large, 1M tip to make a rose, starting in the middle and rotating out to the edge. Looks amazing and takes little effort. Another simple method is to use a large, round tip, start at the outside by making a circle and working your way in, lifting off at the end. That’s how all of these cupcakes were decorated. I like to use gel colors to tint my frosting.
Now it’s time for me to share my cupcake recipes and both of these started as 9-inch round cake recipes for classes I taught at ETSU. So whenever you need a recipe that makes exactly one 9-inch round, you’ve got that covered, too! Obviously these recipes are easy to double or triple as needed, just like I did for Davona’s party. Which reminds me of one last tip: If you need to make a smash cake for a little one, you can frost it with Cool Whip, making clean up easier after. As you can see, Cool Whip takes color pretty well. Just keep the cake in the fridge until the party starts.
Easy Vanilla Cupcakes
Makes 22 cupcakes, using a red-handled ice cream scoop, or one 9-inch round.
While this is an easy recipe, you must have your ingredients at the right temperature. Butter must be very soft, not just room temperature. Milk must be warm. If it’s not, the batter doesn’t come together well and the cake won’t bake properly. Ask me how I know!
Preheat your oven to 350 degrees. Prepare your cupcake pan with liners, or grease, line, and flour your baking pan. Into a mixing bowl, whisk well together:
1 3/4 cup cake flour (NOT all-purpose)
½ tsp salt
2 tsp baking powder
1 cup sugar
Add to the bowl, all together:
2/3 cup WARM milk
2 large eggs, room temperature
1 stick VERY soft unsalted butter
2 tsp vanilla
2 tsp vanilla butter nut flavoring
Use the whisk attachment and beat at low speed for about one minute, stopping to scrape down the sides. Beat at medium speed for an additional 1 ½ minutes. (Make sure butter is well mixed. If it looks ‘grainy’ at all, where the butter hasn’t mixed in well, the batter will not bake properly. This will happen if your butter wasn’t soft enough.)
Divide batter between your cupcake lines, or if making a layer cake, pour batter into greased, lined, and floured pan. Bake at 350°F for about 15 to 20 minutes for cupcakes, or 30 minutes for a 9-inch round, or until set in the middle. Leave the pan for 5 to 10 minutes on a cooling rack, then set cupcakes out to cool on a rack, for a round cake, loosen sides and turn out, right side up on a rack, to finish cooling.
Easy Chocolate Cupcakes
Makes about 20 cupcakes using a red-handled ice cream scoop, or one 9-inch round.
This cake is so rich and moist and easy to make, you’ll wonder why you ever used a box mix before. And it uses inexpensive cocoa powder for its chocolatey goodness, saving you a little time and money.
In one large bowl, thoroughly whisk together:
1 cup sugar
1 cup all-purpose flour
½ cup unsweetened cocoa powder
½ tsp. baking powder
¾ tsp. baking soda
¼ tsp. salt
Add the following to the bowl, all at once, and mix completely:
1 large egg
½ cup warm coffee
½ cup milk
¼ cup vegetable oil
1 tsp. vanilla
Batter will be thin. Divide your batter between your cupcake liners or pour in a greased, lined, and floured pan and bake at 350°F for about 15-20 minutes for cupcakes, or 30 minutes for a 9-inch round, or until set in the middle. Cool in the pan for 10 minutes then set out cupcakes onto a rack to cool, or turn out your layer cake, right side up on a cooling rack.