Homemade Pizza Made Easy
The aroma of fresh baked pizza wafting from your own oven is hard to beat. Why settle for frozen or take and bake when you can create handmade pizza from scratch? It’s easier than you think, even if you’ve never used yeast before. This is the recipe I’ve been using to make pizza for my family and friends for over 20 years. I love it because I can go from start to finished pizza in just under an hour, which is great considering that most yeast breads take at least double that for the rising process. I’ve added a few variations at the end of the recipe as well. I have gone into a LOT of detail on this recipe, with lots of illustrations, to help even the most timid cook have the confidence to make this delicious dish for themselves.
Don’t let the yeast scare you. Just give this recipe a try, and you might never order pizza out again.
Pizza Dough Recipe
Yields enough dough for one 16 inch pizza.
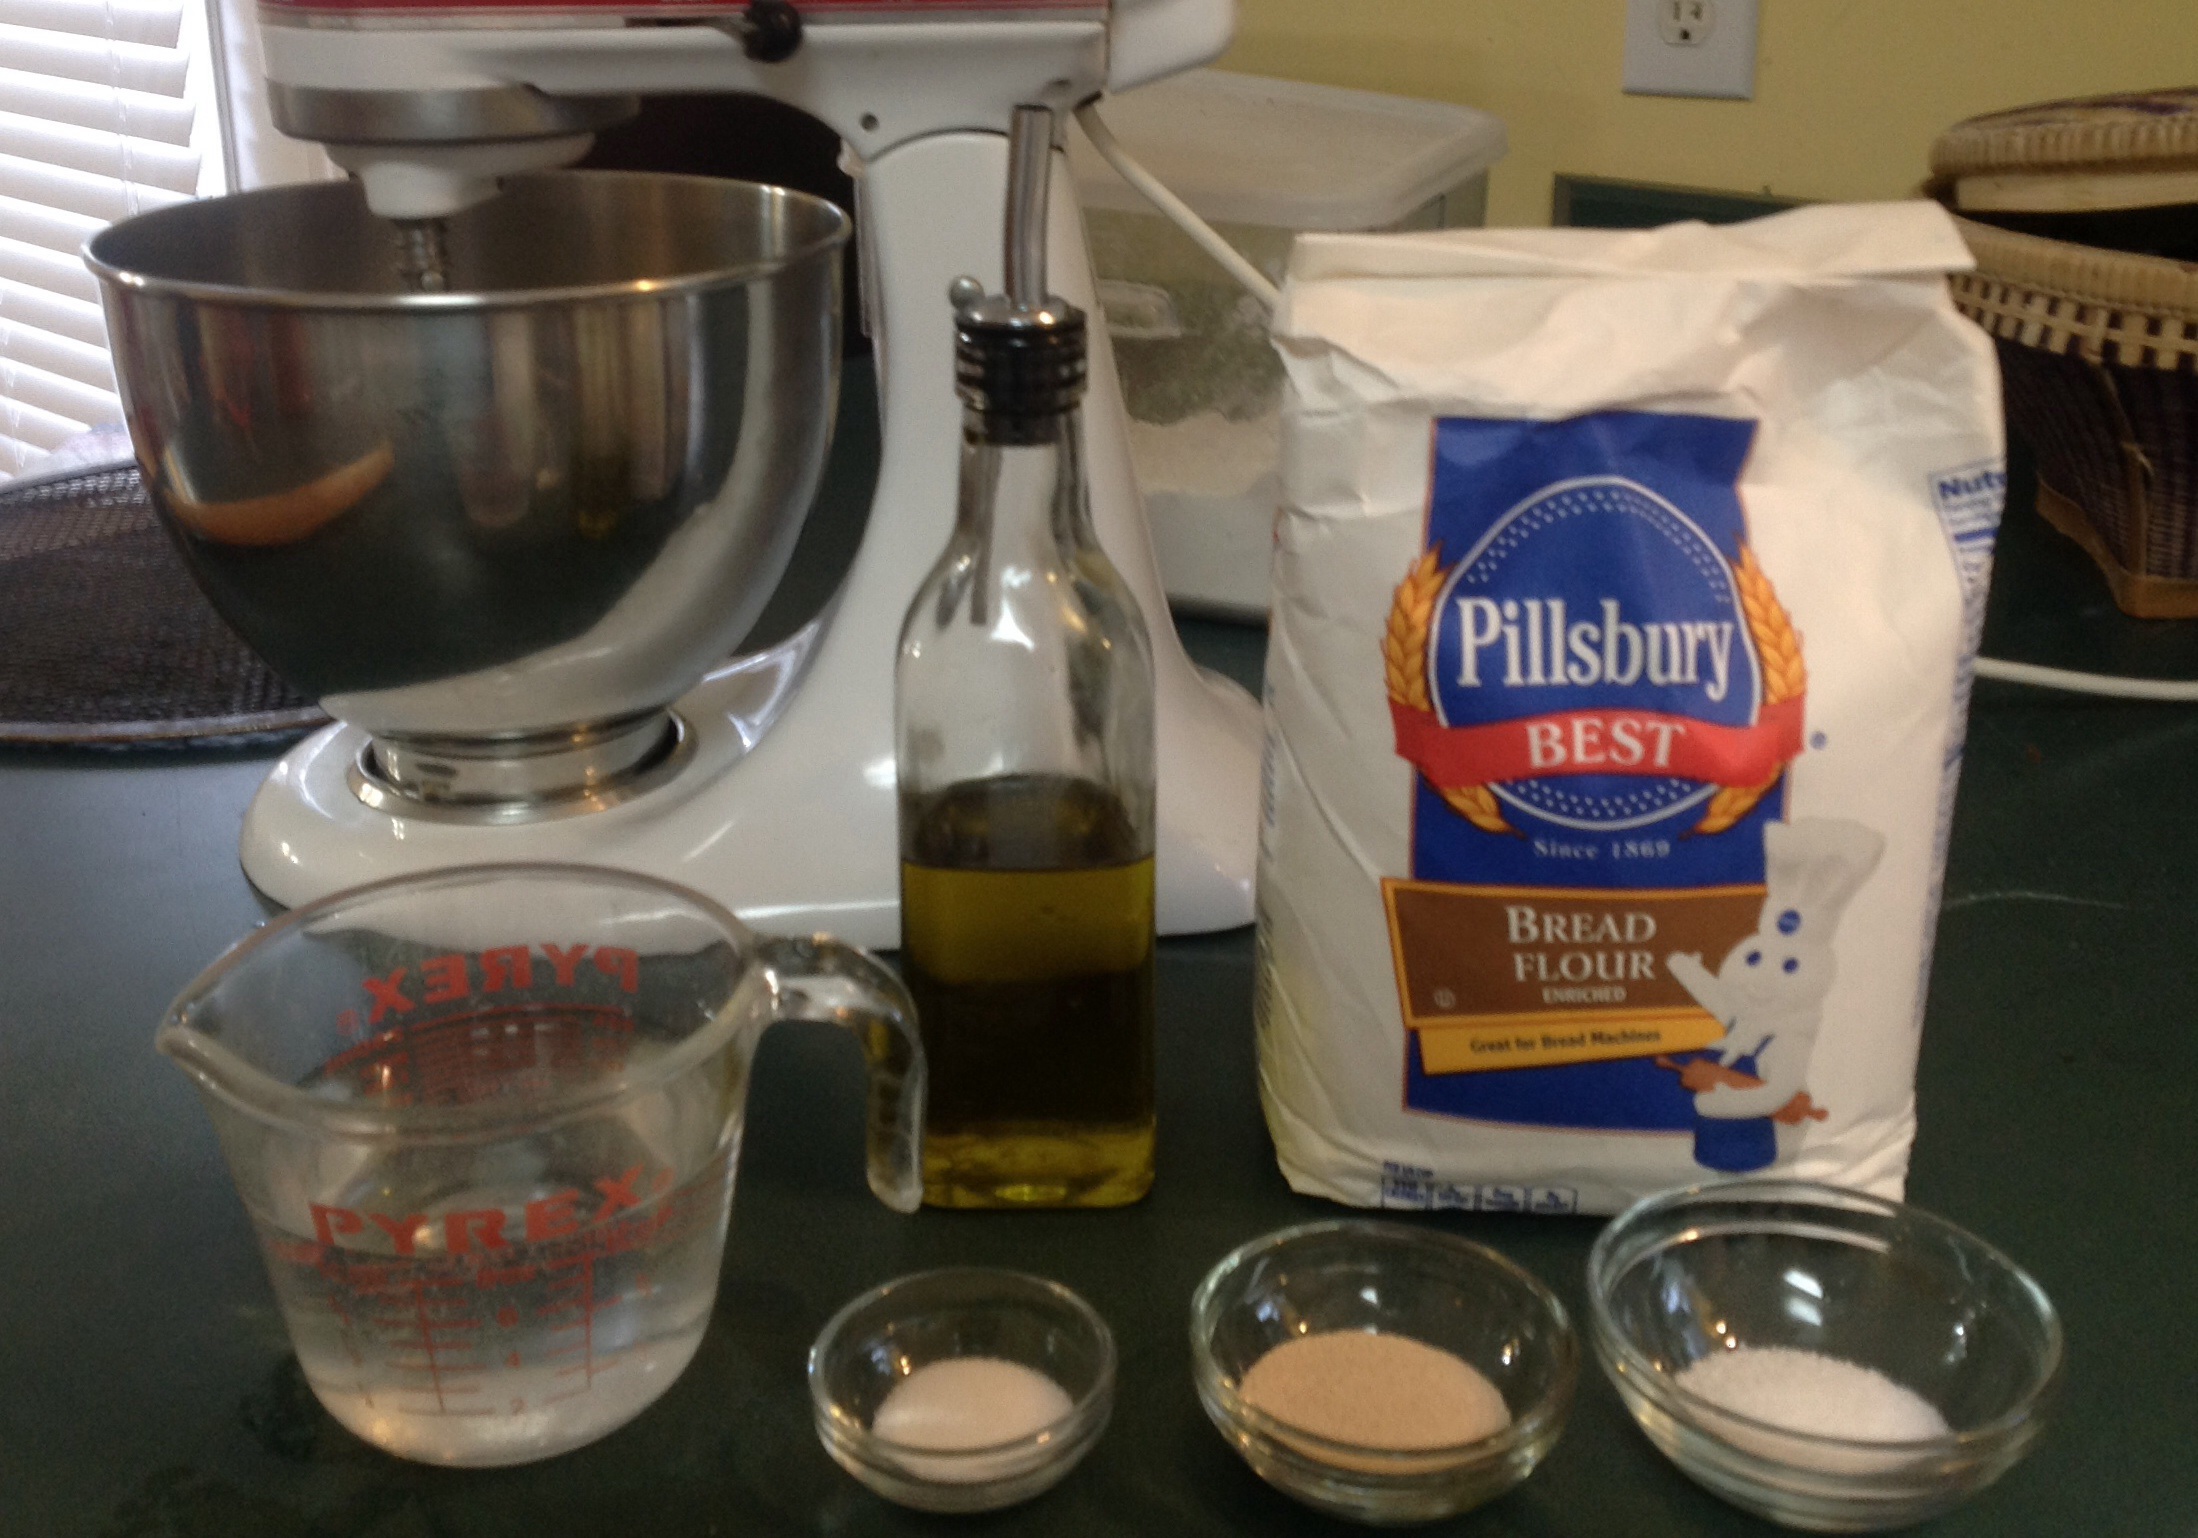
1 cup warm water (if it feels like a nice warm bath to your finger, it’s just right)
1 package of yeast, or two teaspoons
1 teaspoon sugar
2 tablespoons olive oil
About 3 cups of bread flour (must be bread flour, not all purpose)
1 1/2 teaspoons salt
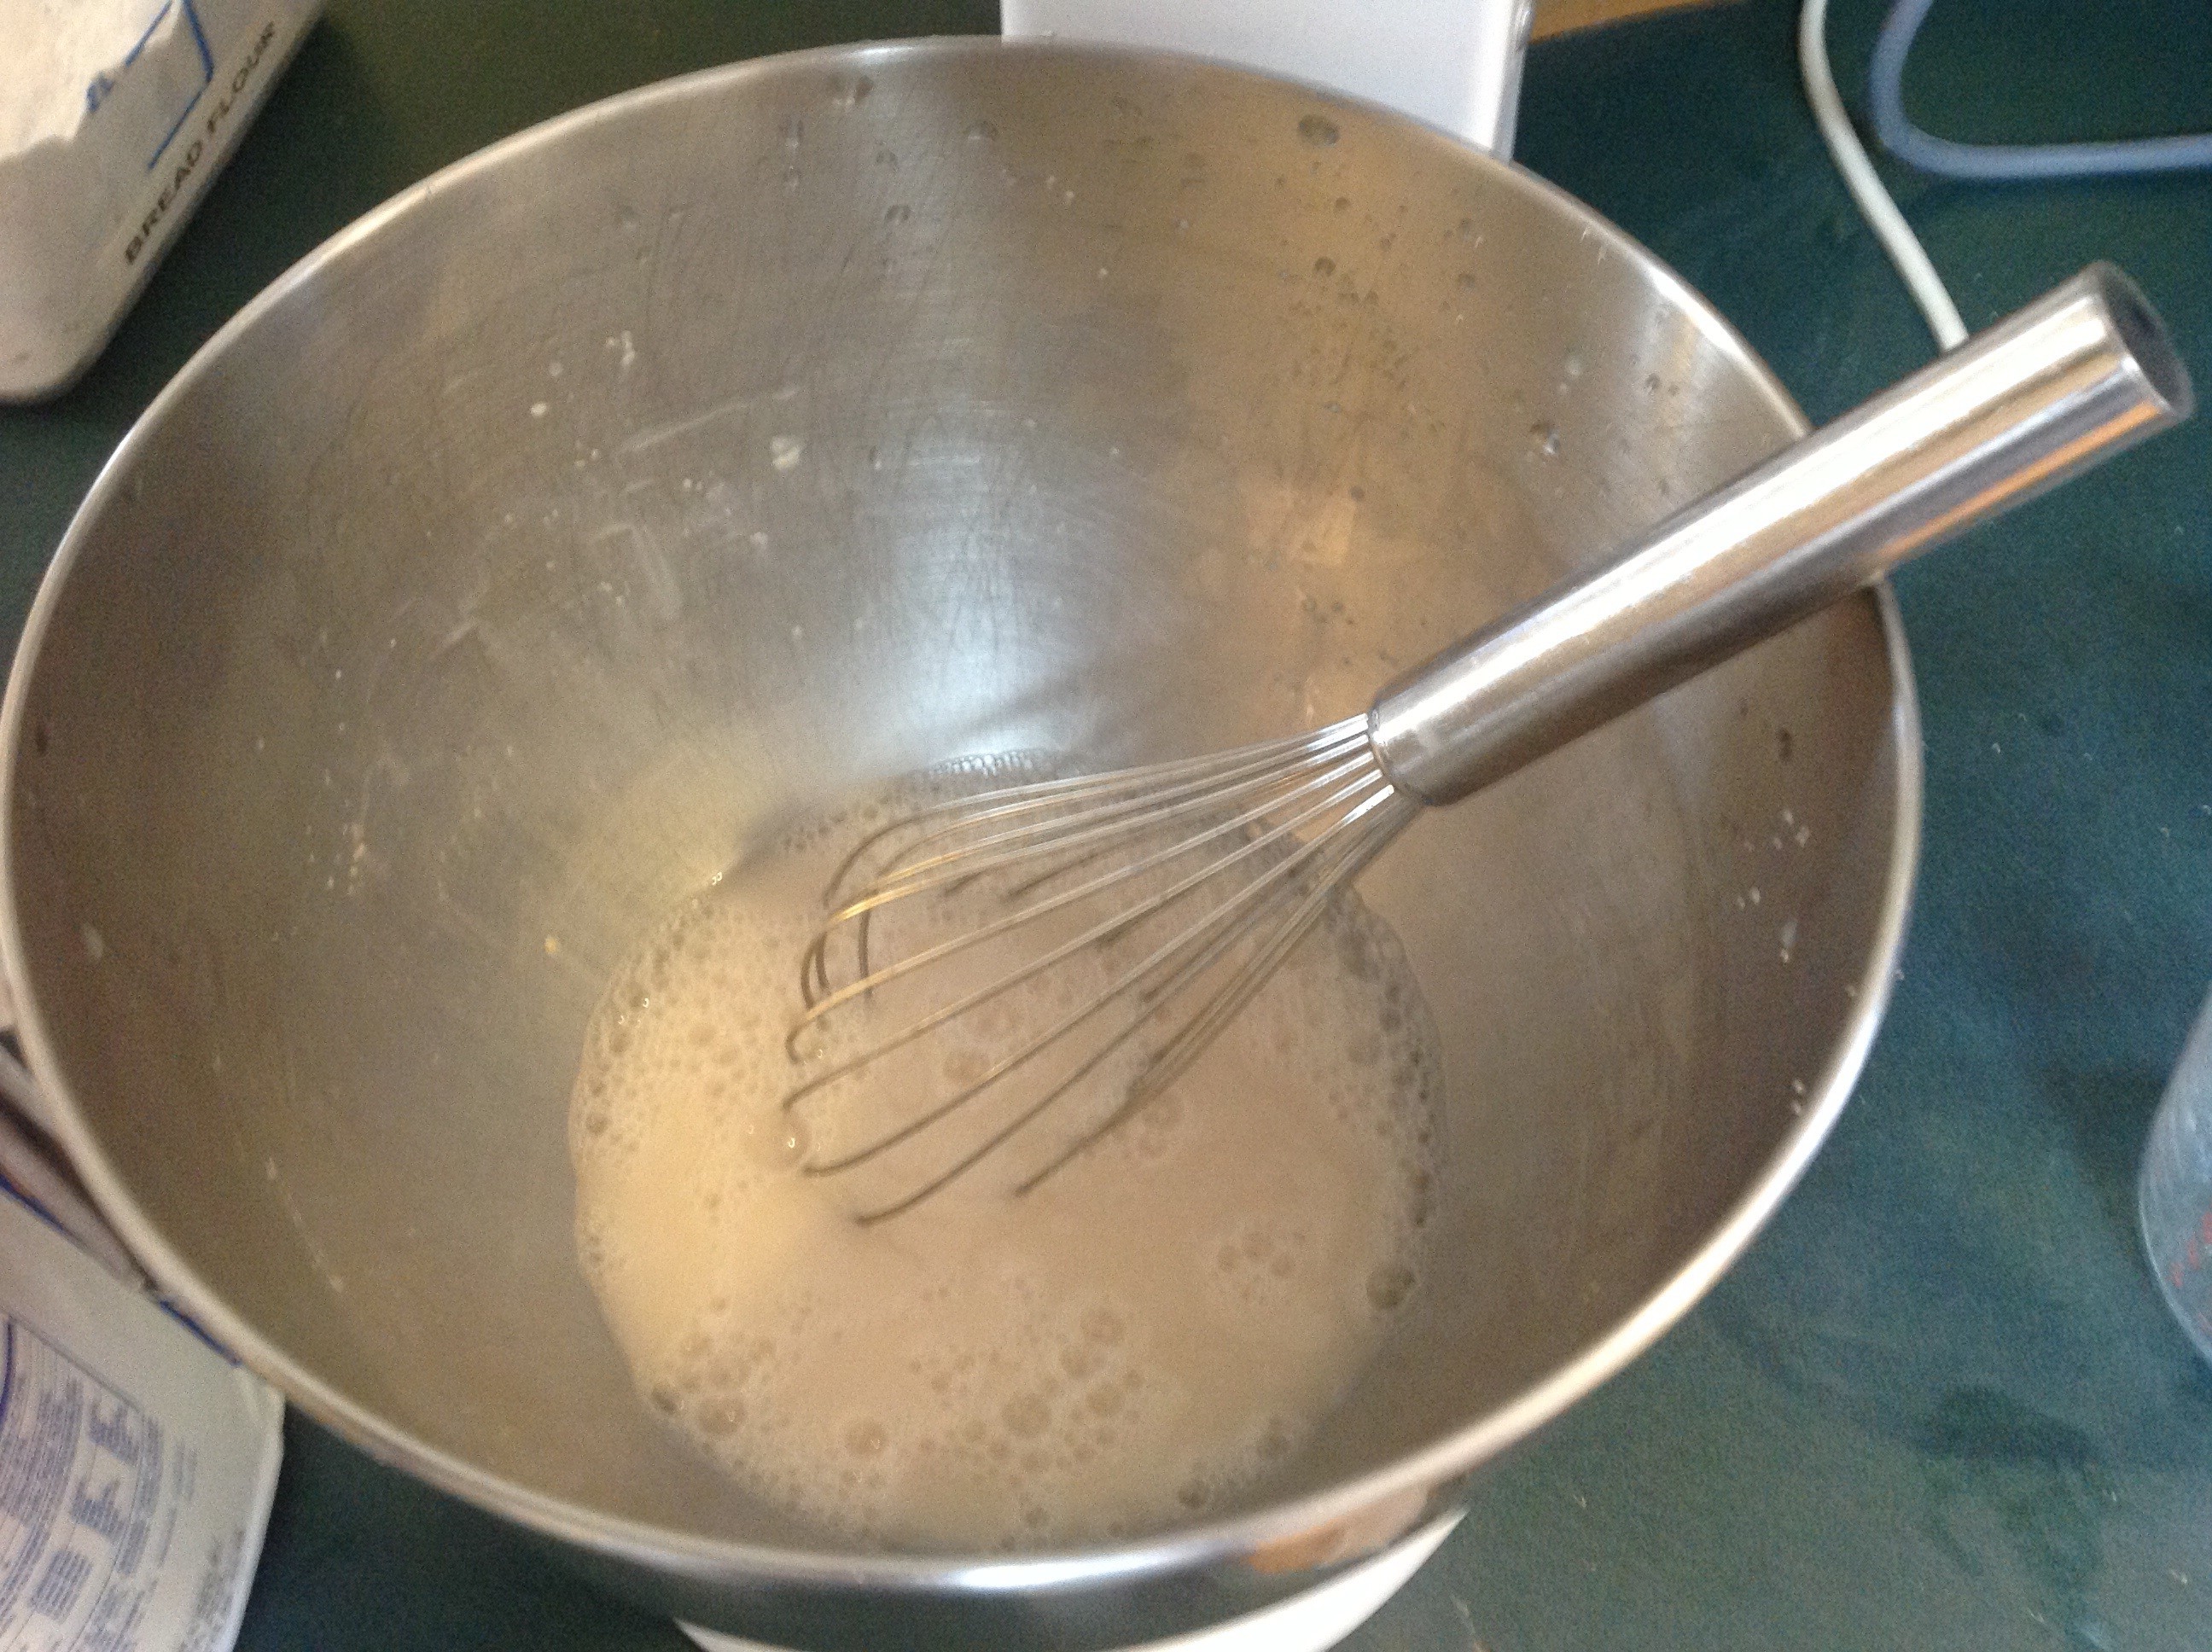
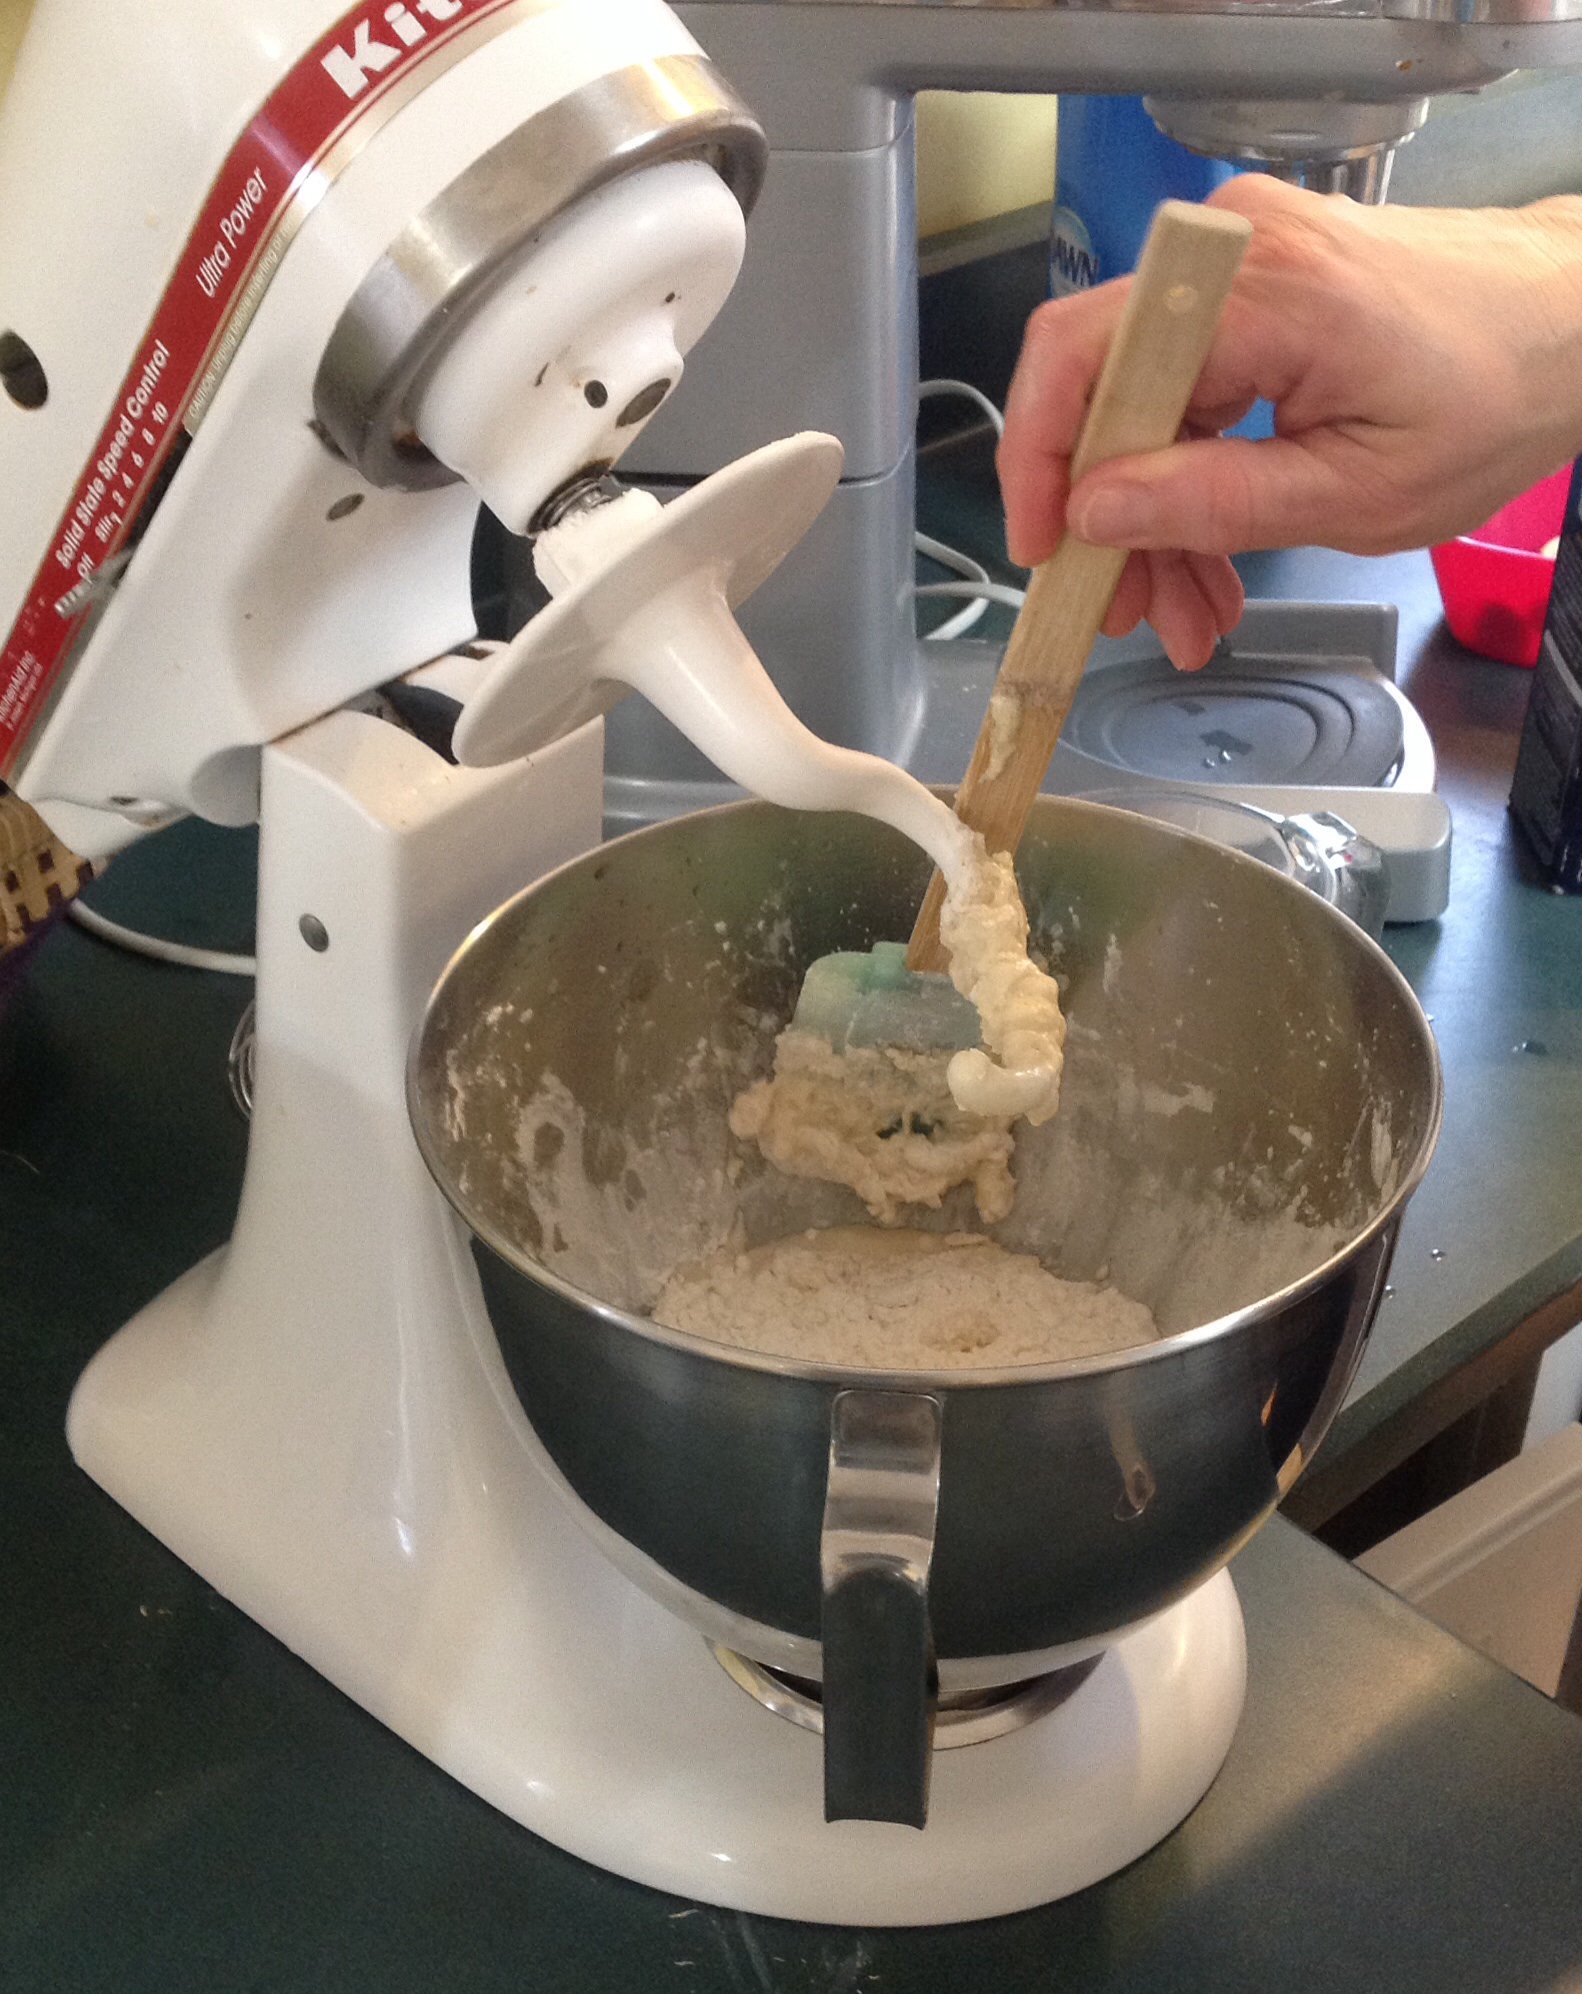
In your mixer bowl, whisk together the warm water, yeast, and sugar. (If you aren’t sure how fresh your yeast is, pause for a few mintues and see if water gets creamy bubbles, a sign your yeast is alive. This is called proofing the yeast. If I know my yeast is fresh, I skip the wait.)
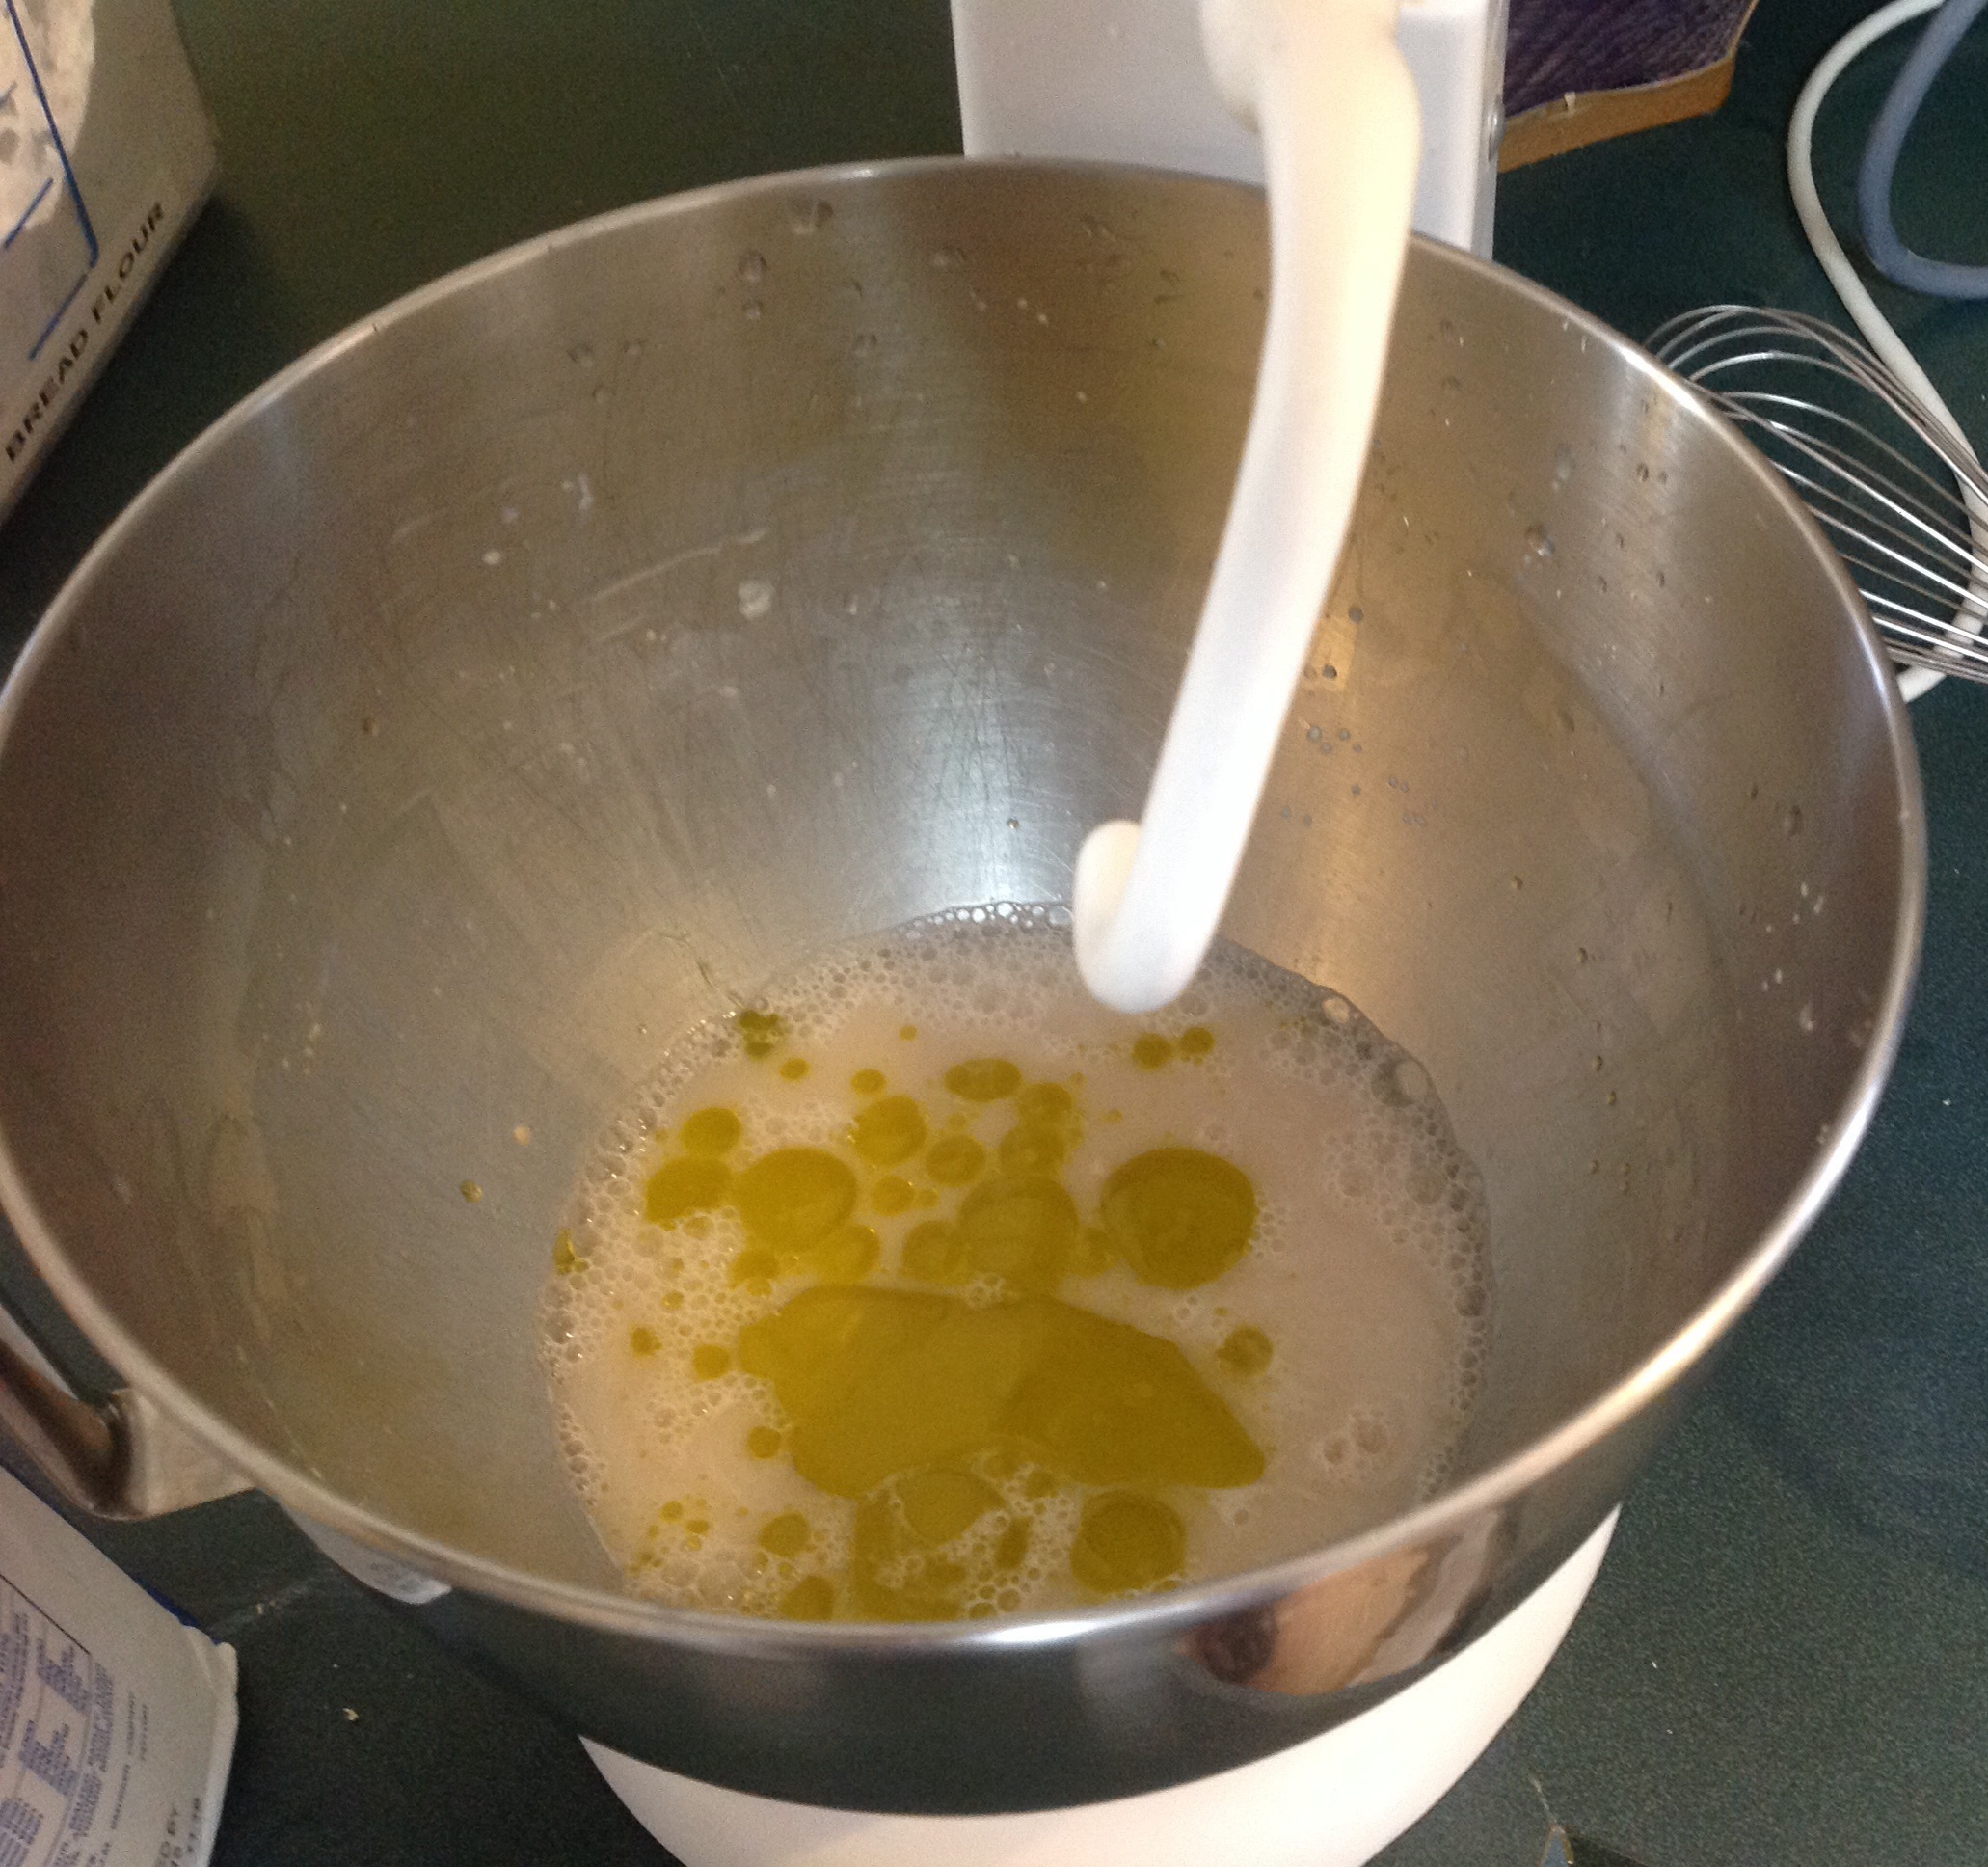
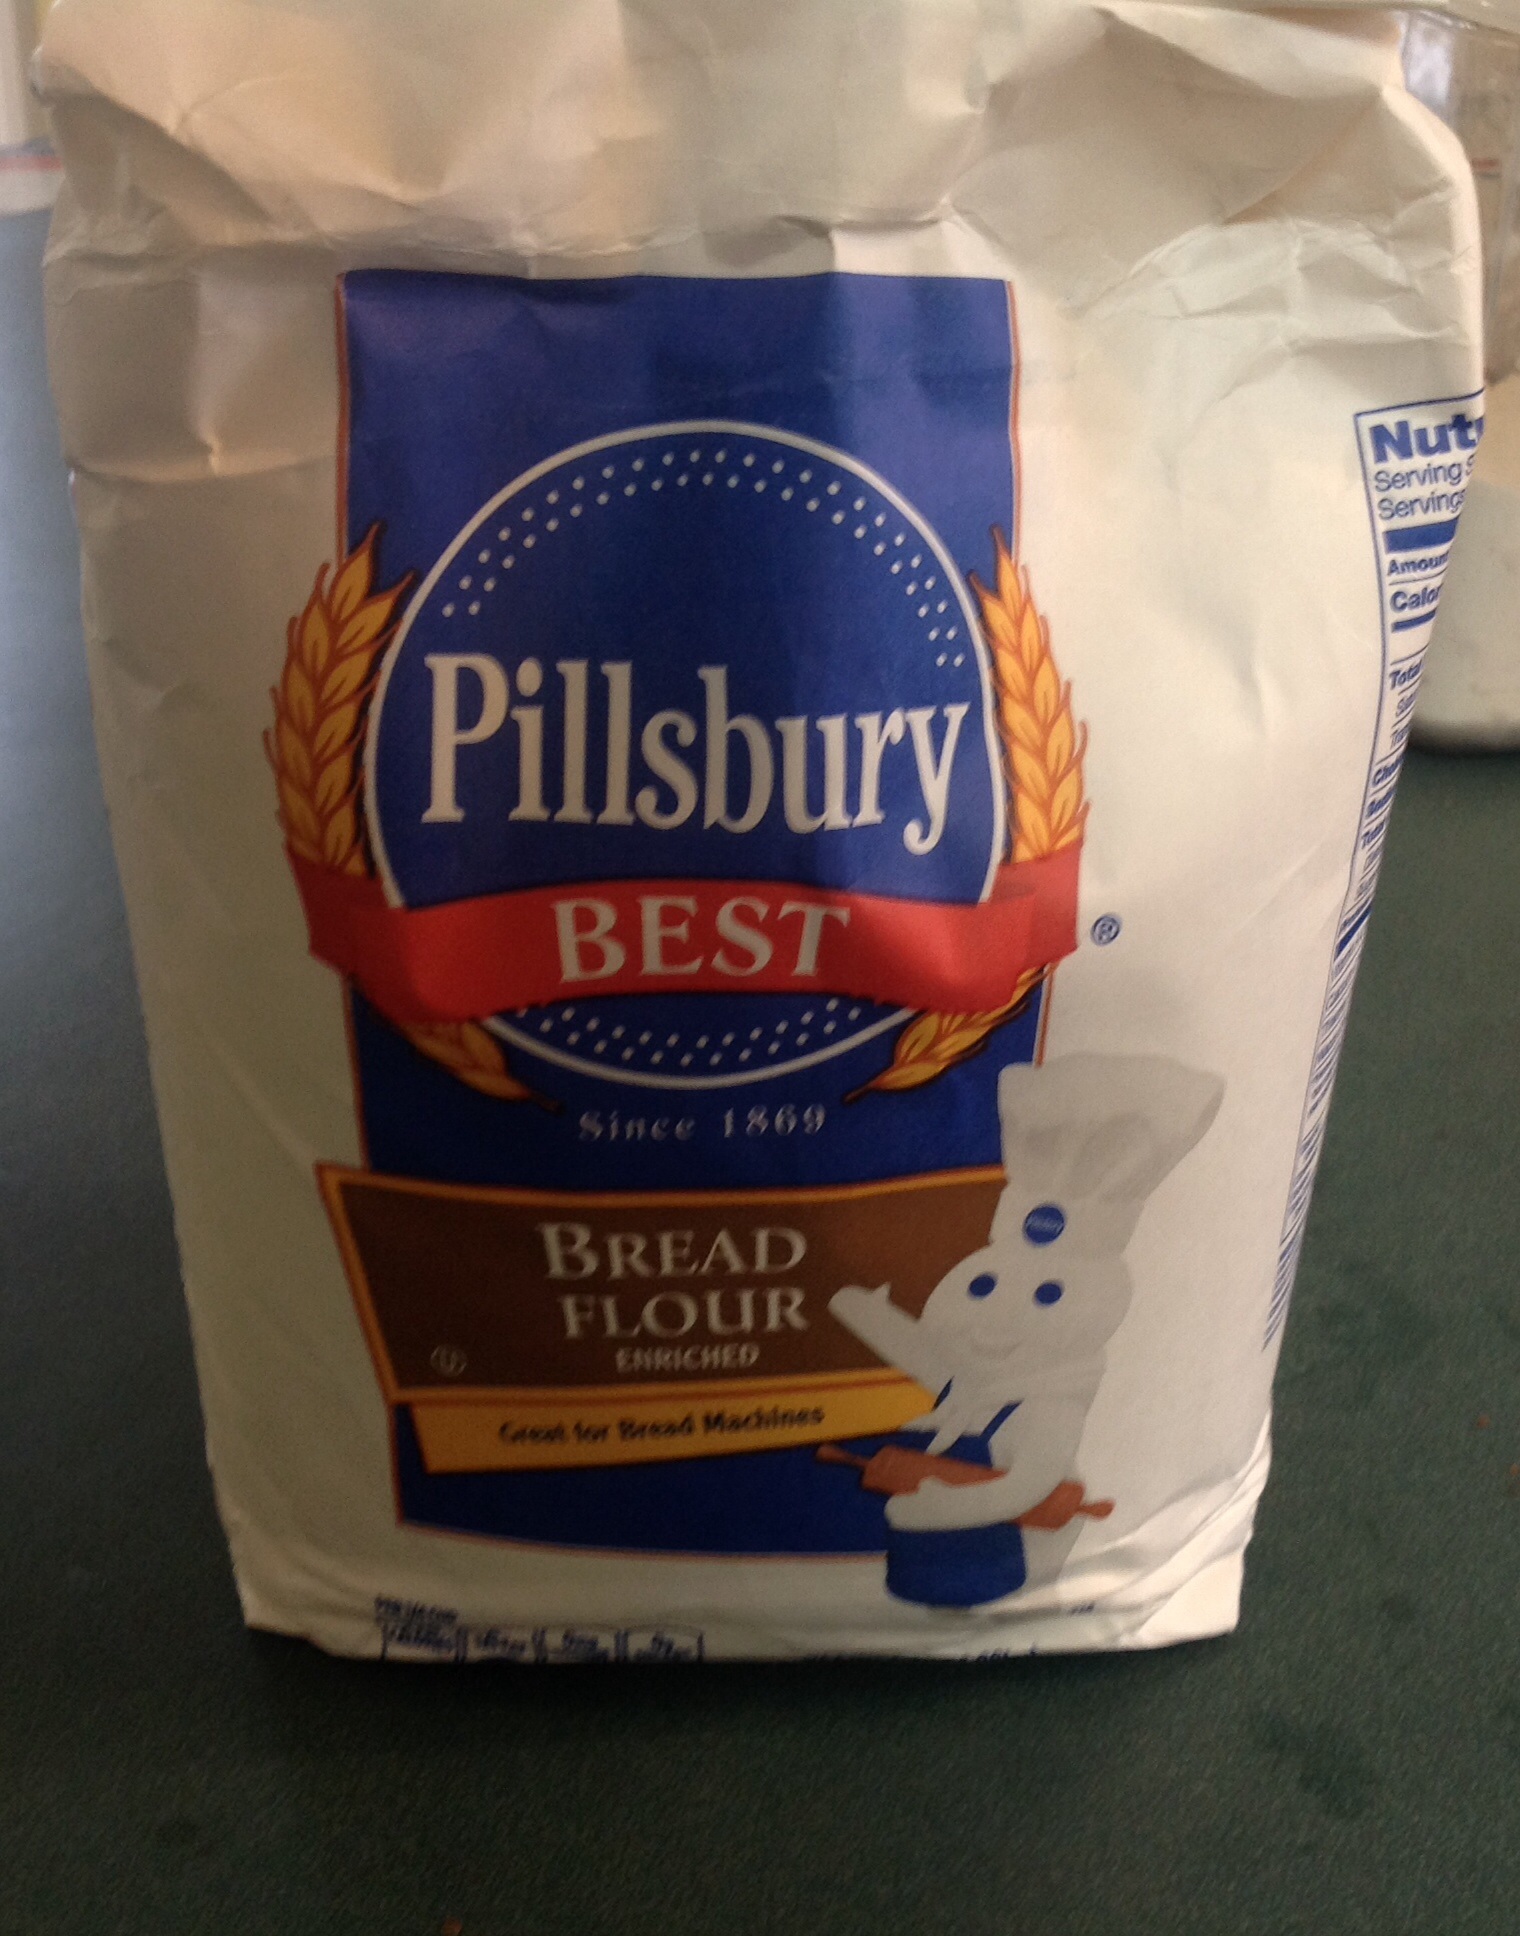
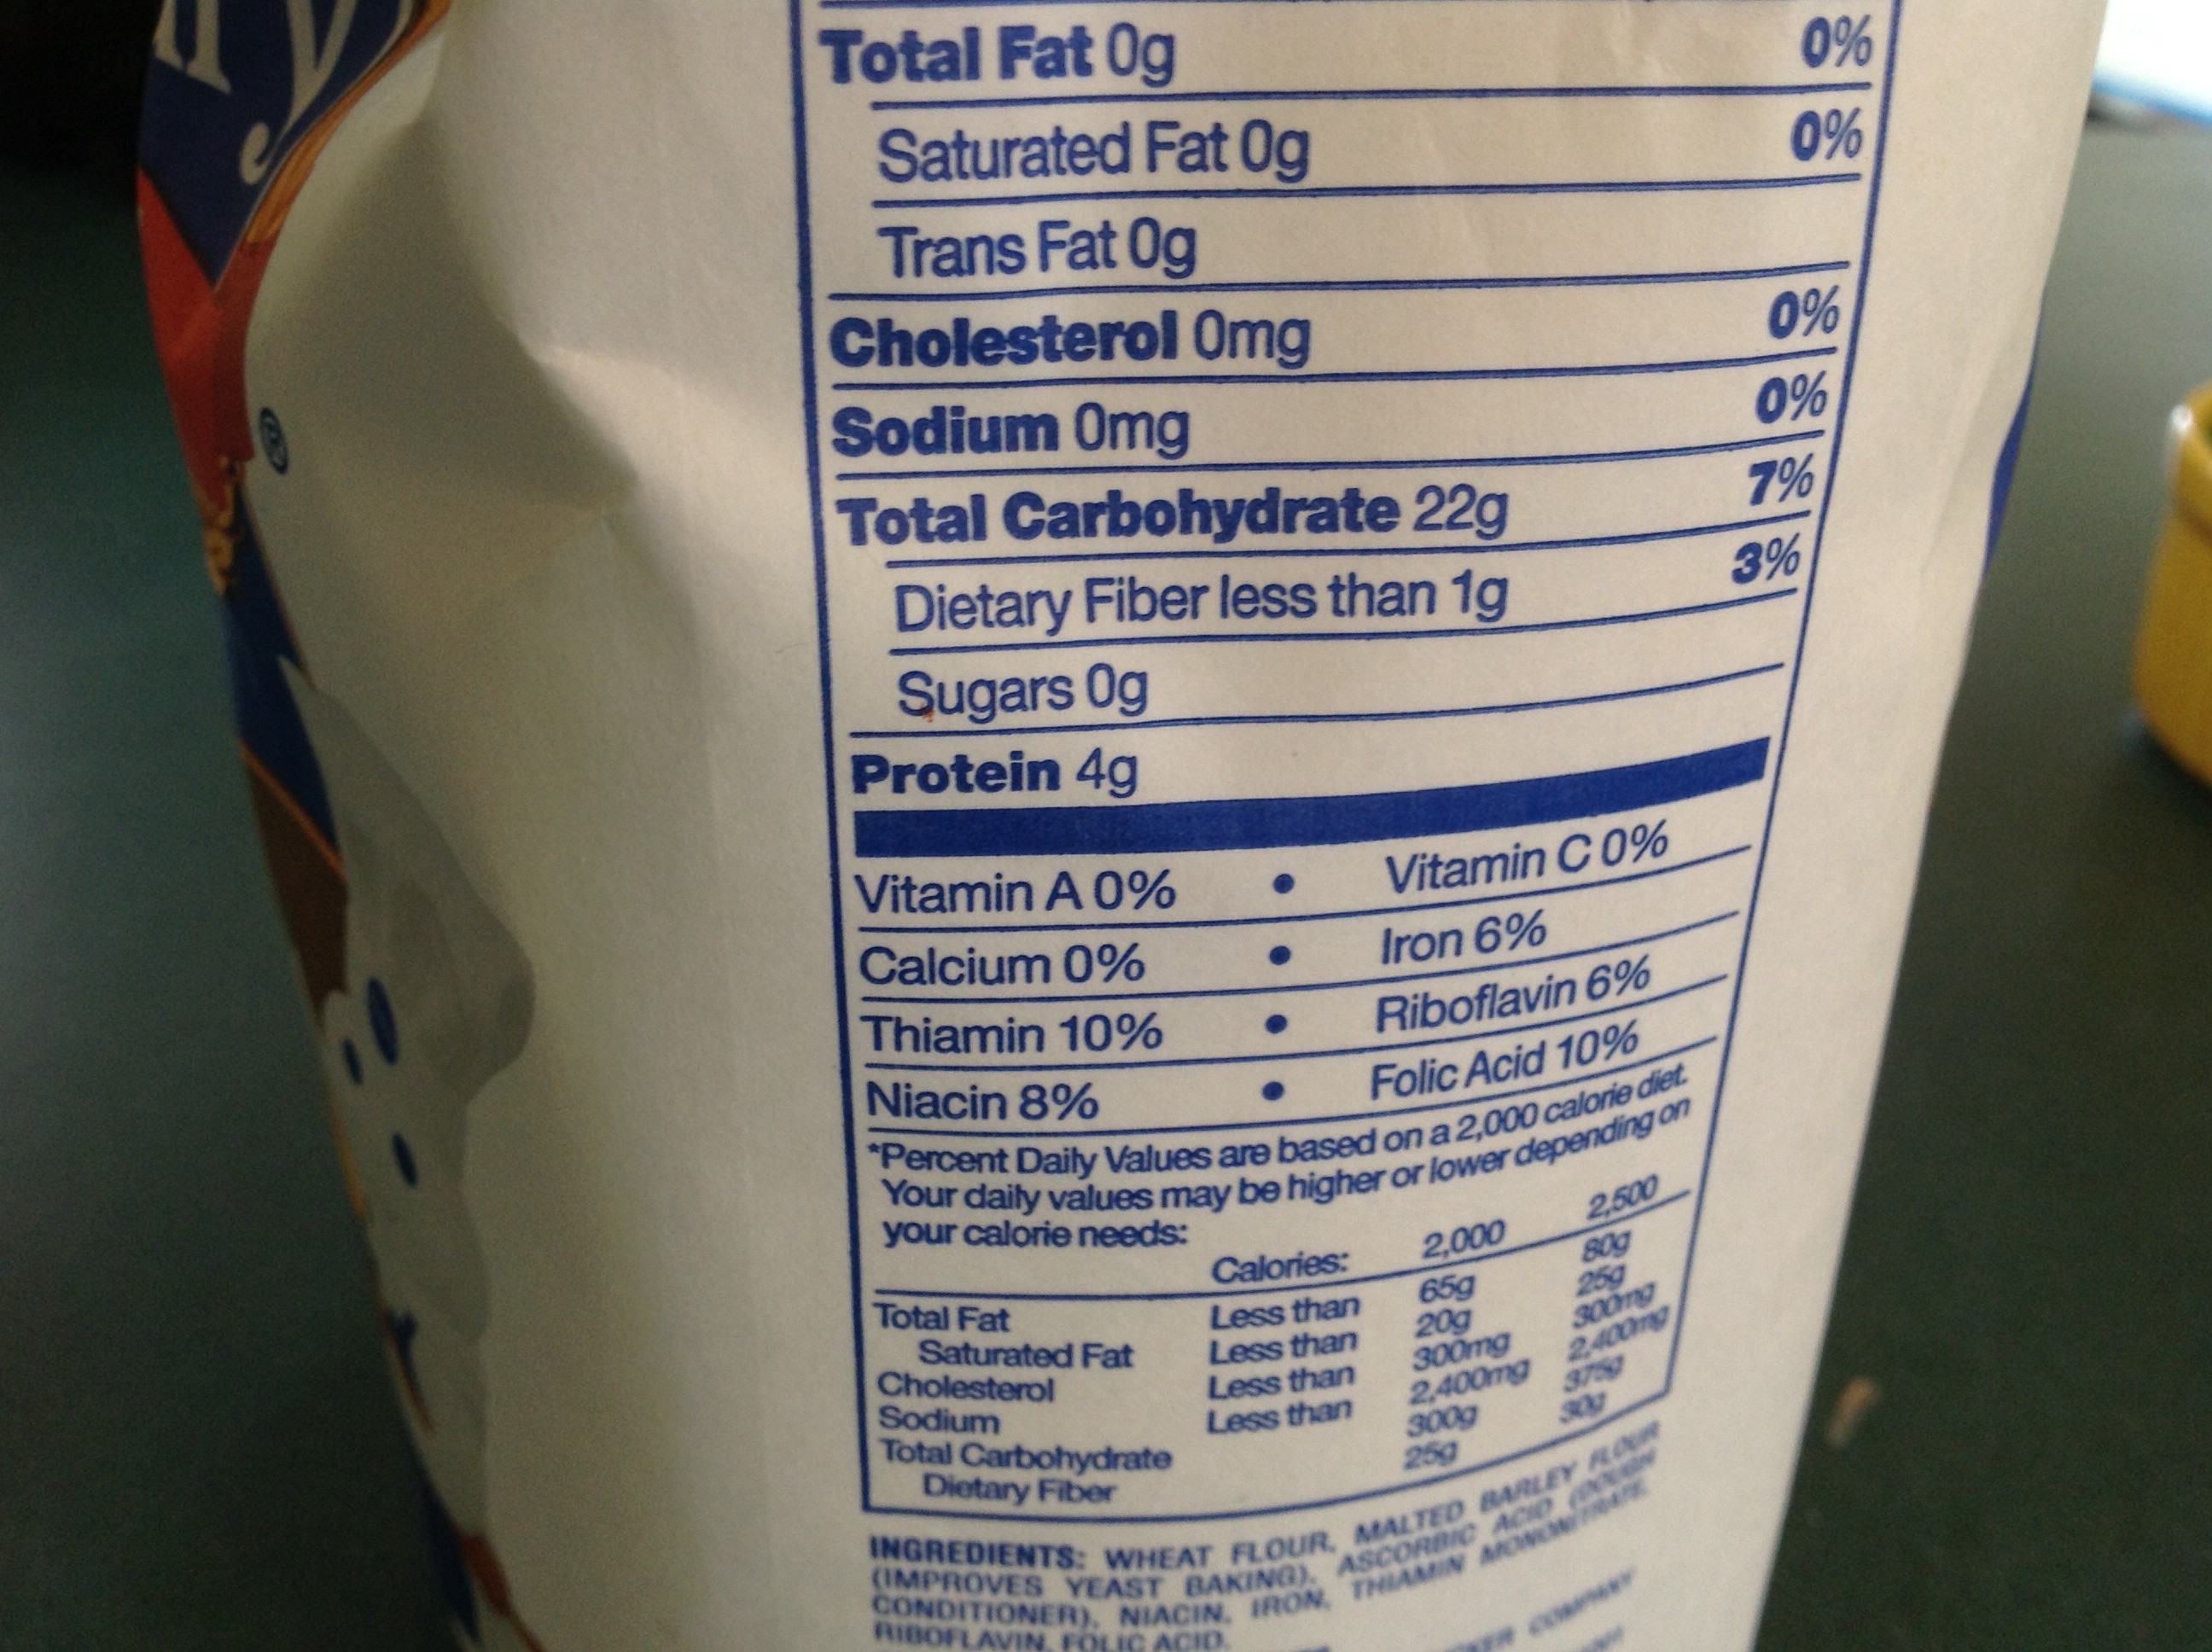
Pour in the olive oil and with the dough hook attached, add one cup of the bread flour with the mixer on low. You MUST use bread flour, which should have at least 4g of protein per serving. Add the salt and the second cup of flour. Stop to scrape down the sides. Add another half cup of flour, and continue mixing. At this point, I add a little flour at a time, until the dough is no longer sticky and easily cleans the side of the mixing bowl. If the dough looks a little shaggy, I stop and by hand mix it together and start mixing again. If you add too much flour and dough gets crumbly, you can add a teaspoon of water at a time to restore it.
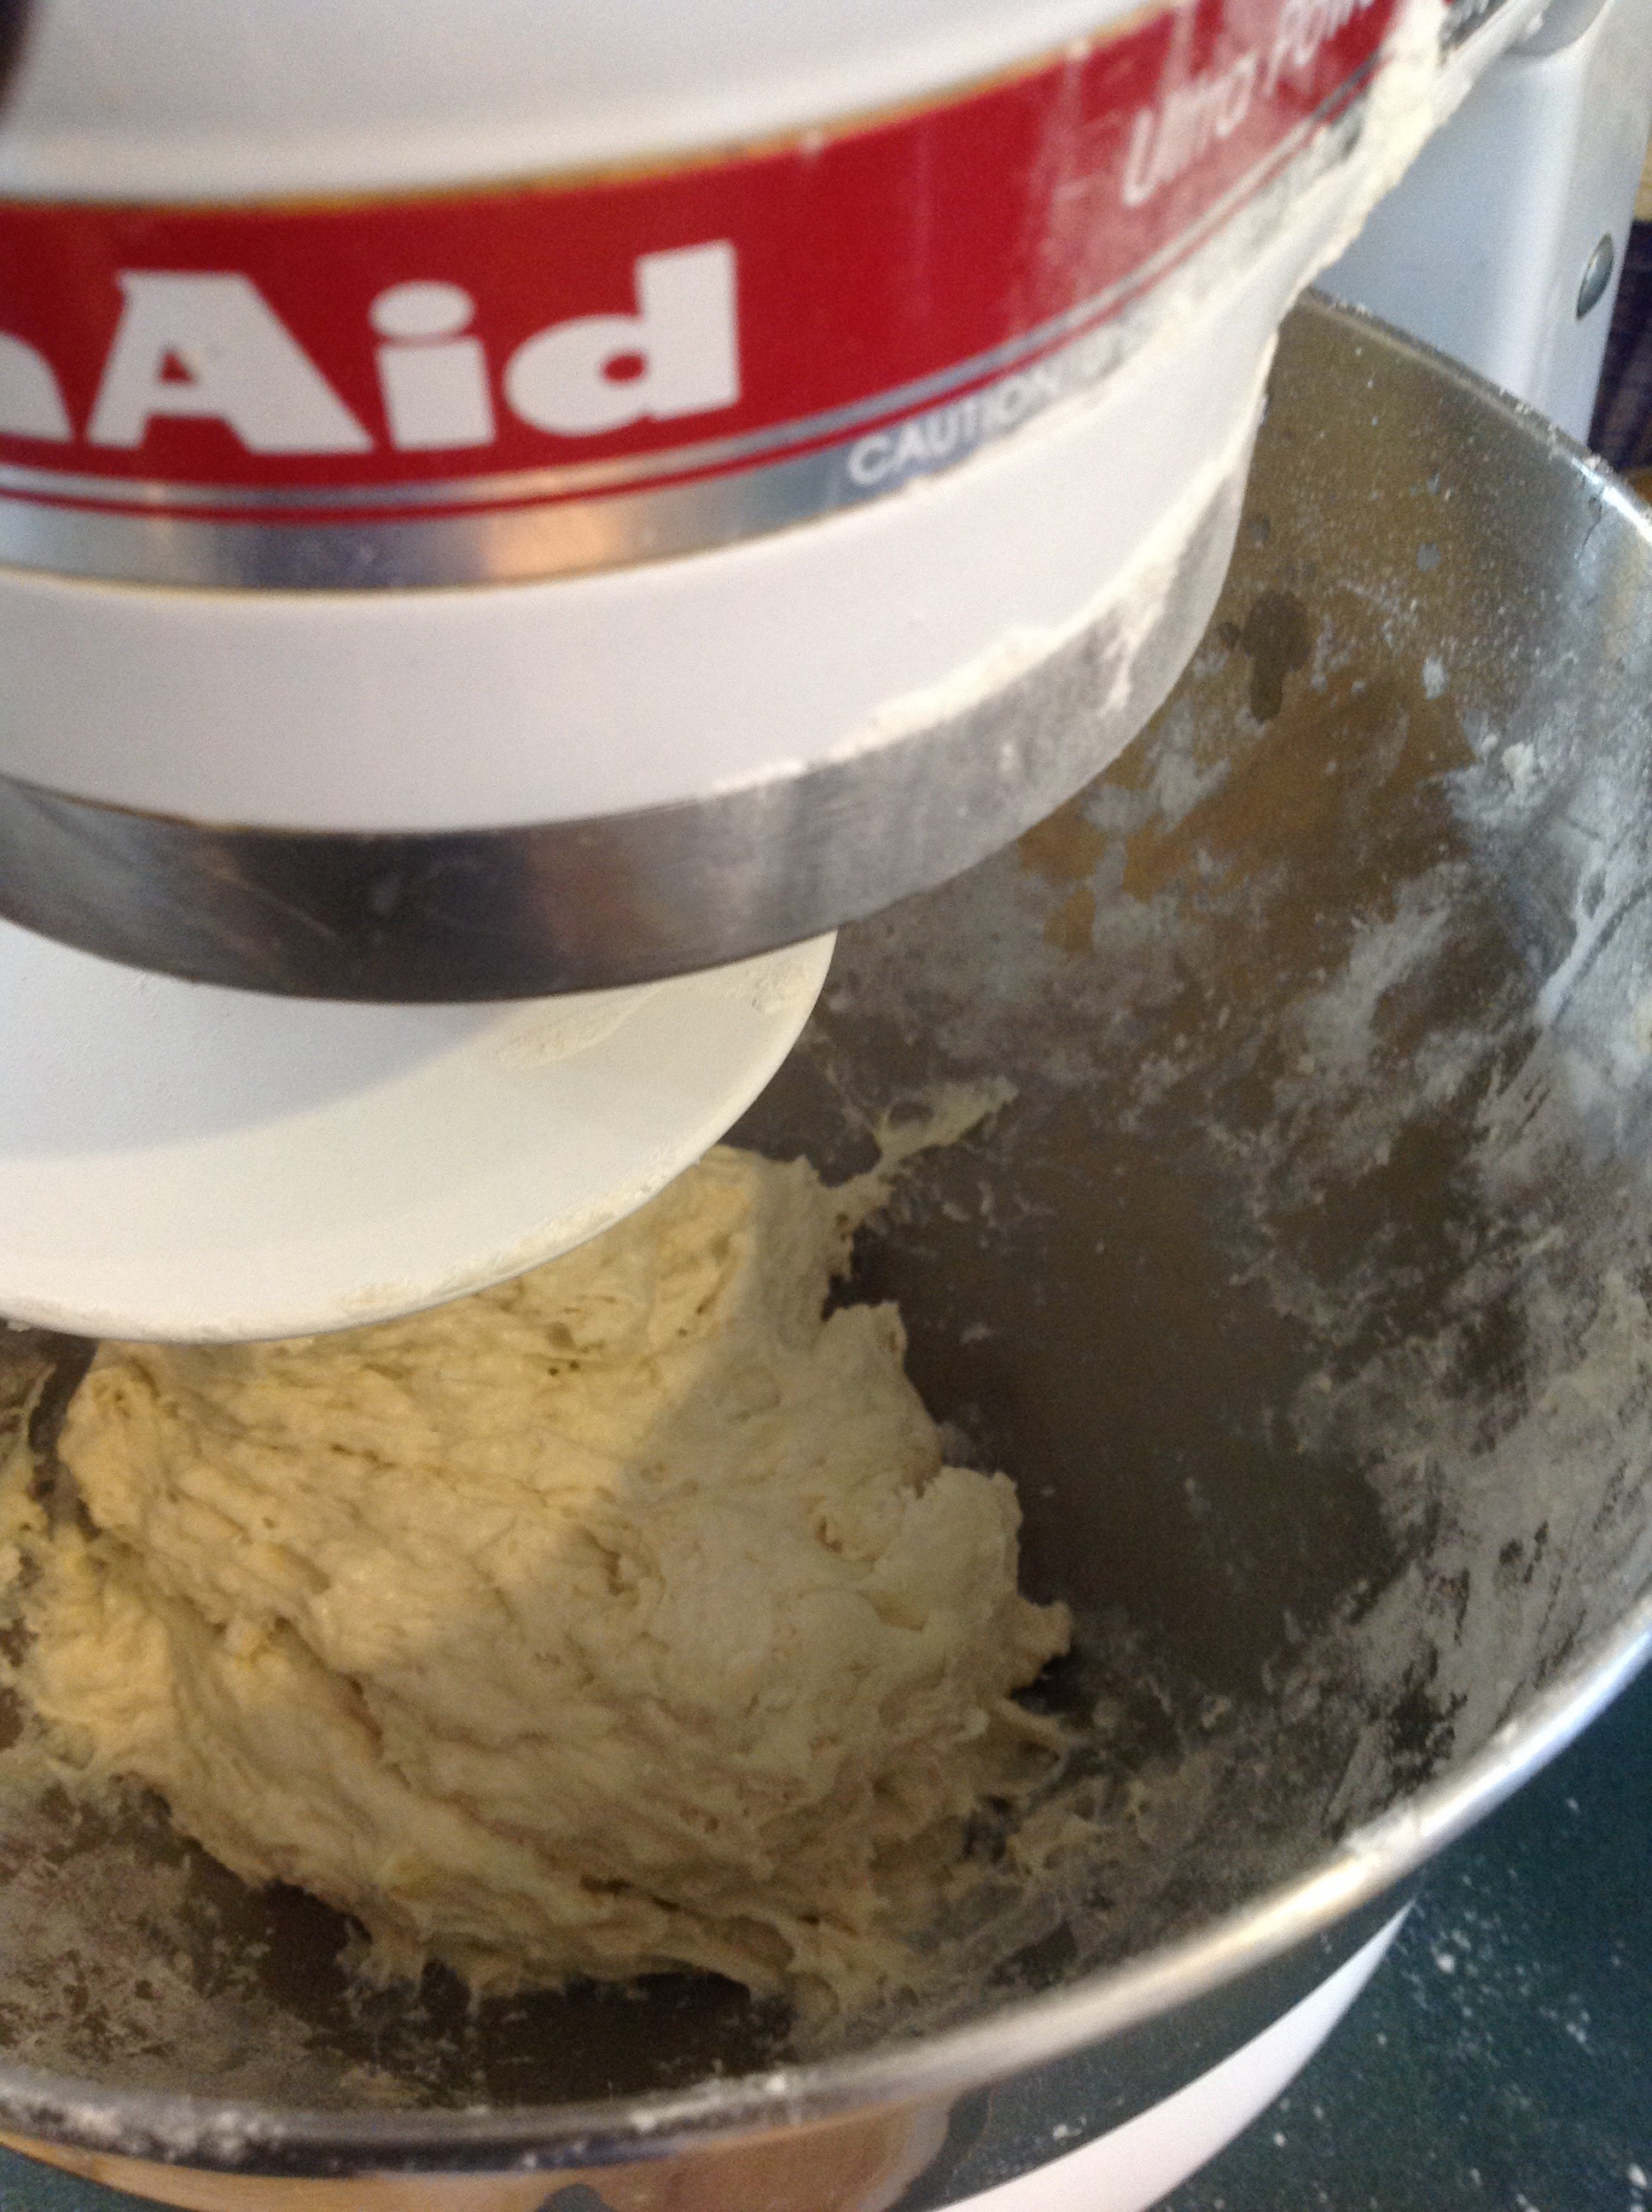

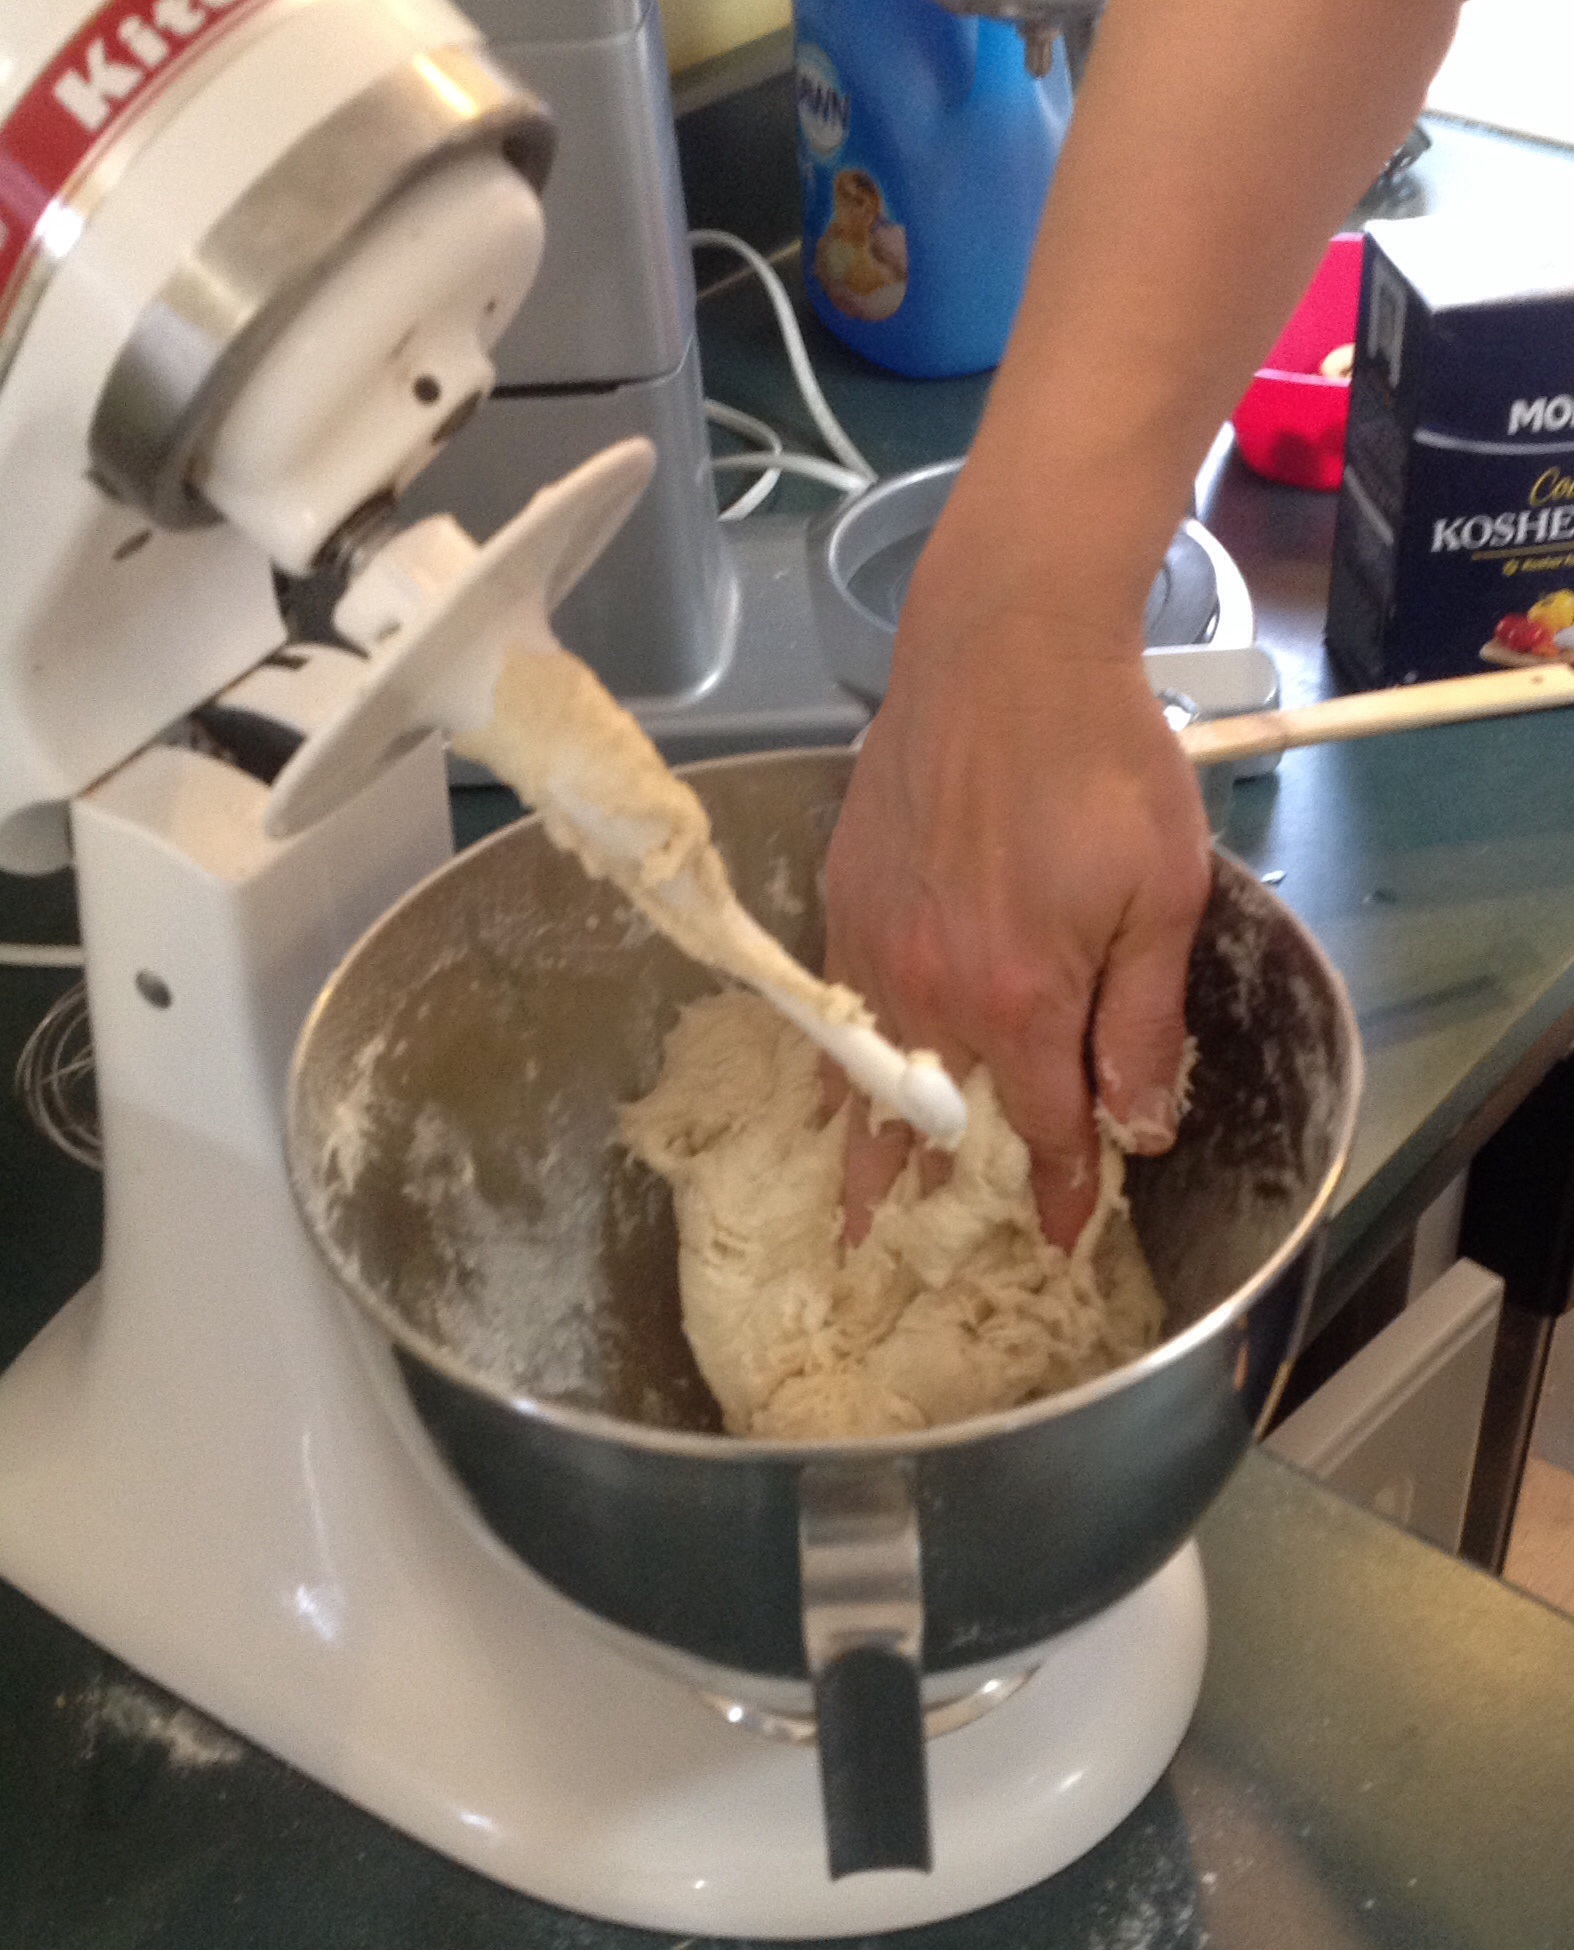
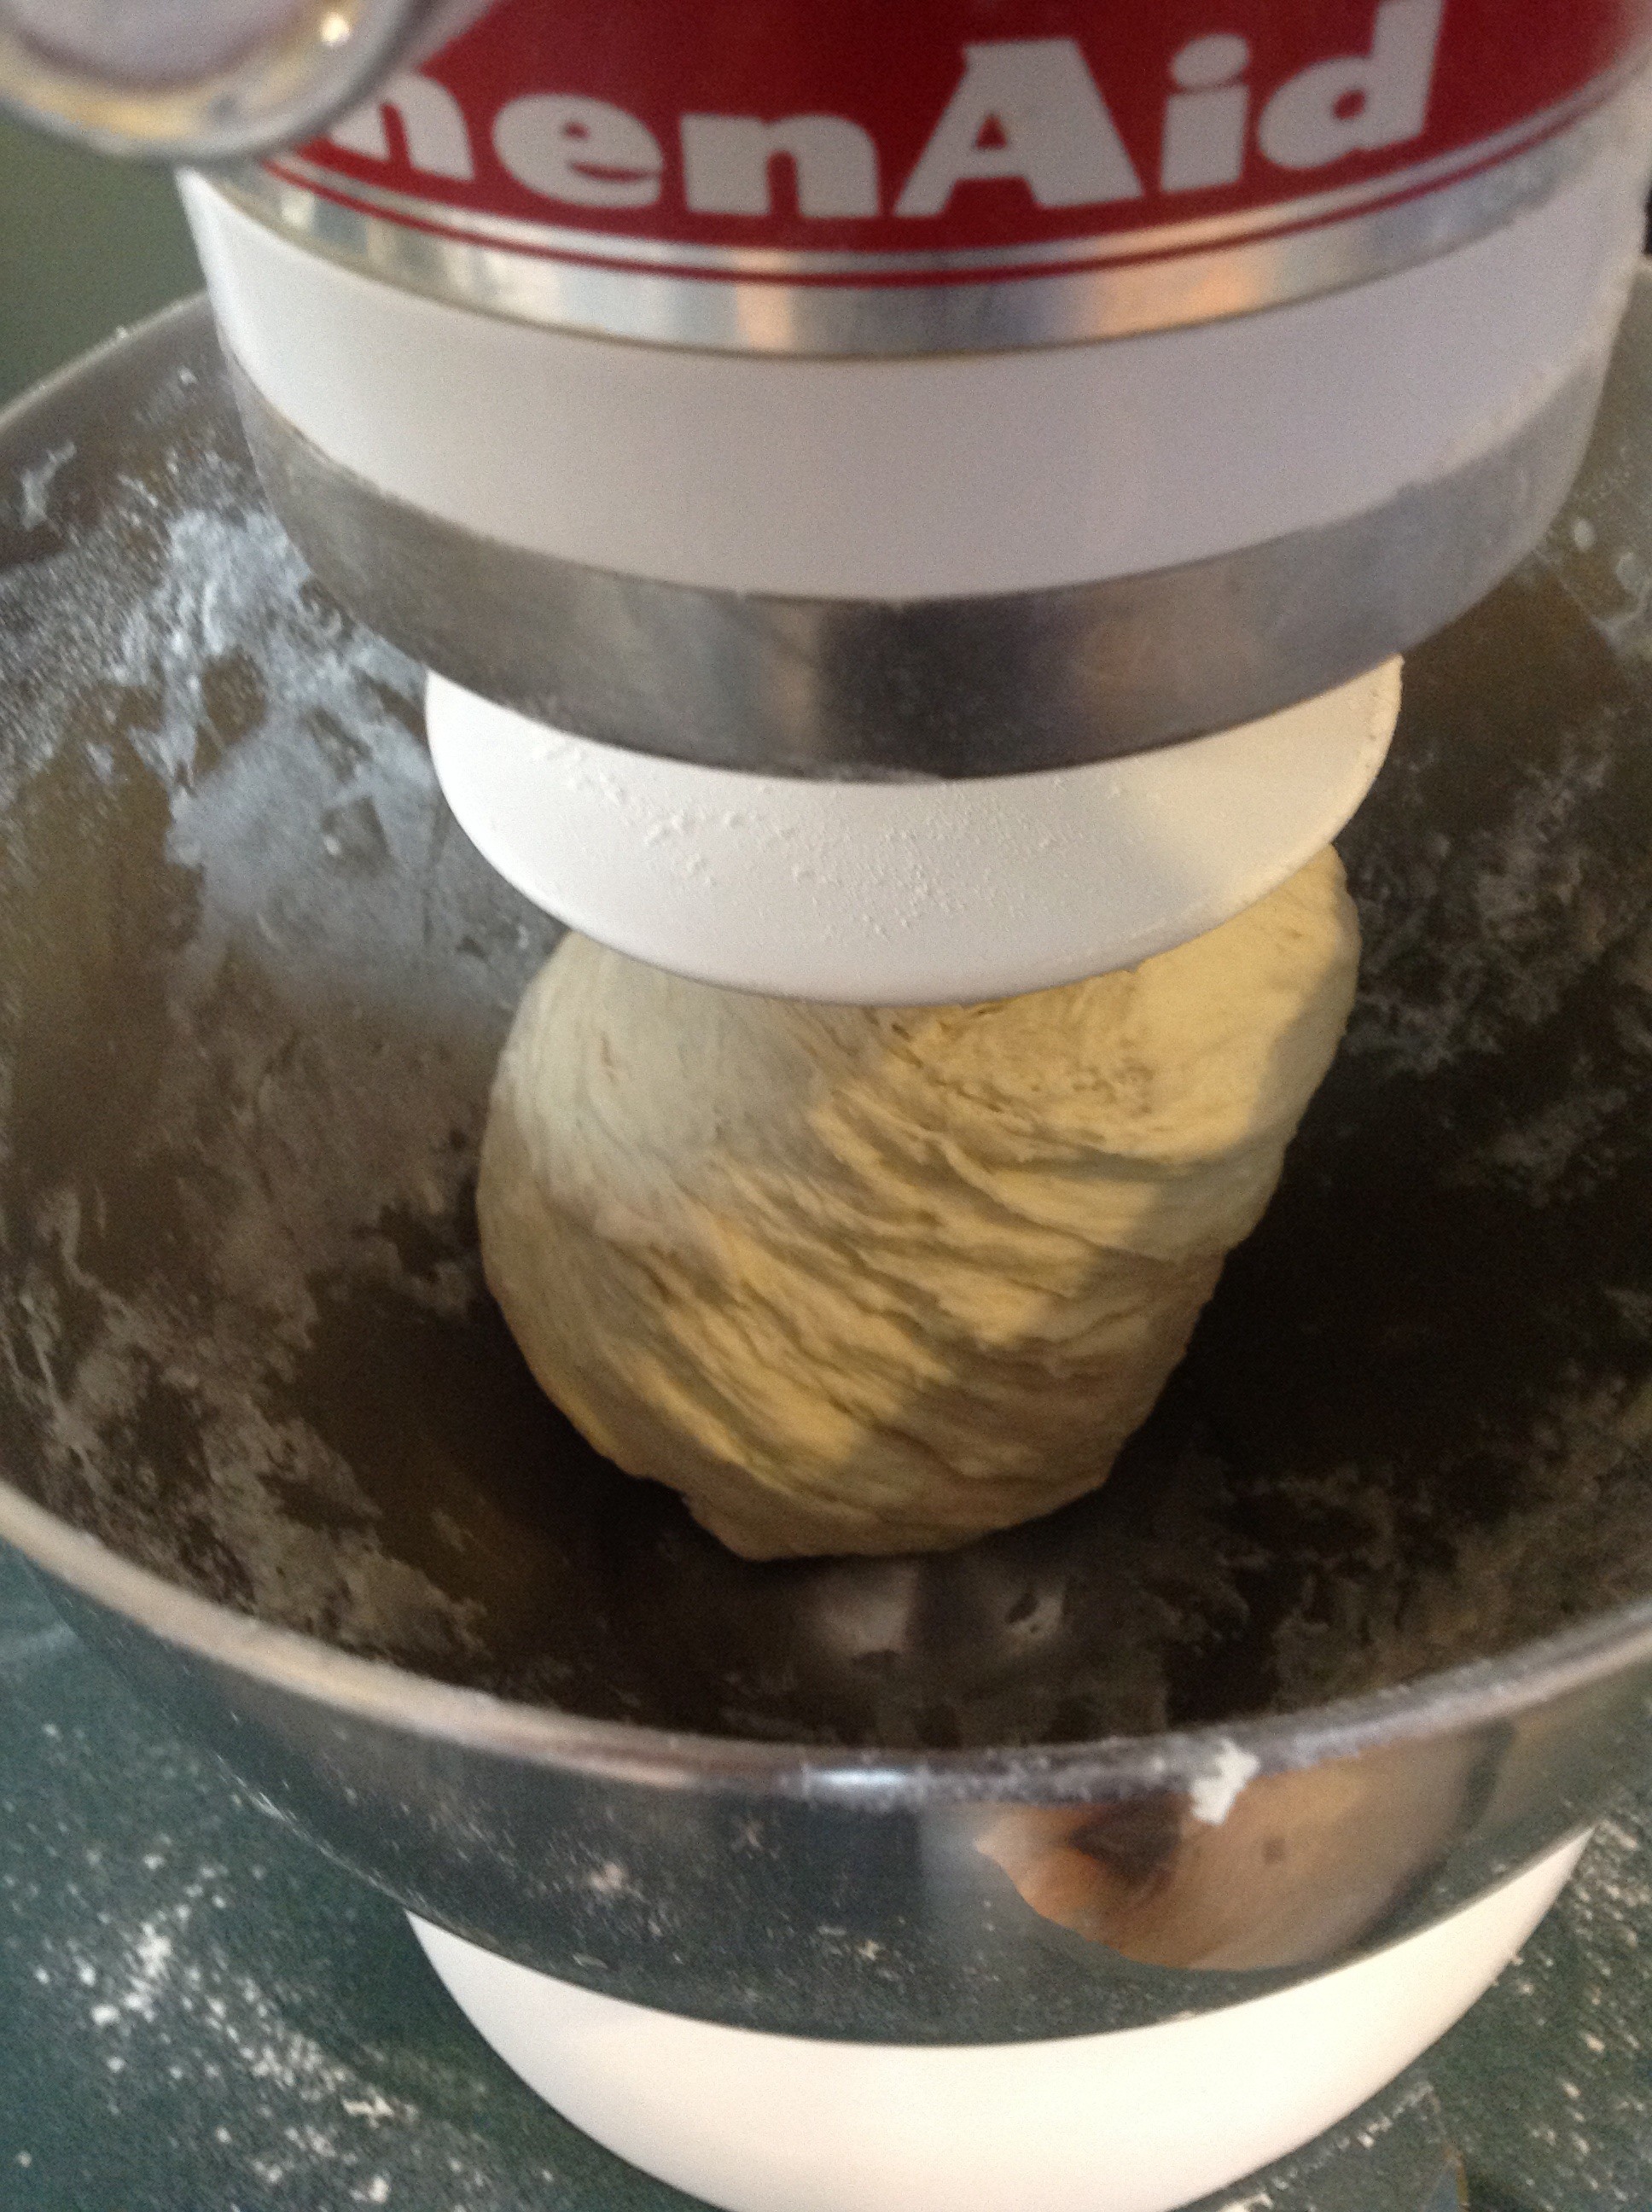
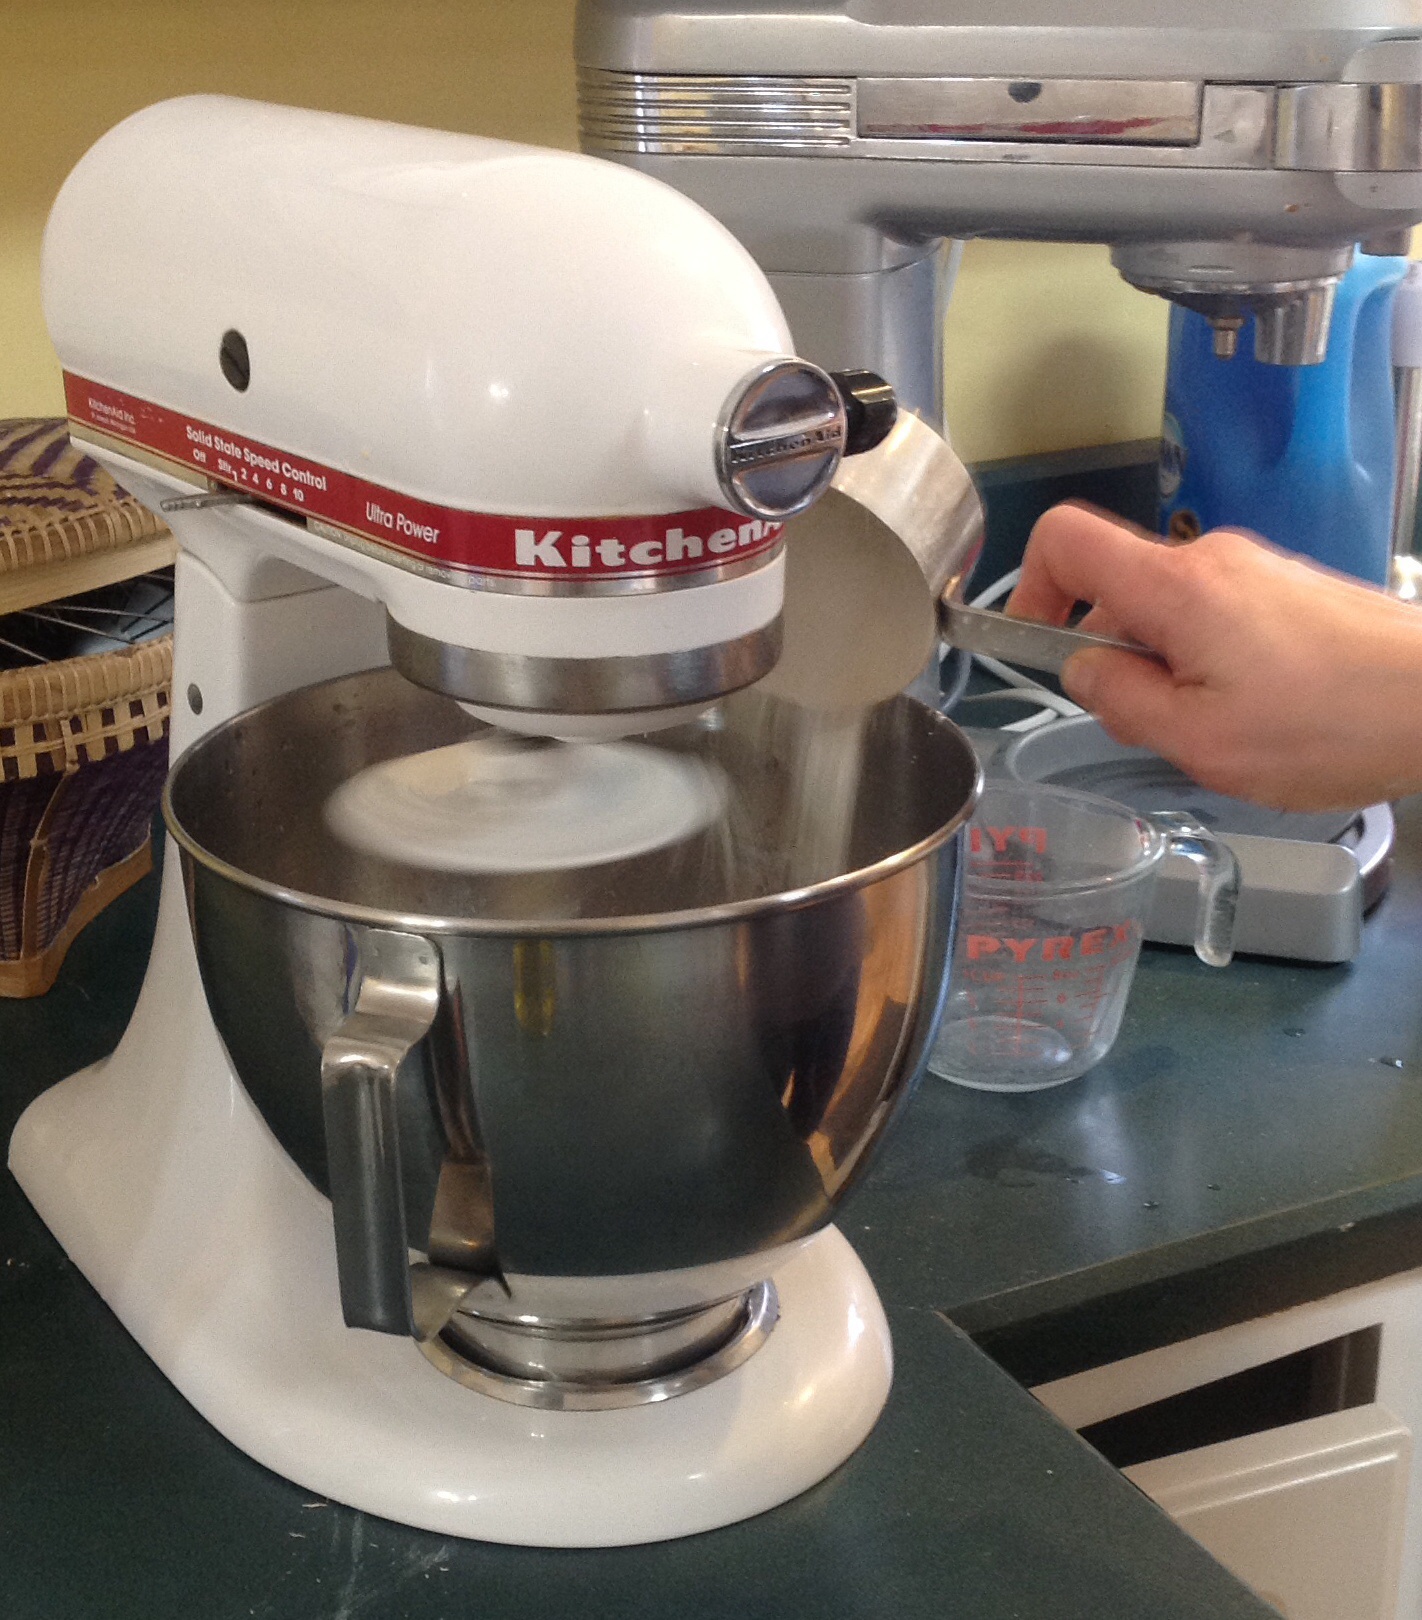
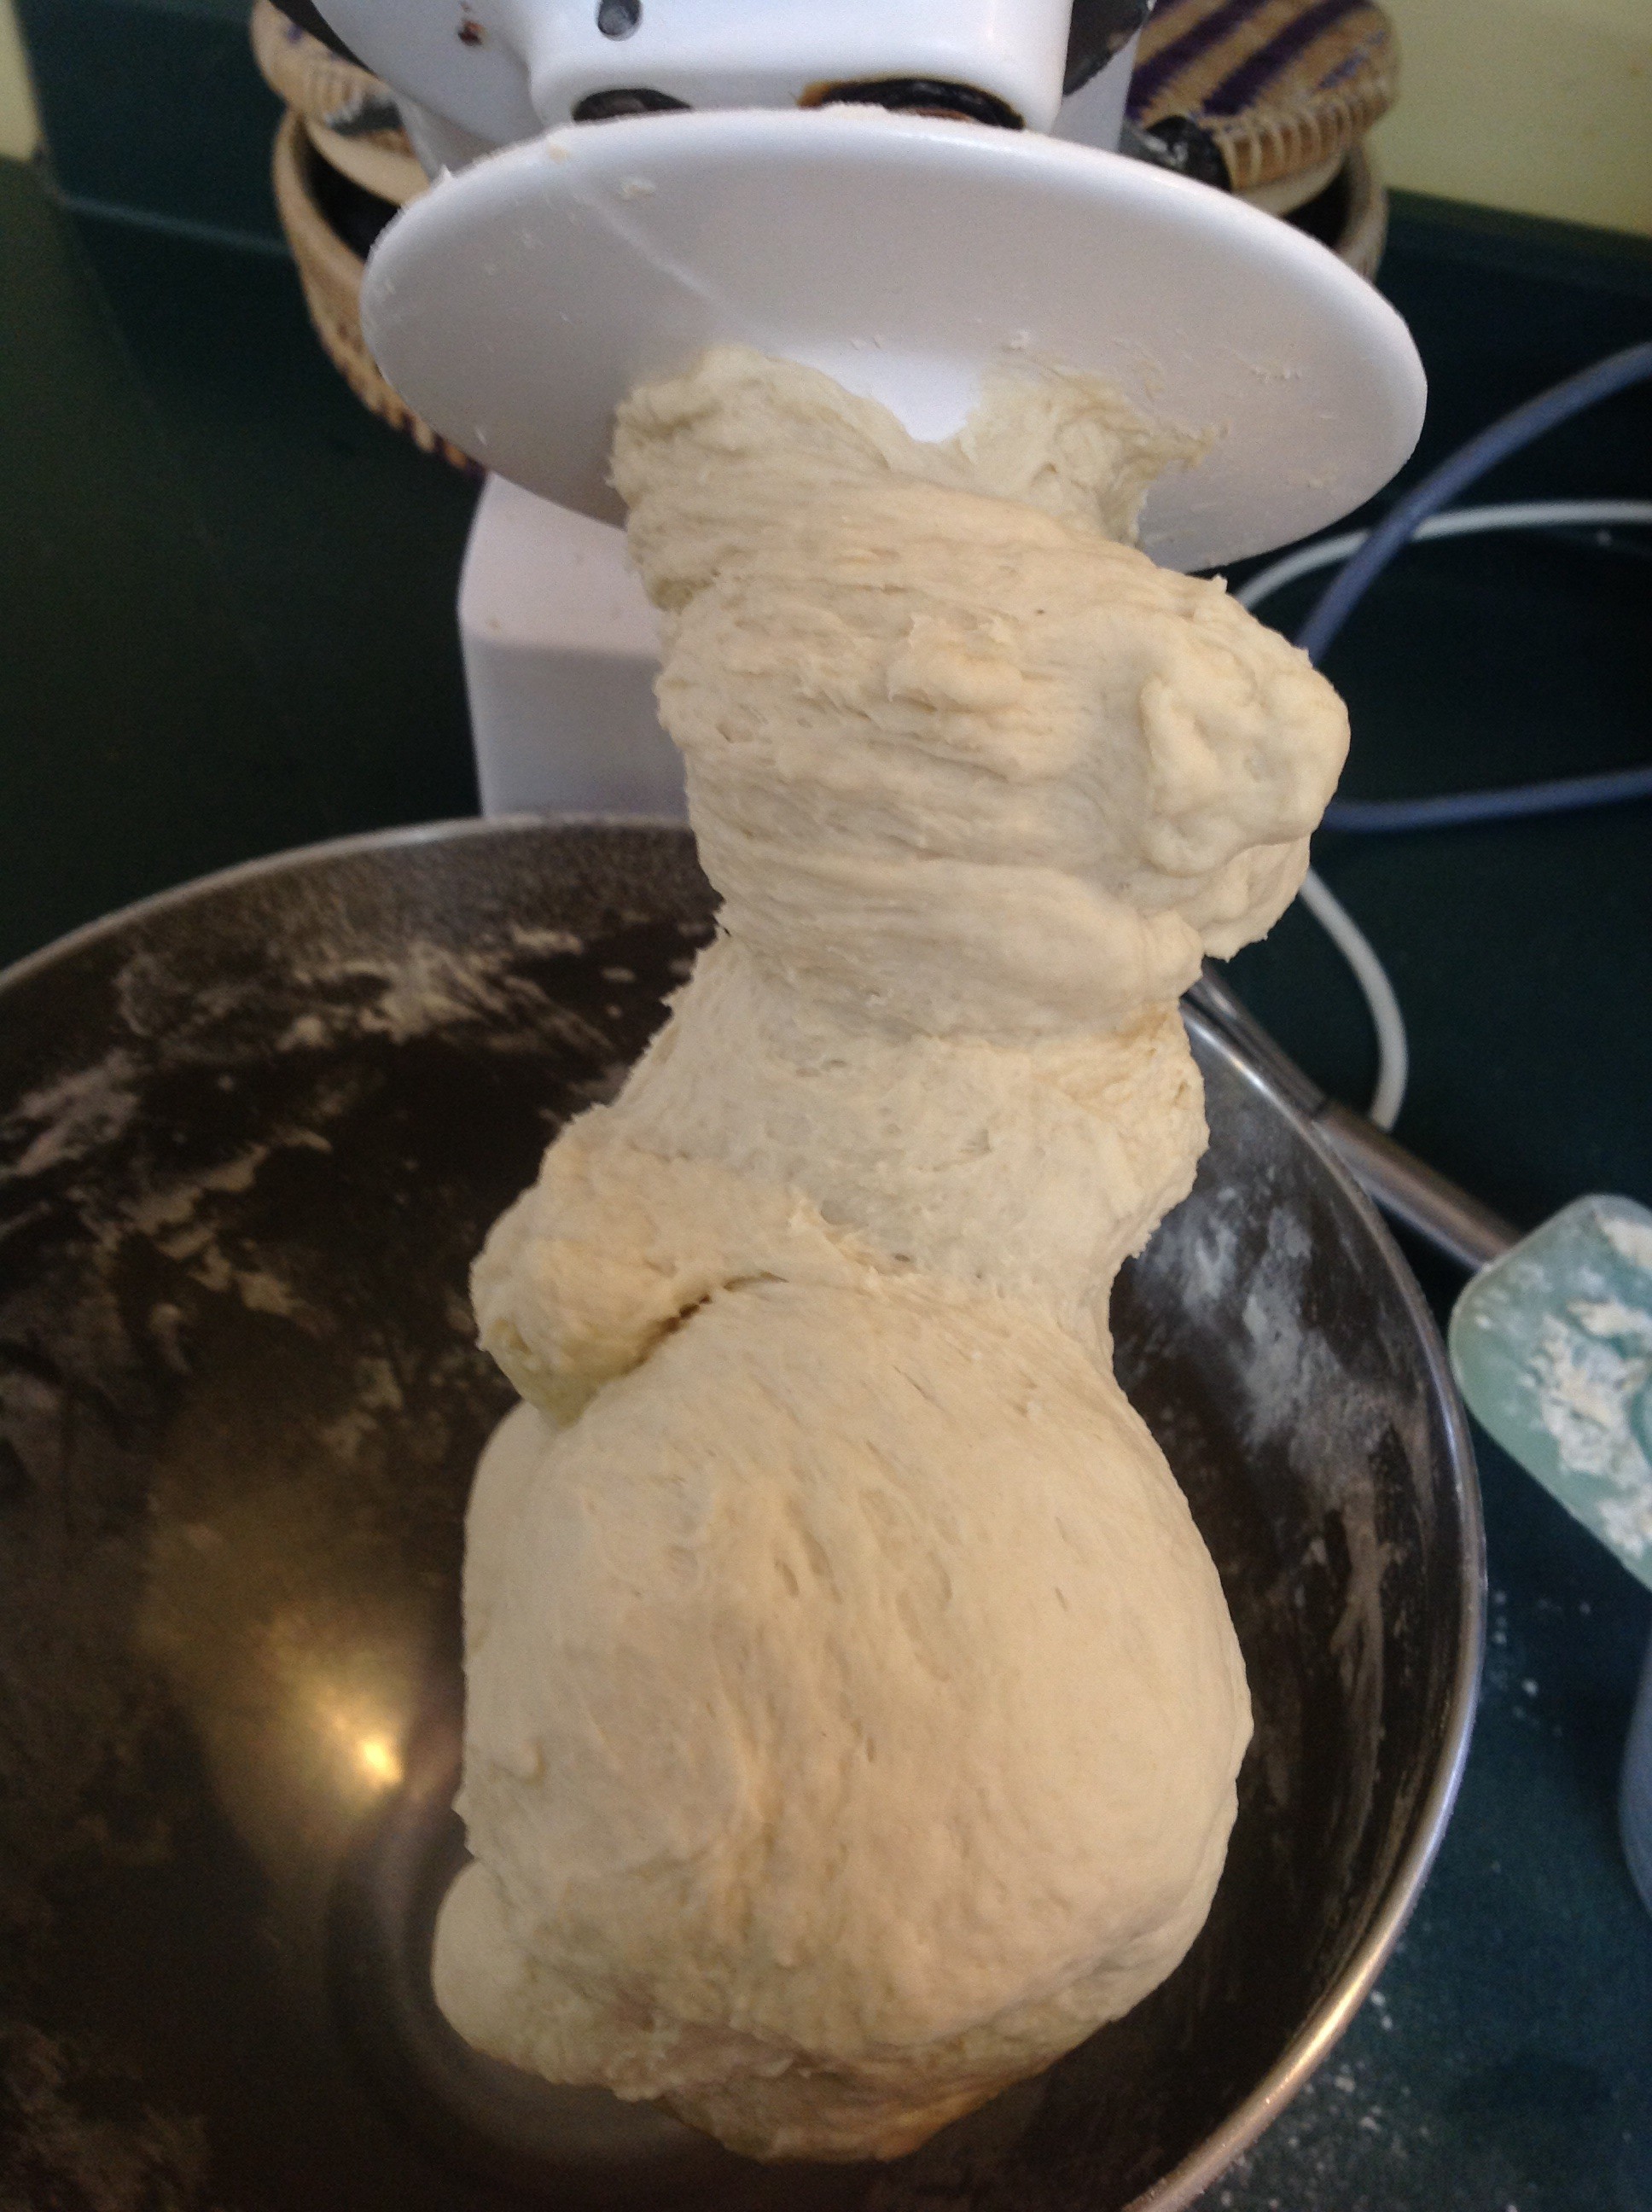
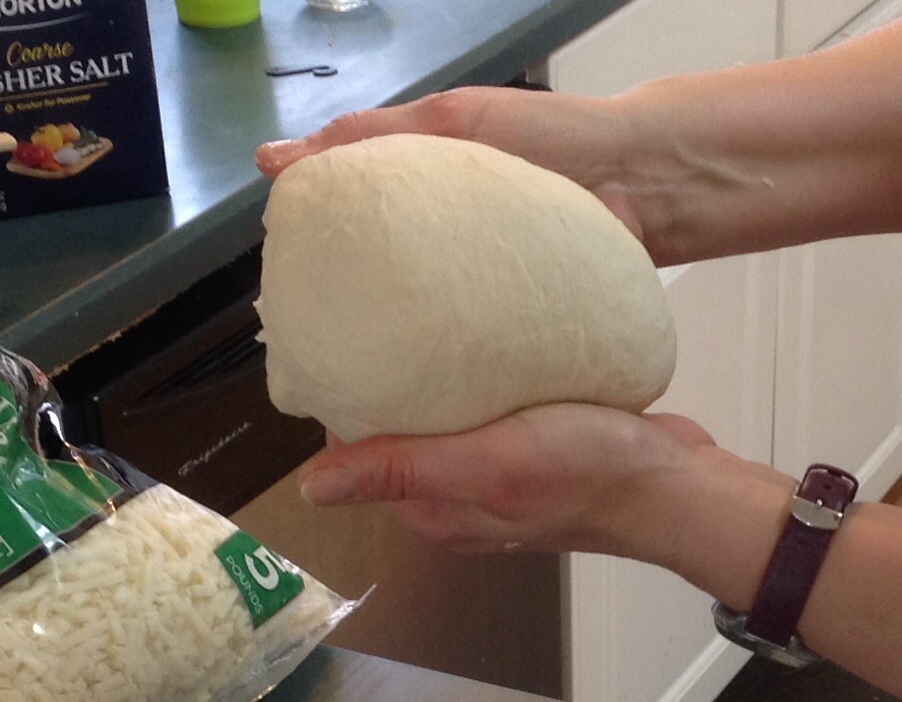
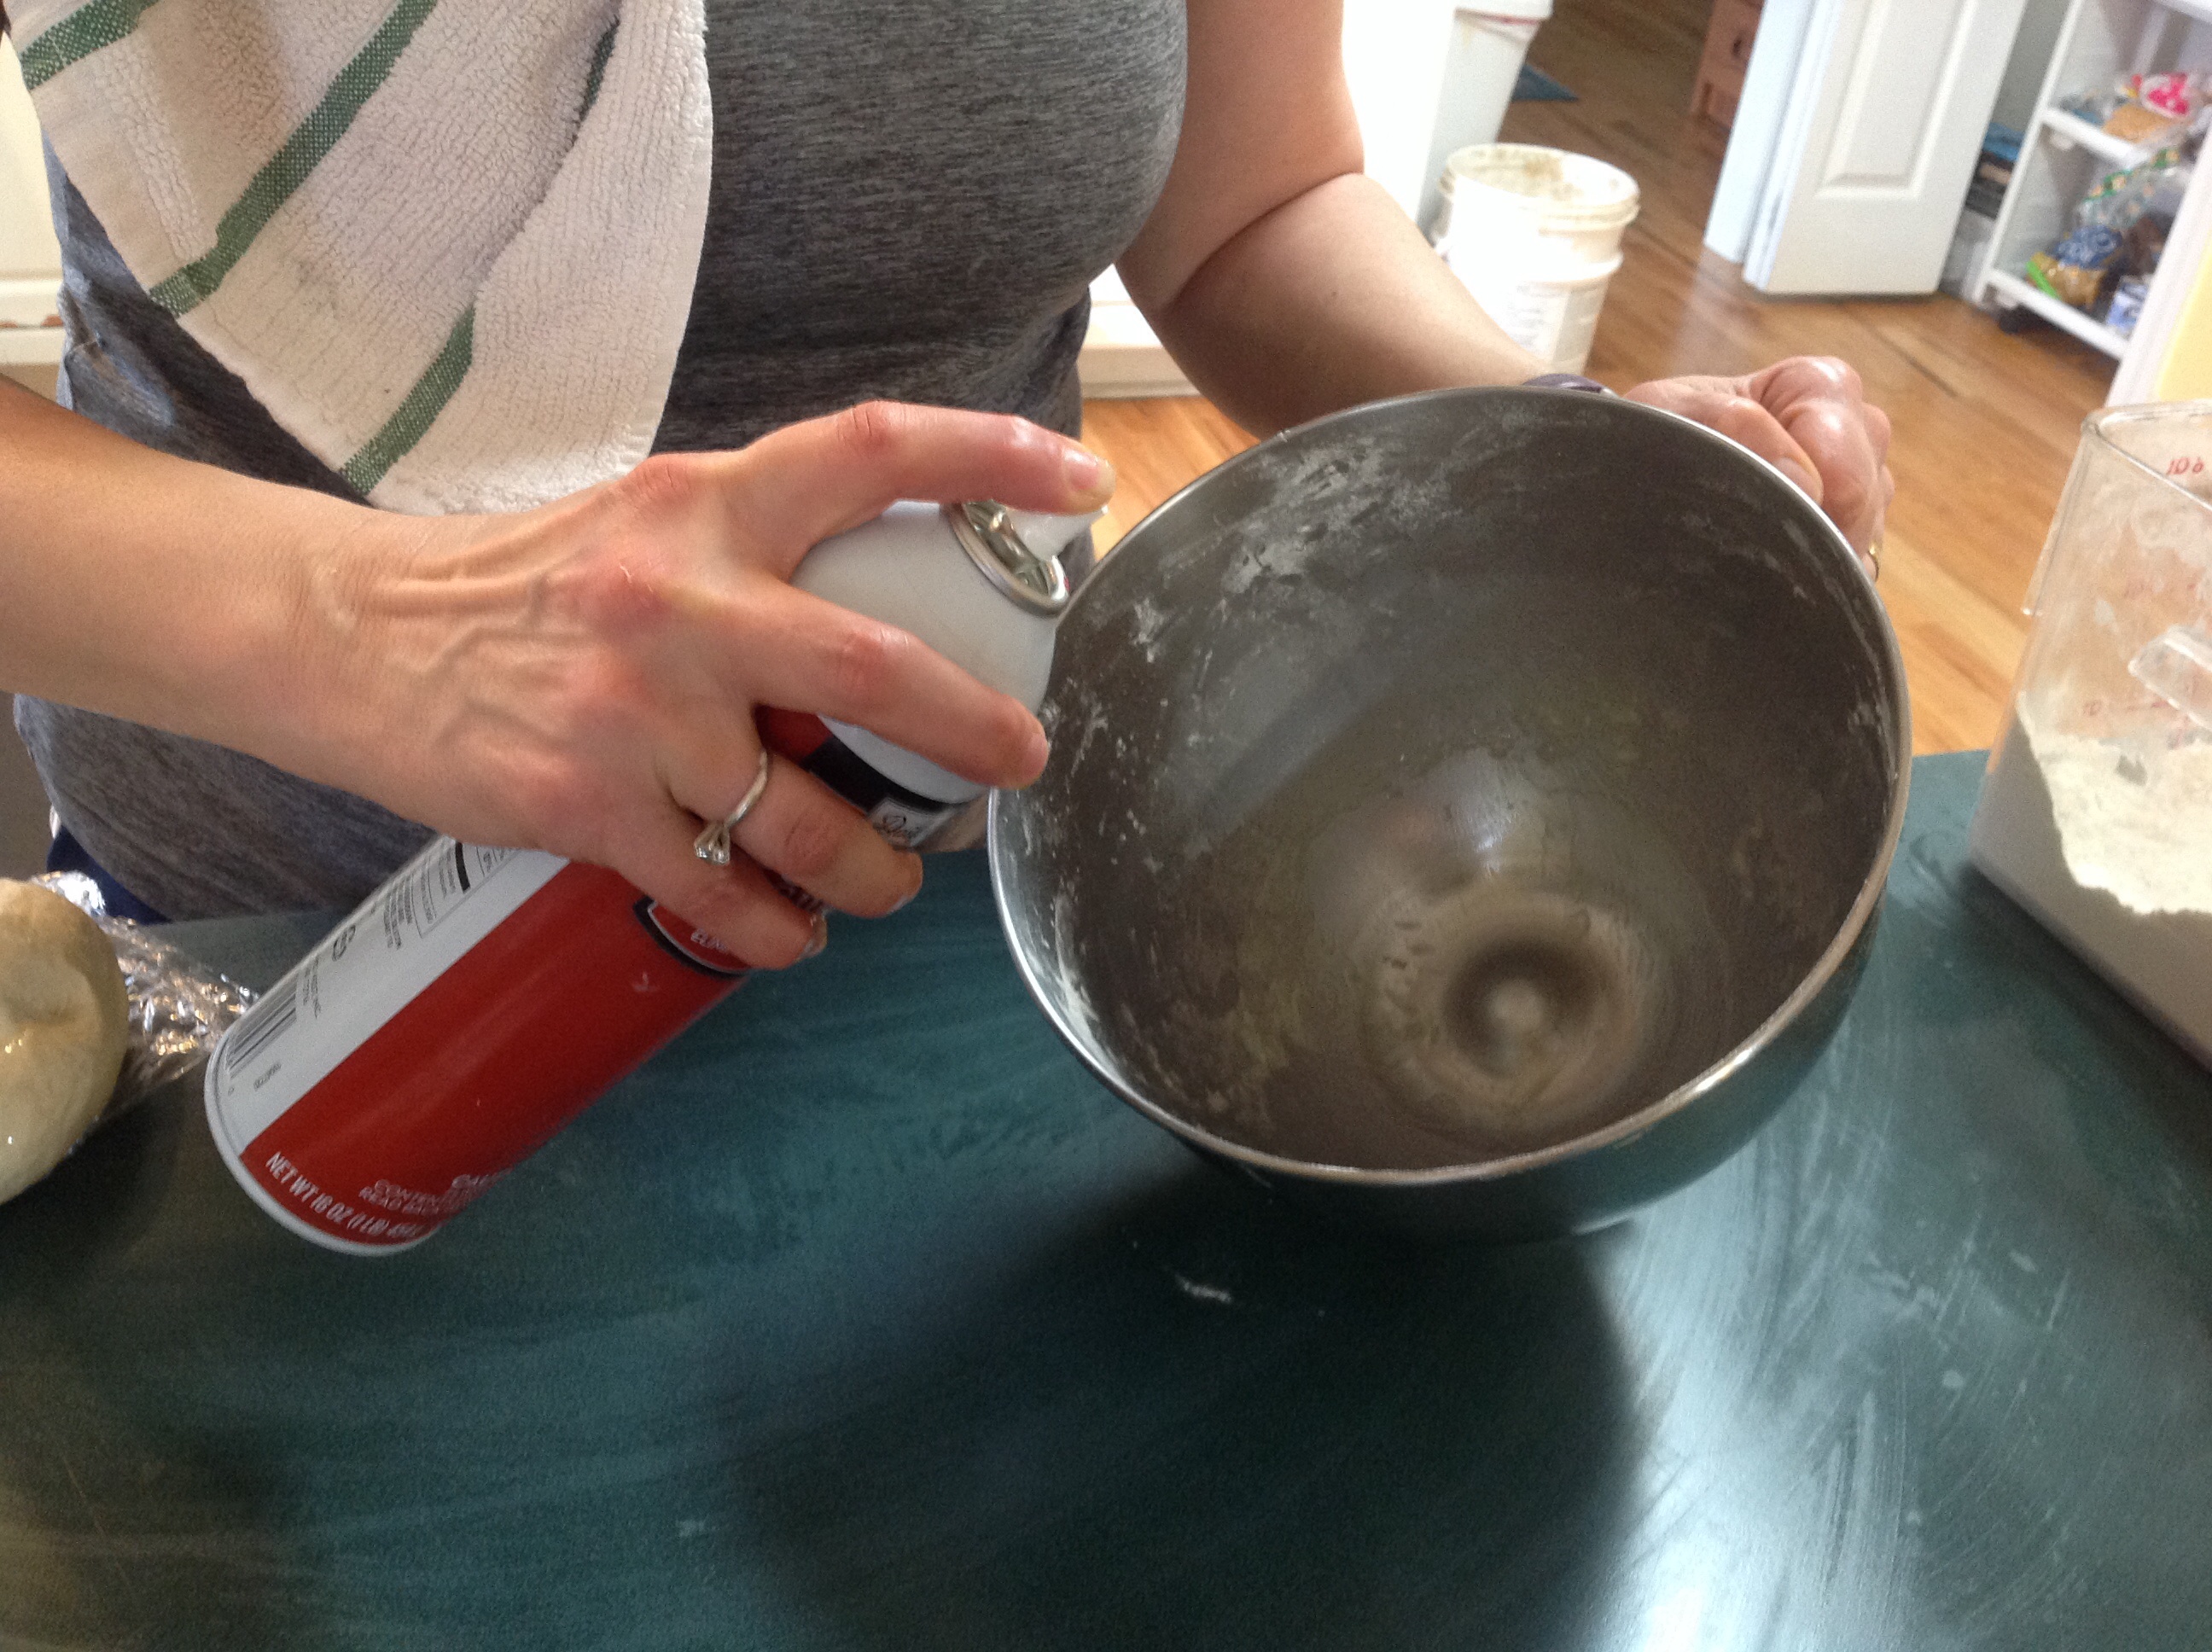
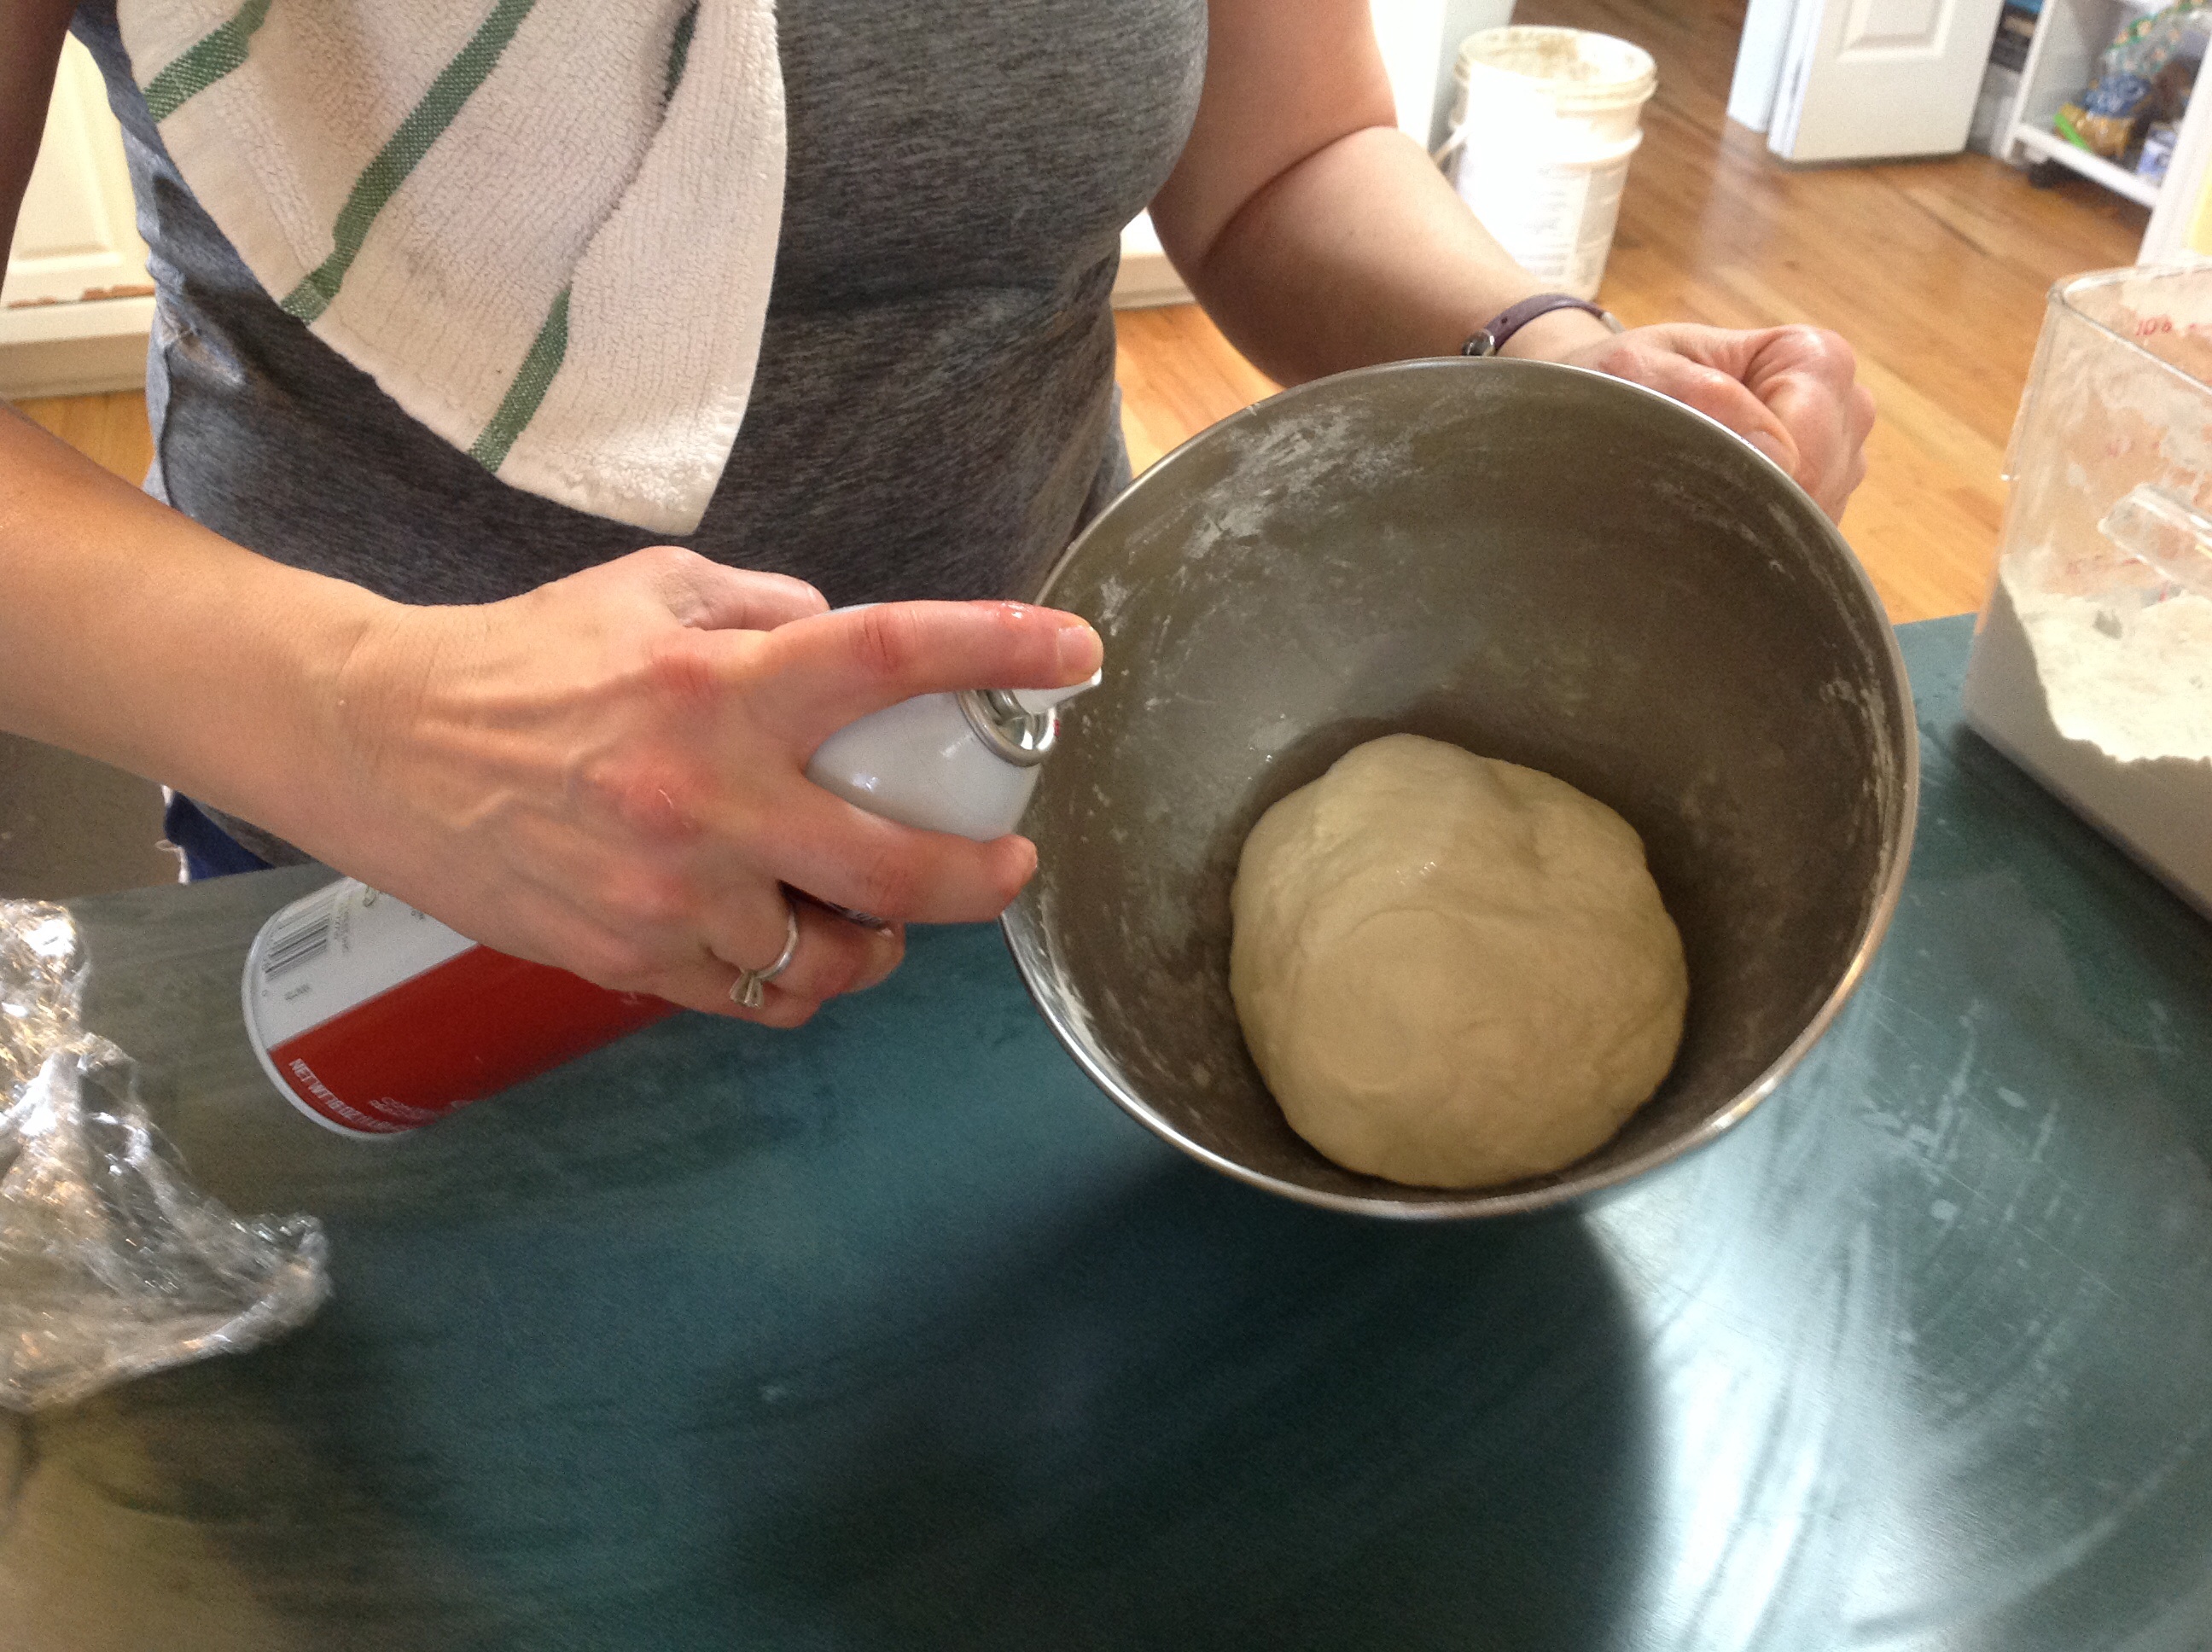
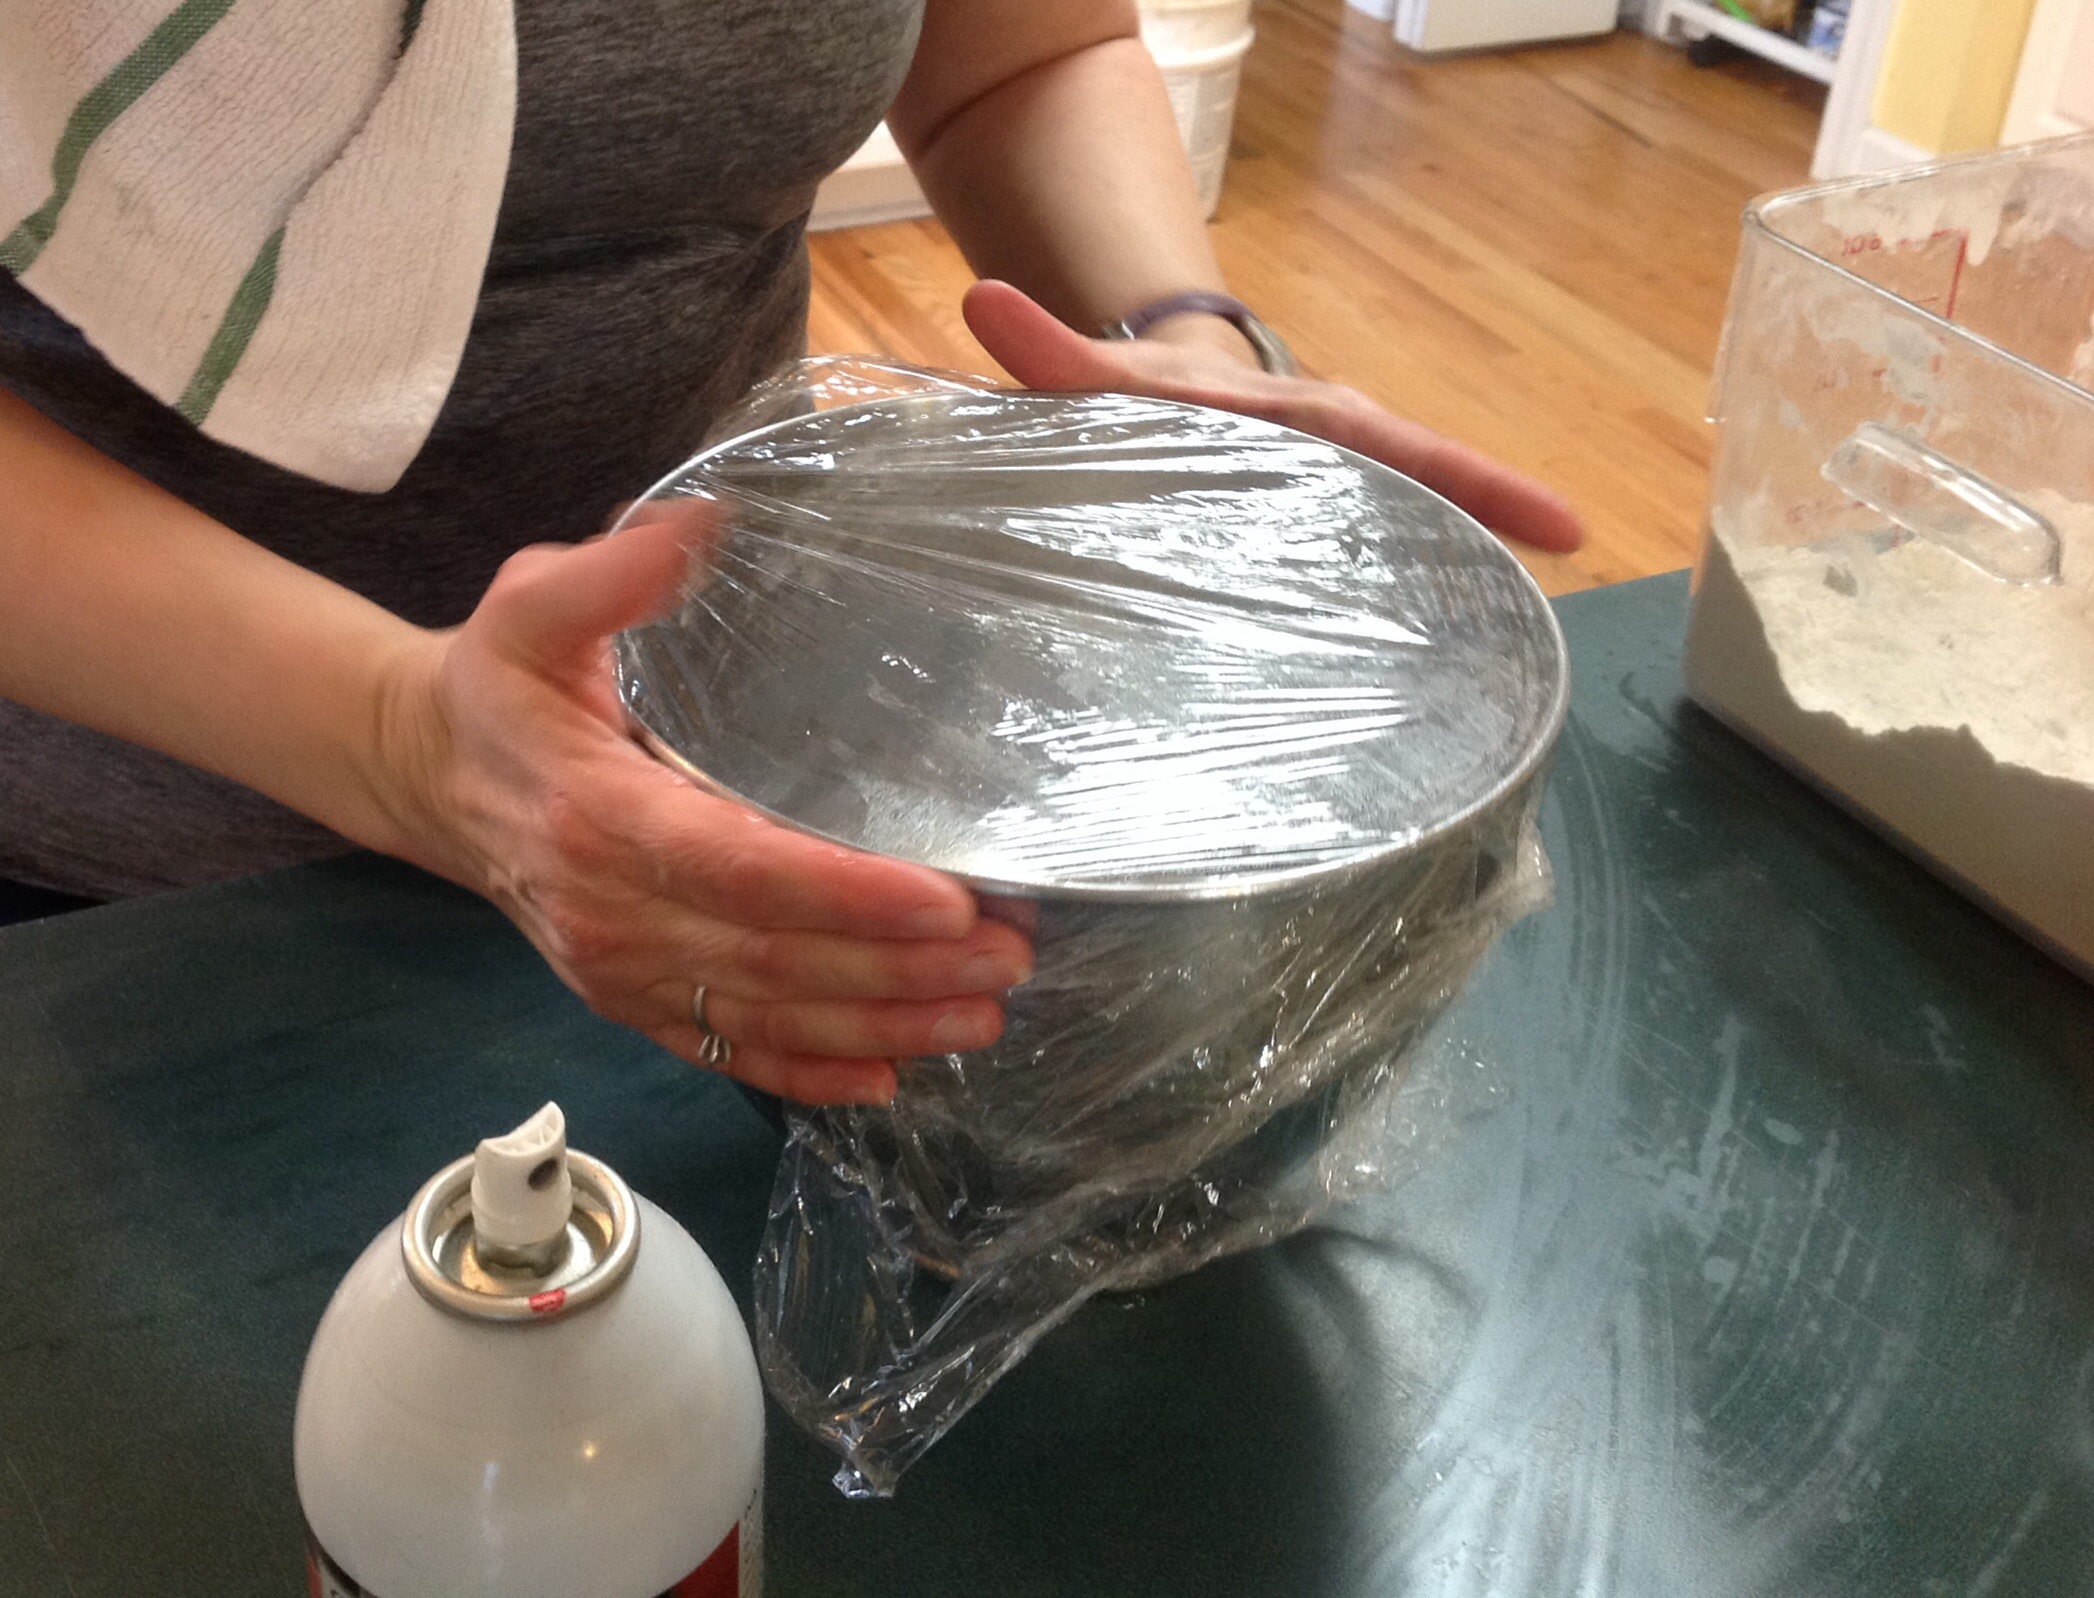
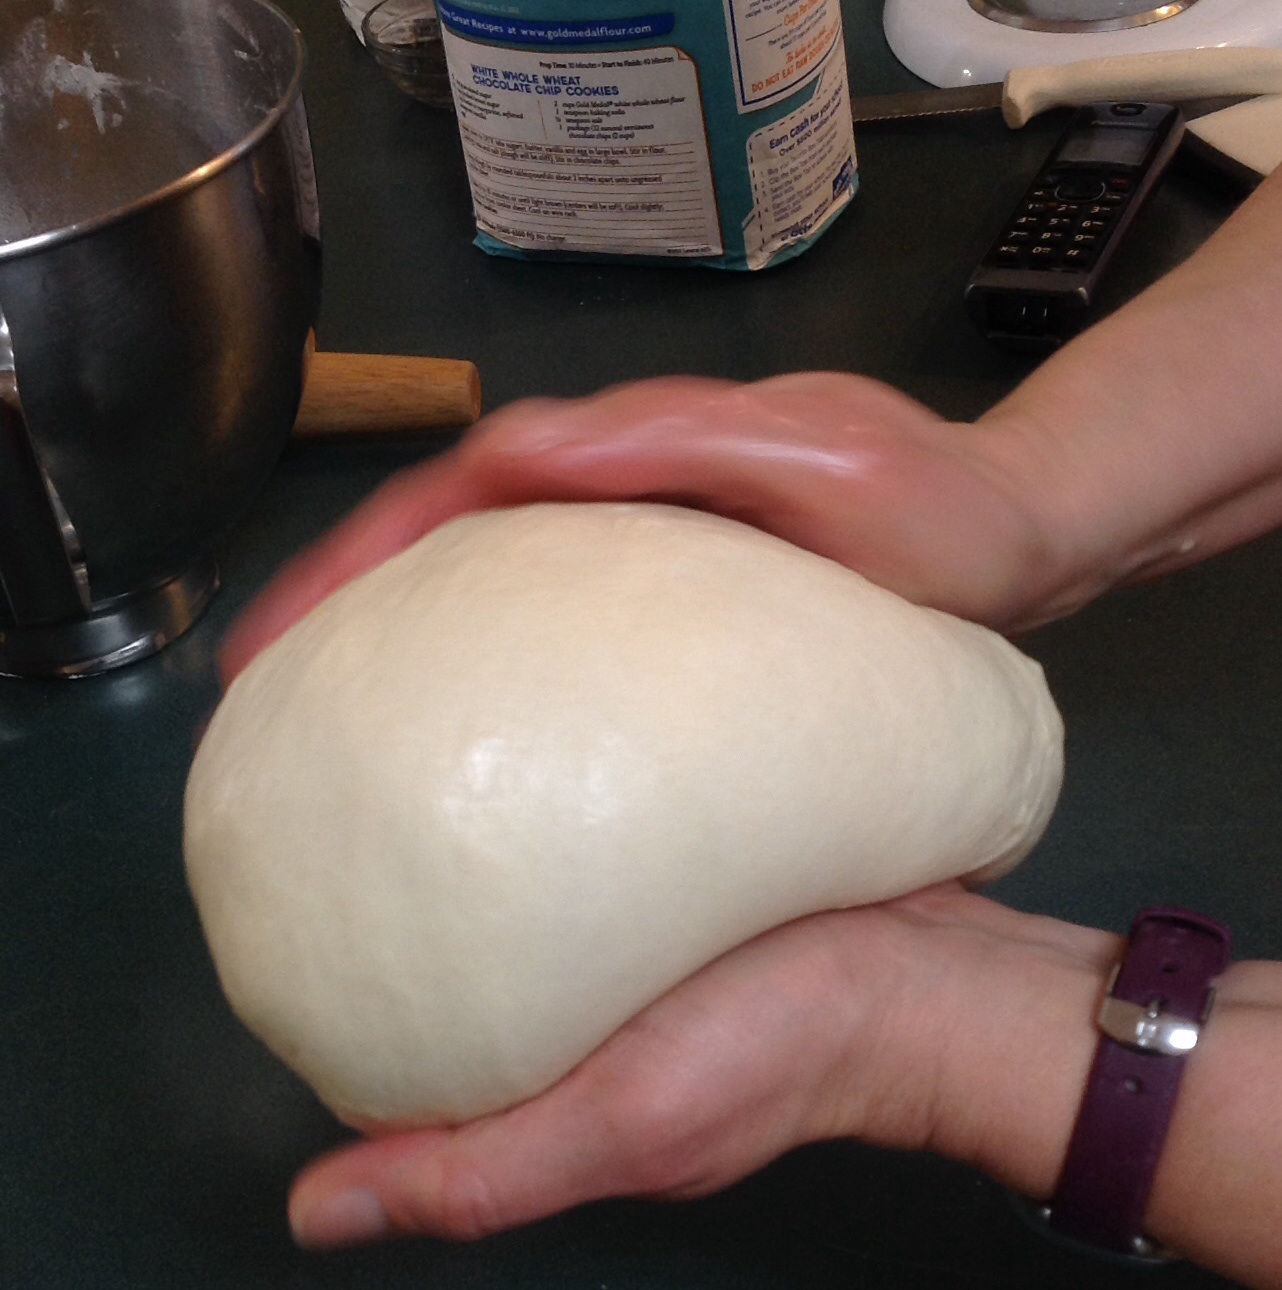
Once the dough has come together and it isn’t too sticky, let it knead in your mixer on low for 5 minutes. You know the dough is ready when it feels silky to the touch, like baby skin. Put the dough into a tight ball by turning it under into itself. To keep things simple, I plop it back into the same mixing bowl to rise, spraying the bowl and the dough with nonstick spray, and covering the bowl with plastic wrap. Set the bowl in a warm place to rise, for about 15 minutes. I use the top of my stove.
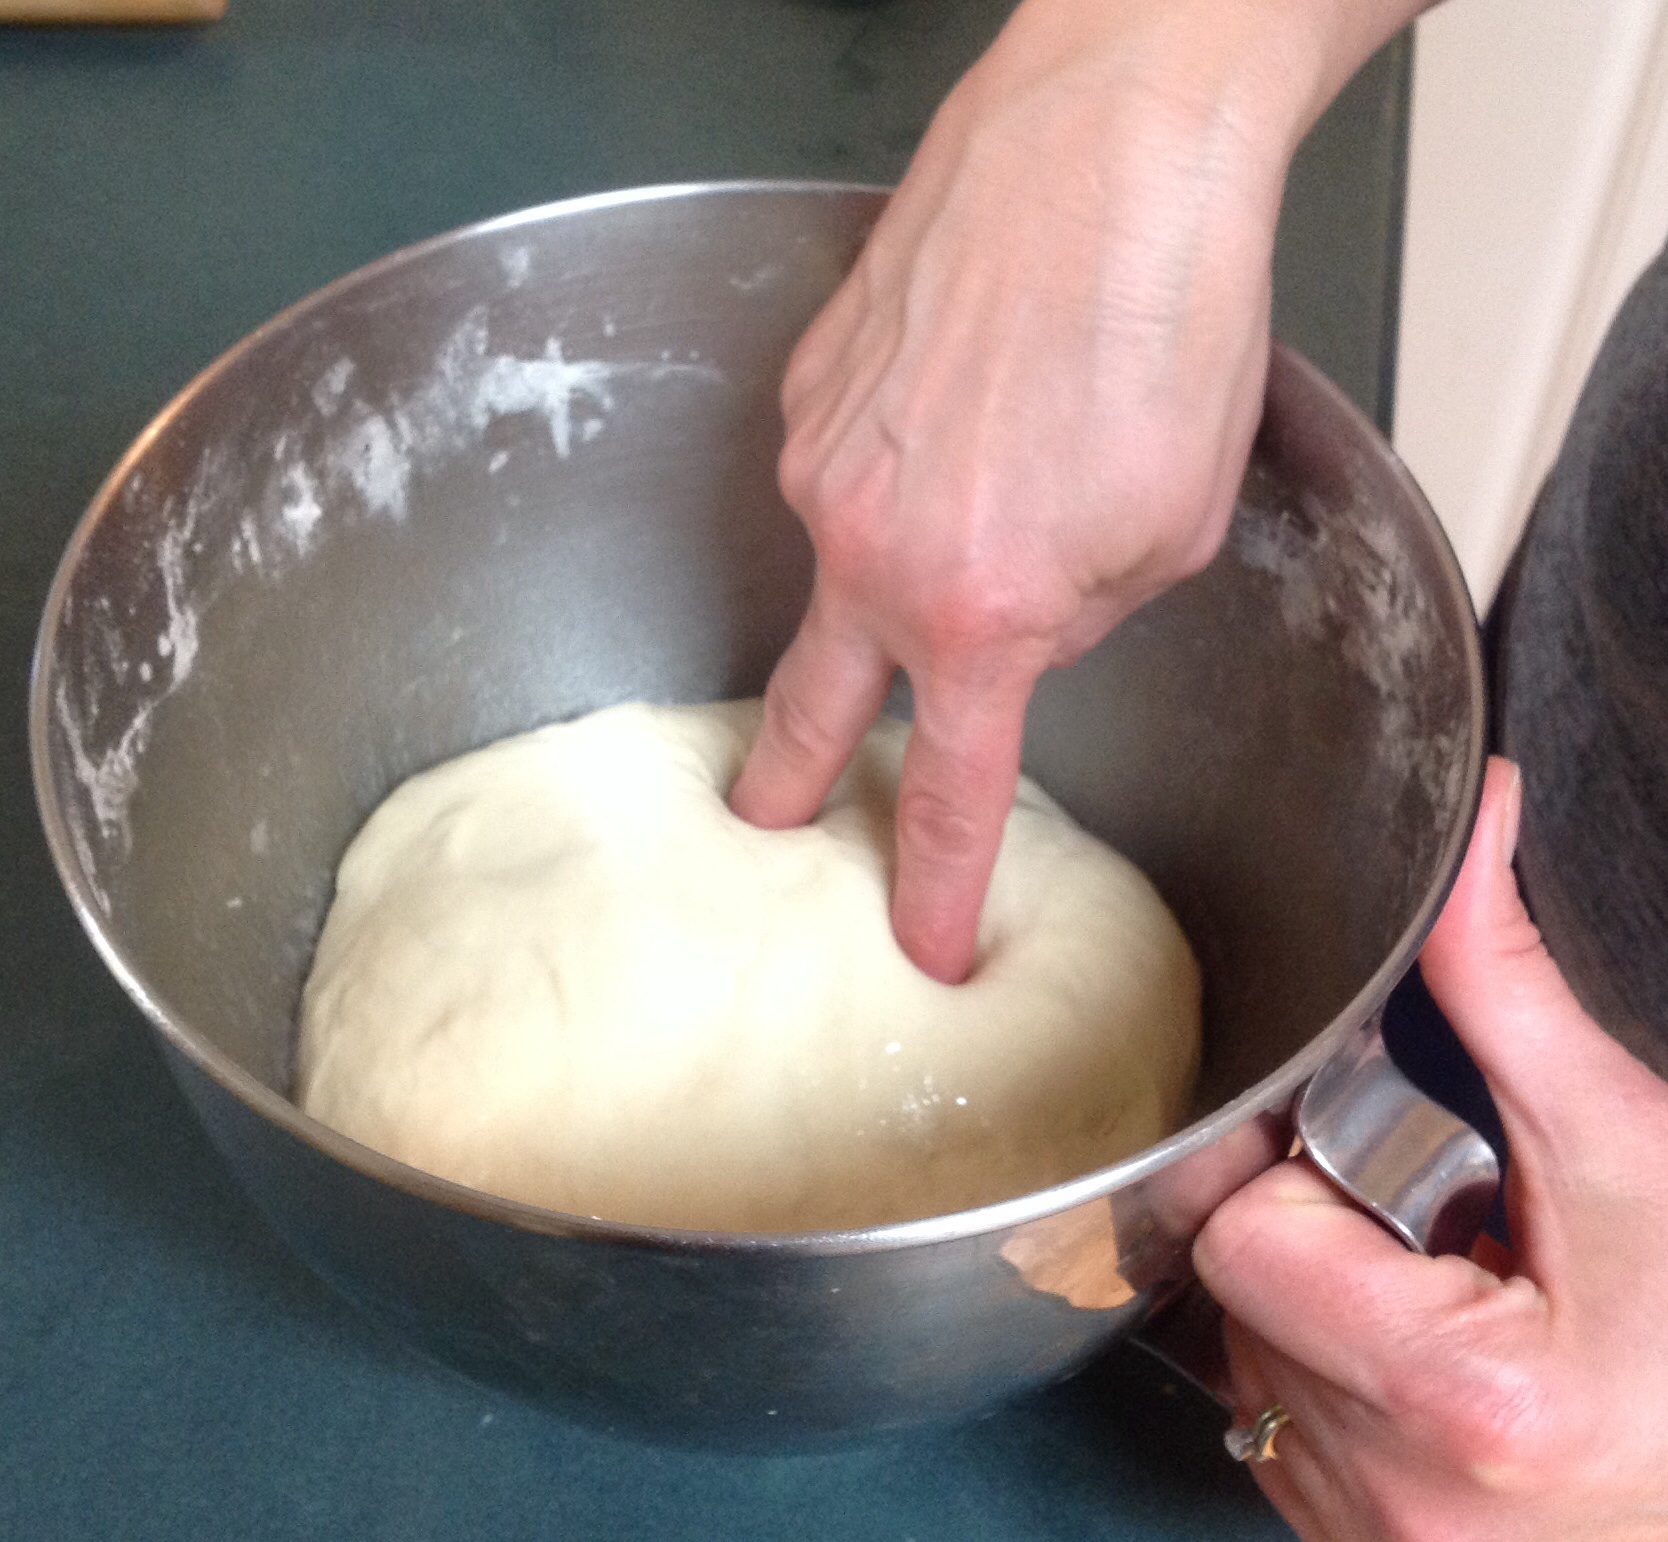
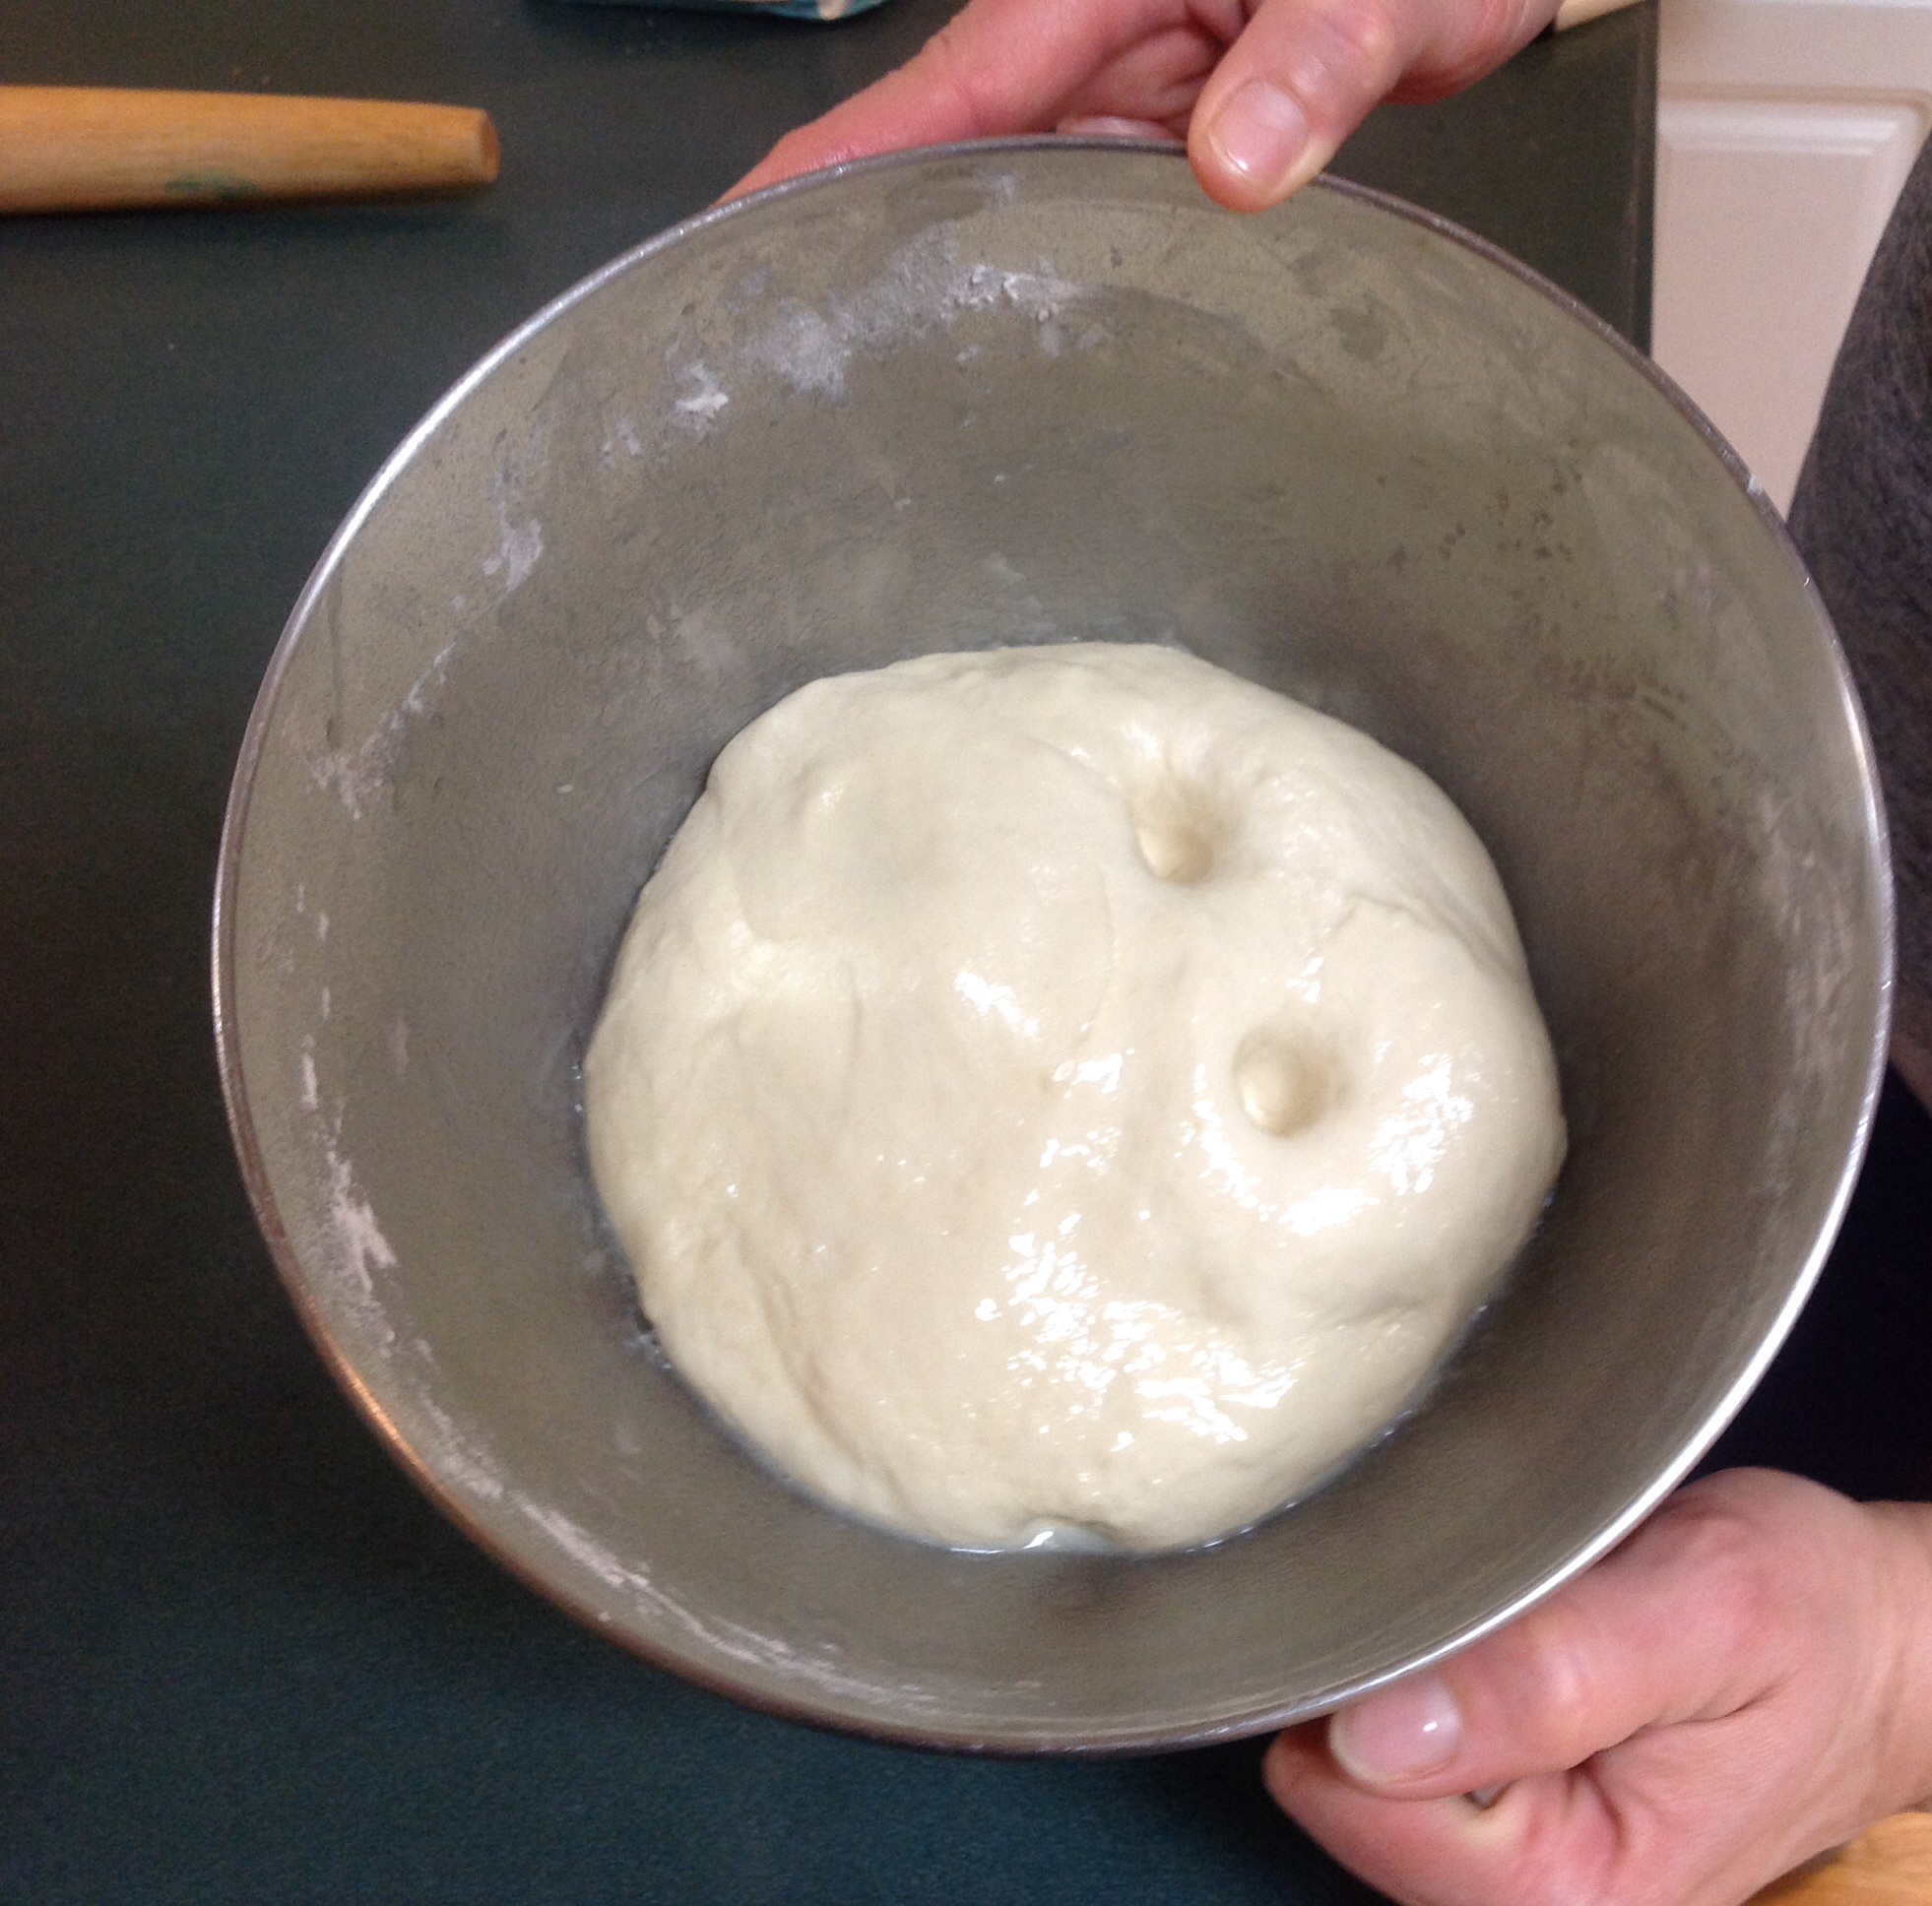
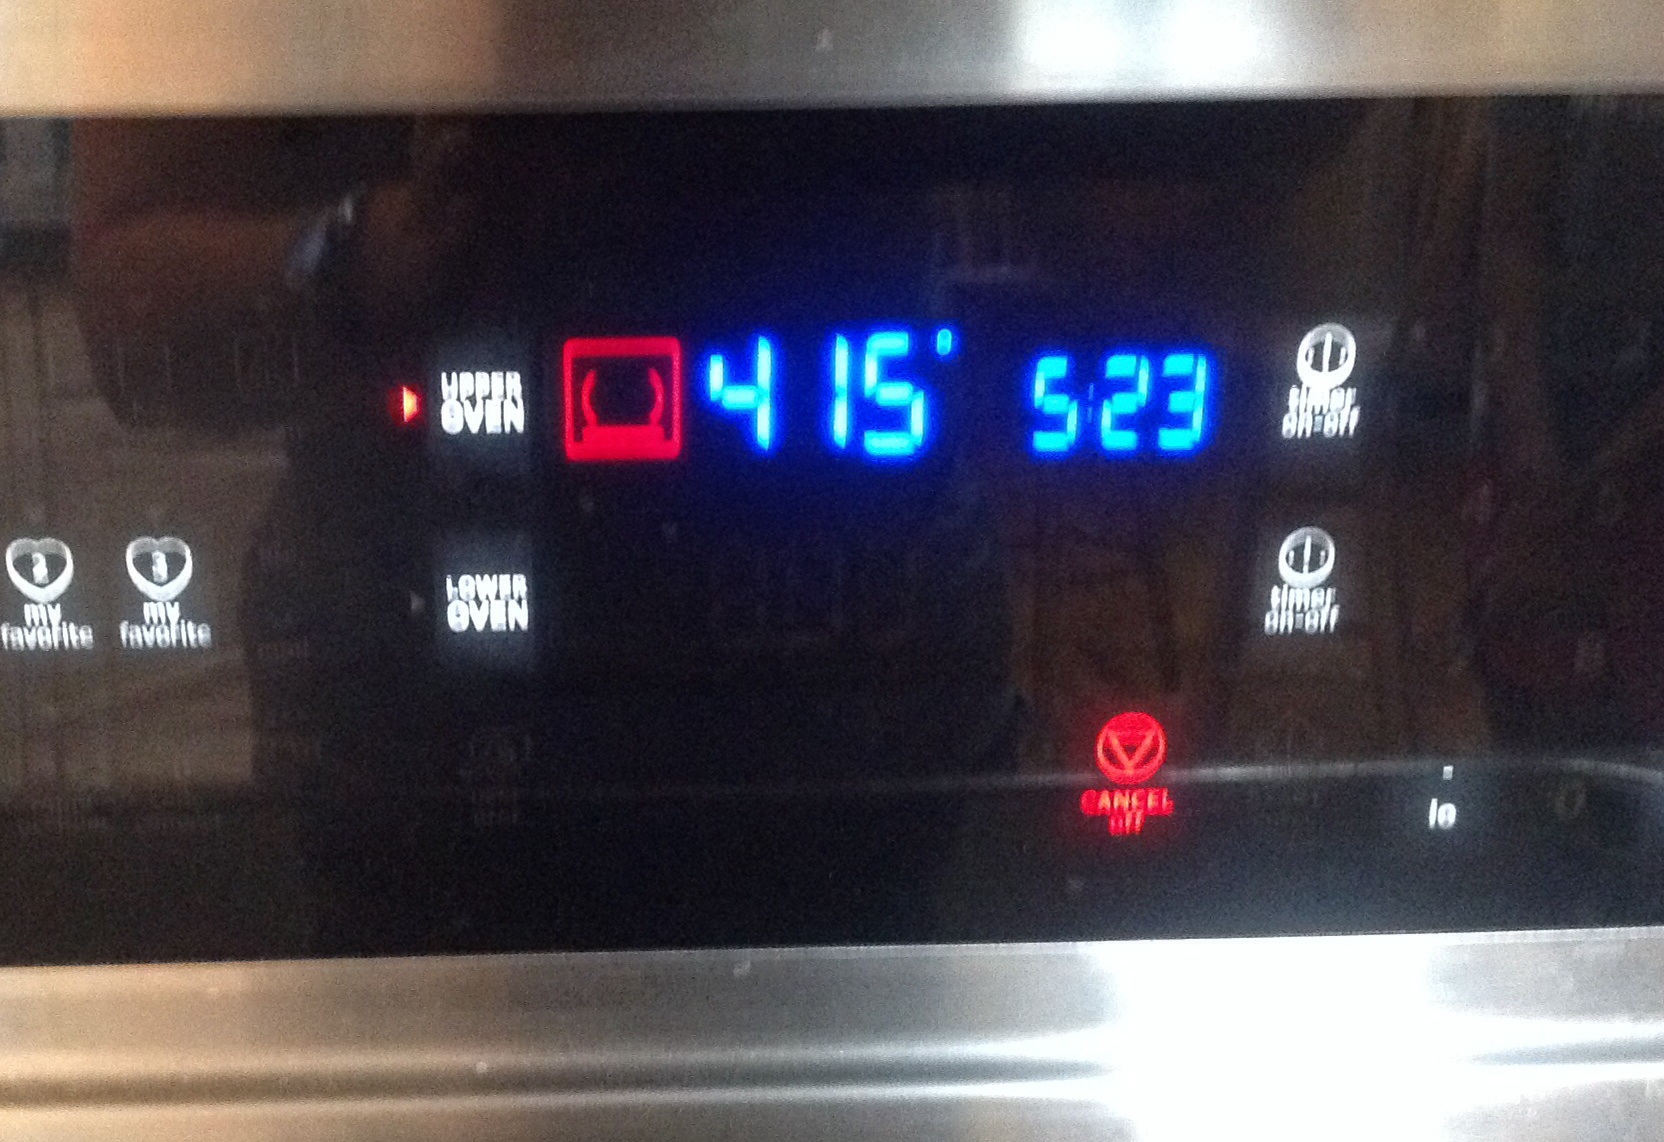
Preheat your oven to 415 degrees (you may need to adjust for your particular oven) and make sure your rack is in the center. While your dough is rising, you can get your favorite toppings ready. After 15 minutes, check to see if your dough has risen enough. It won’t quite double in size, but it should be noticeably puffier. When you stick your fingers in it, it should easily leave a nice indention. If it’s not quite ready, recover and give it another five or ten minutes. The warmer the area, the quicker the rise. But if you put it in a hot place, you can kill the yeast.
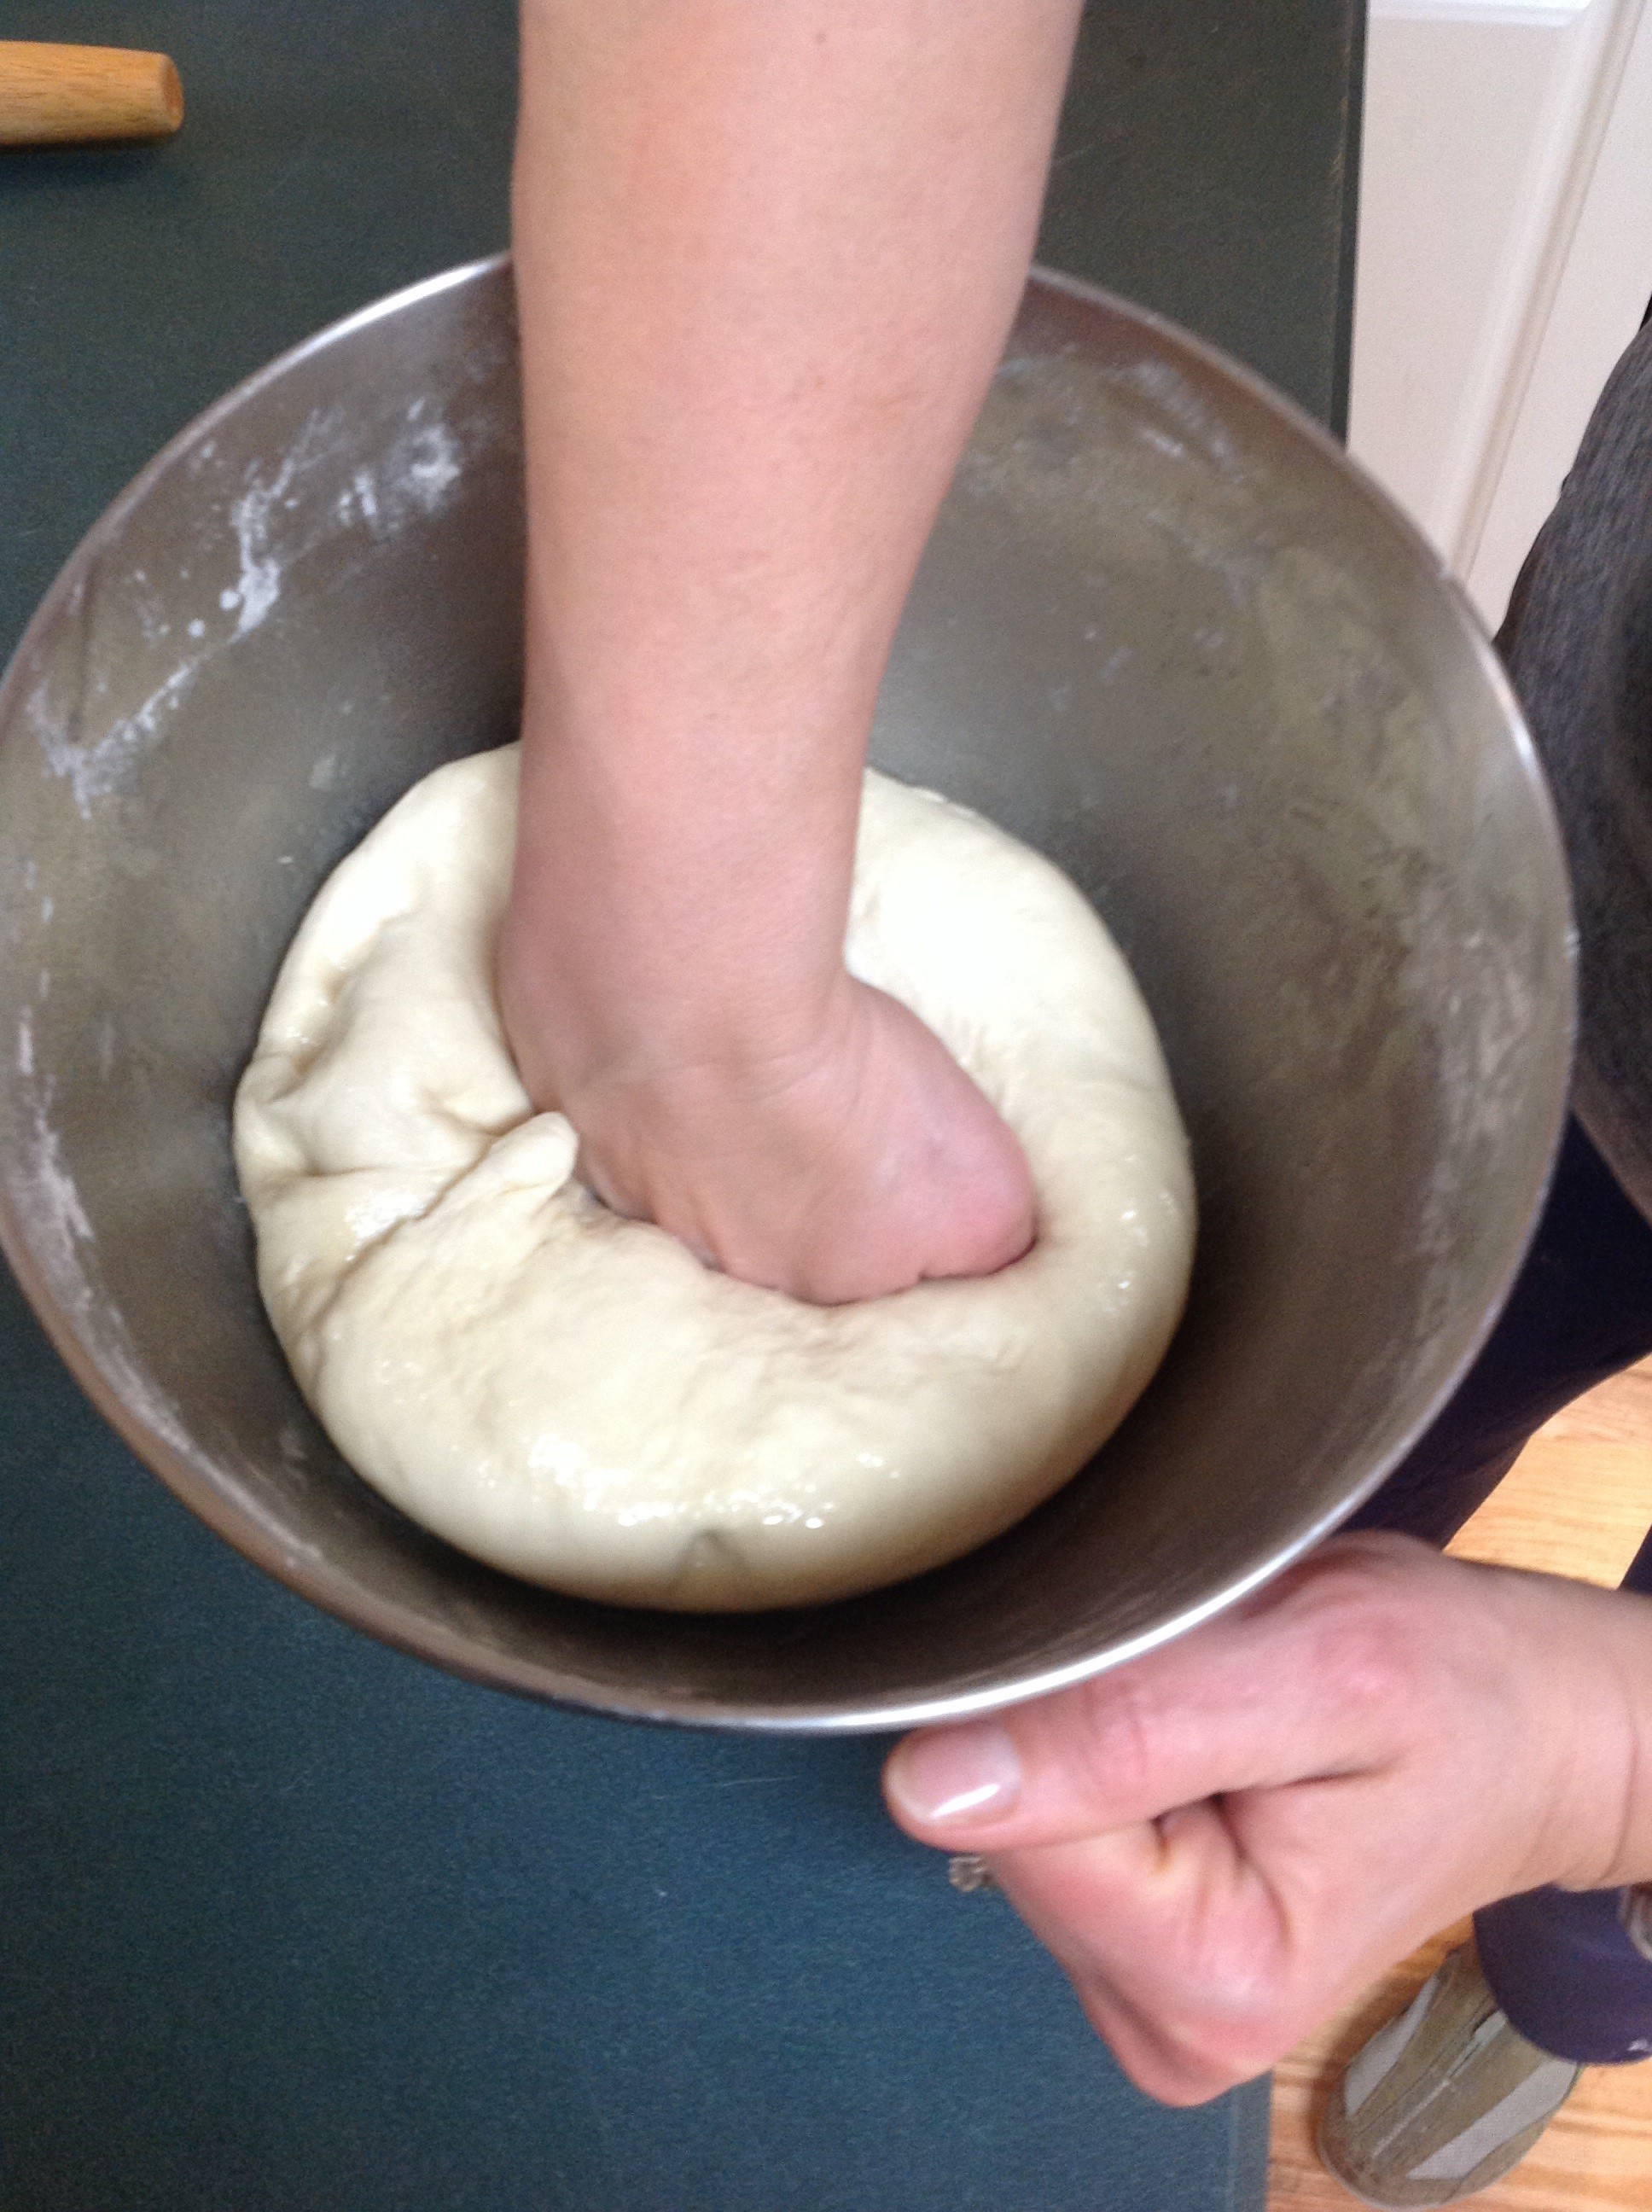
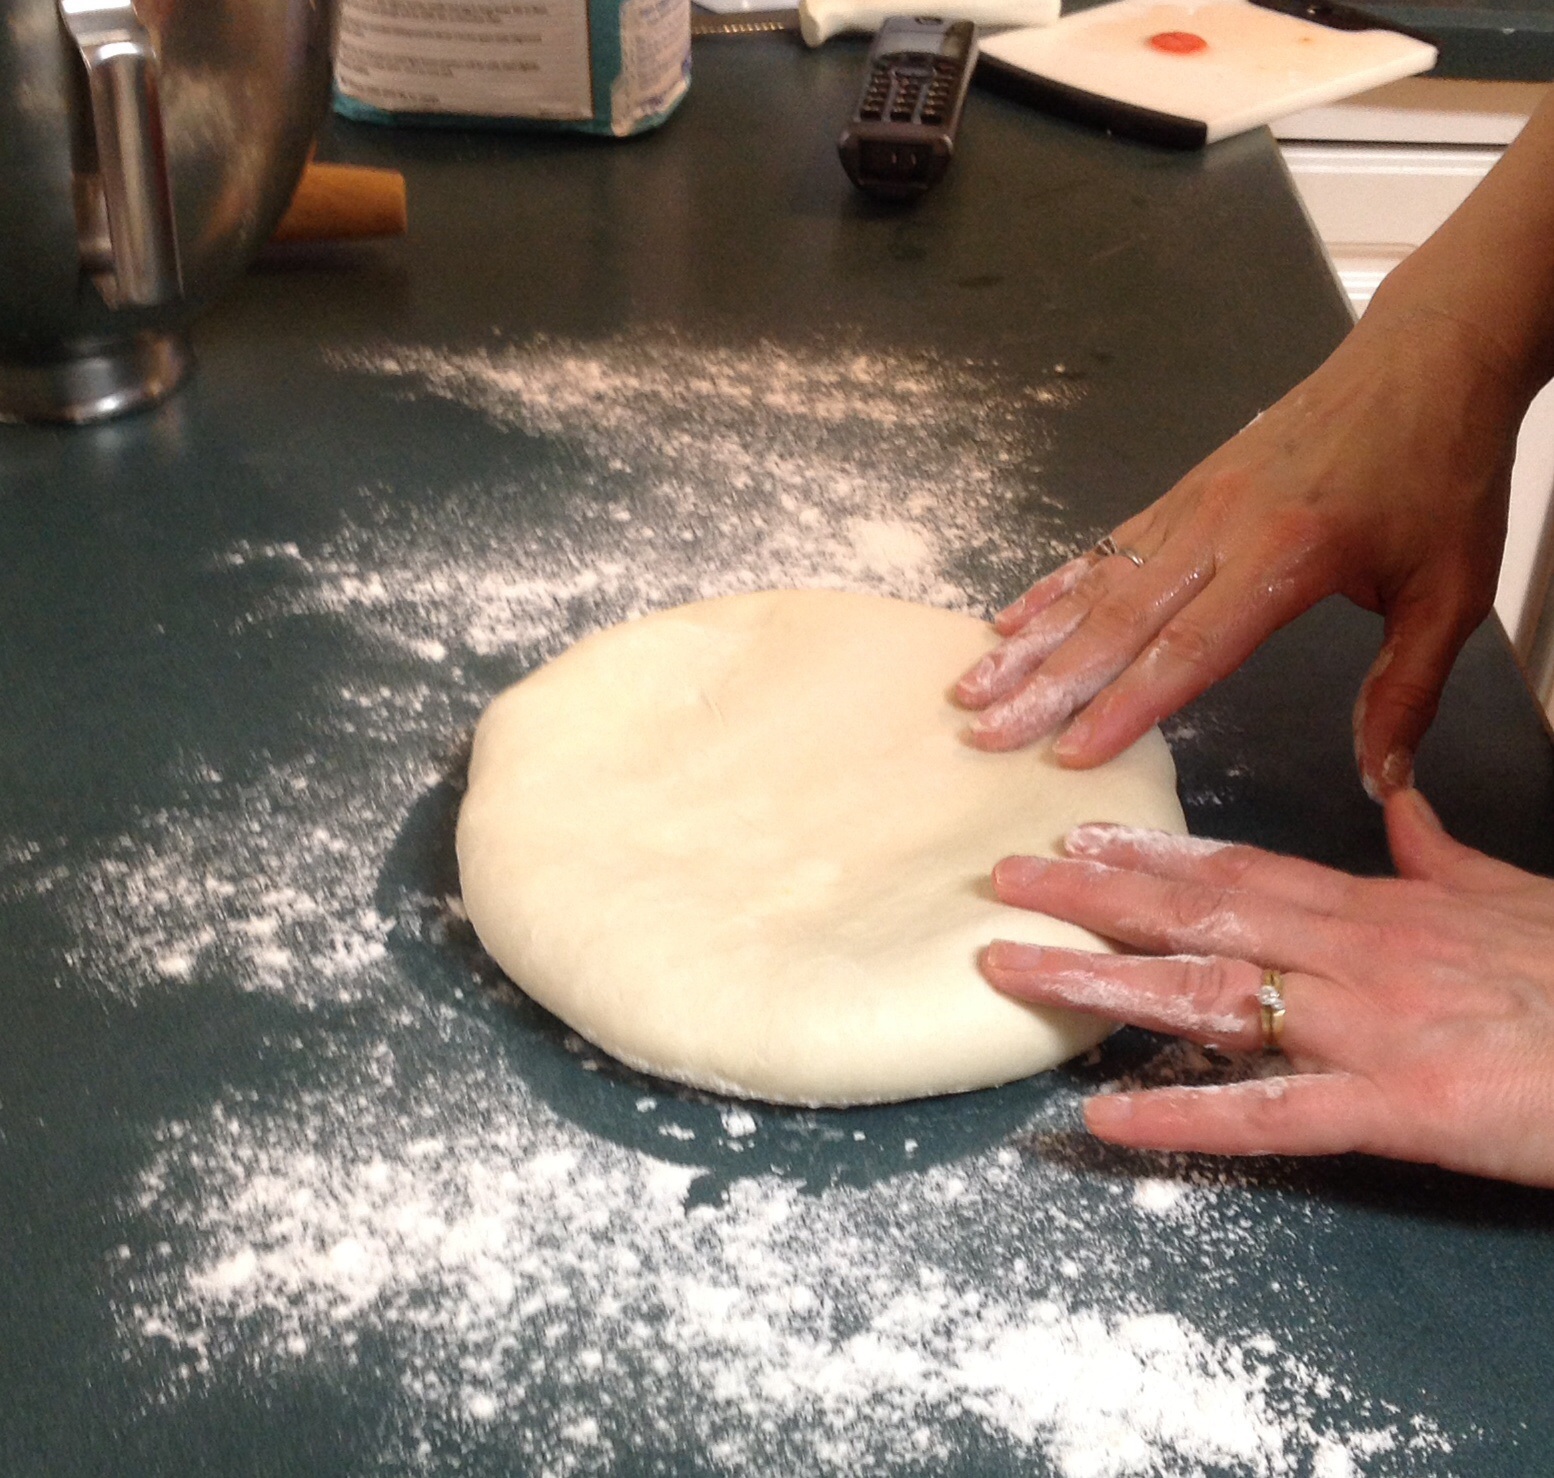
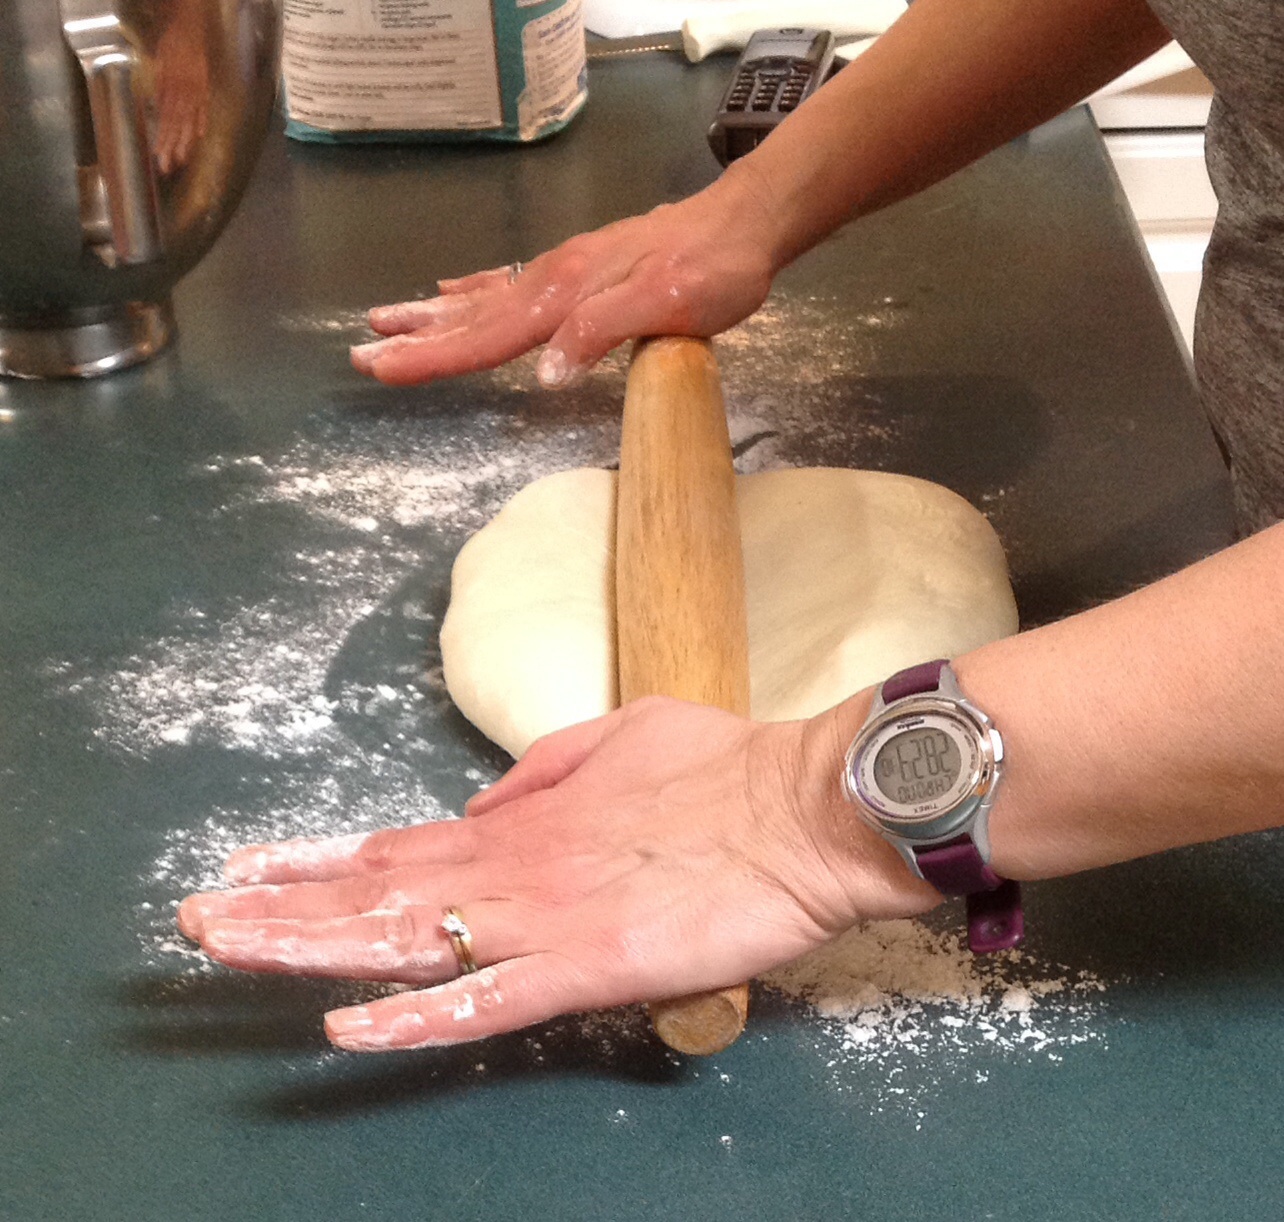
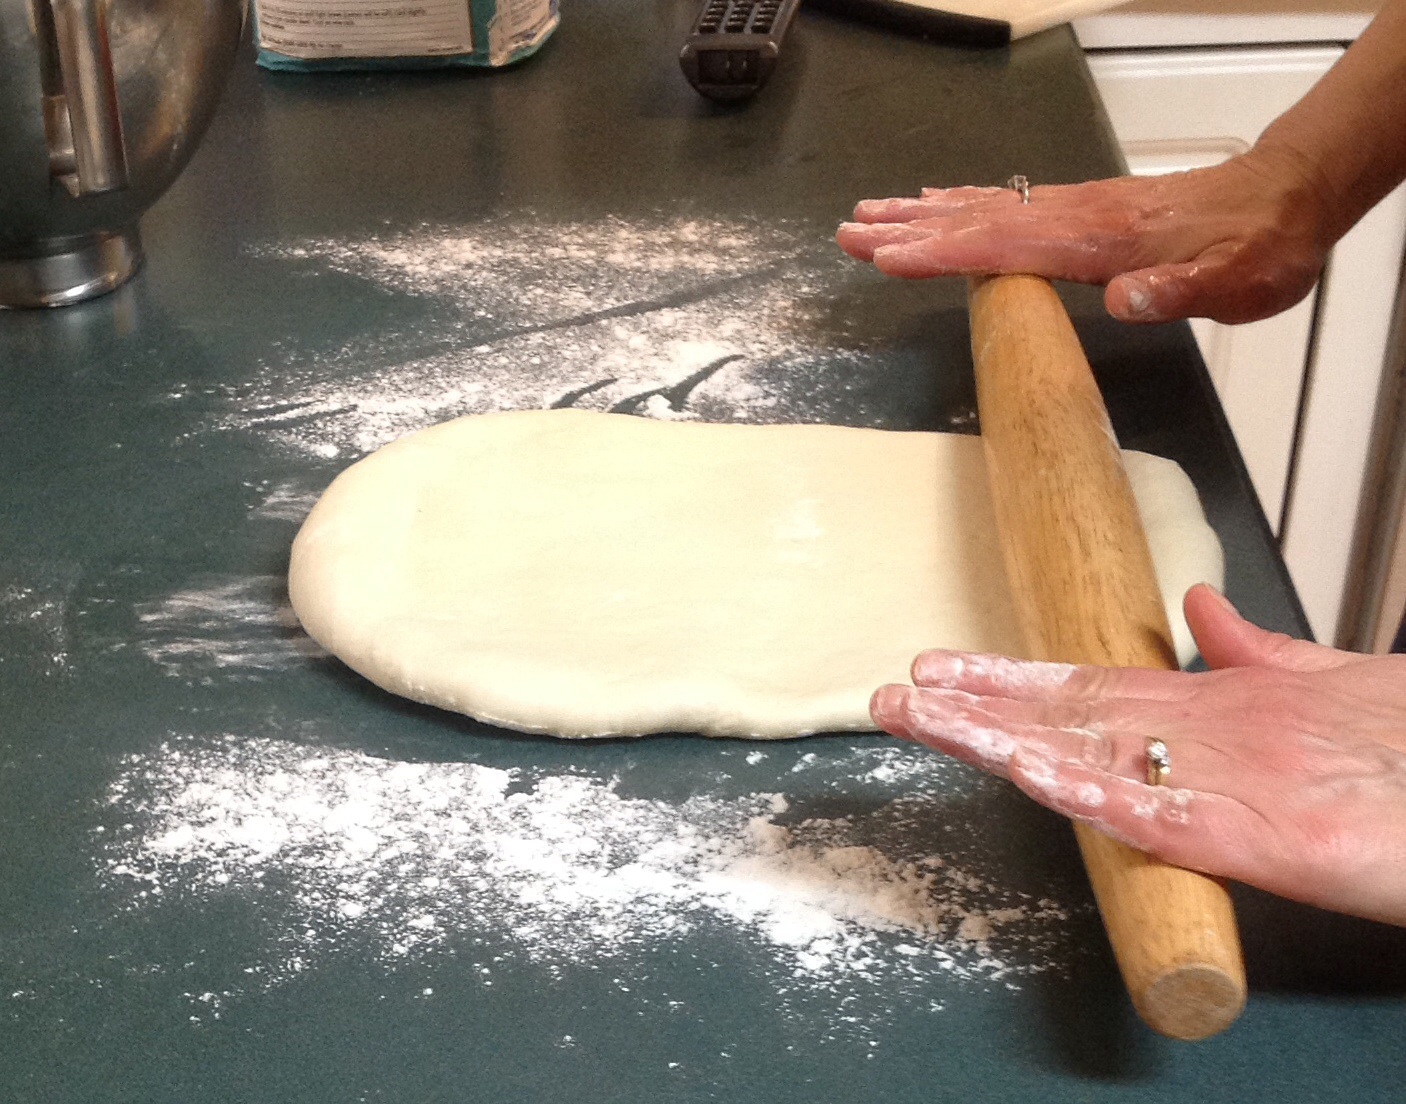
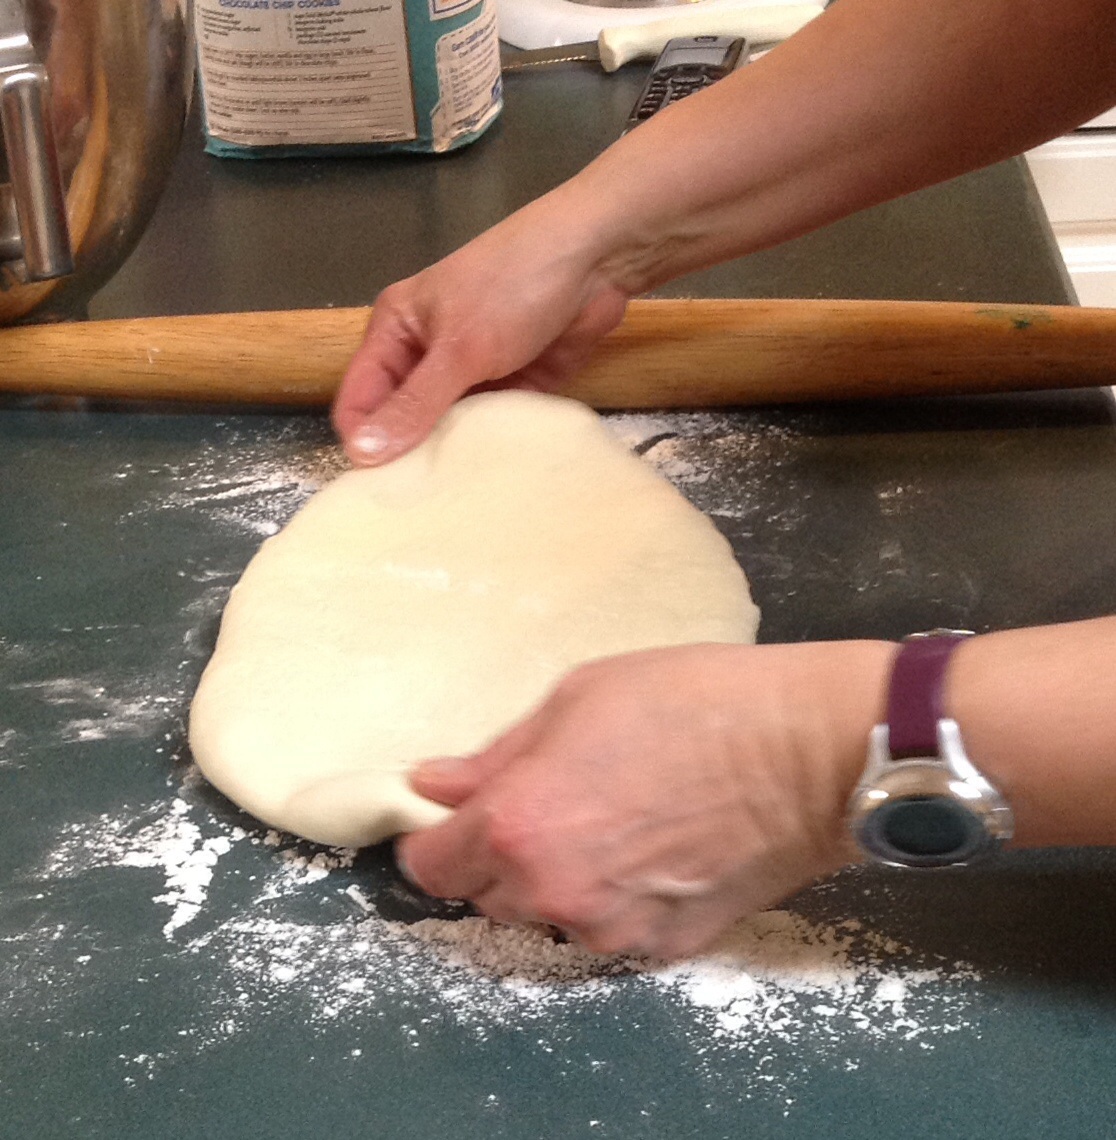
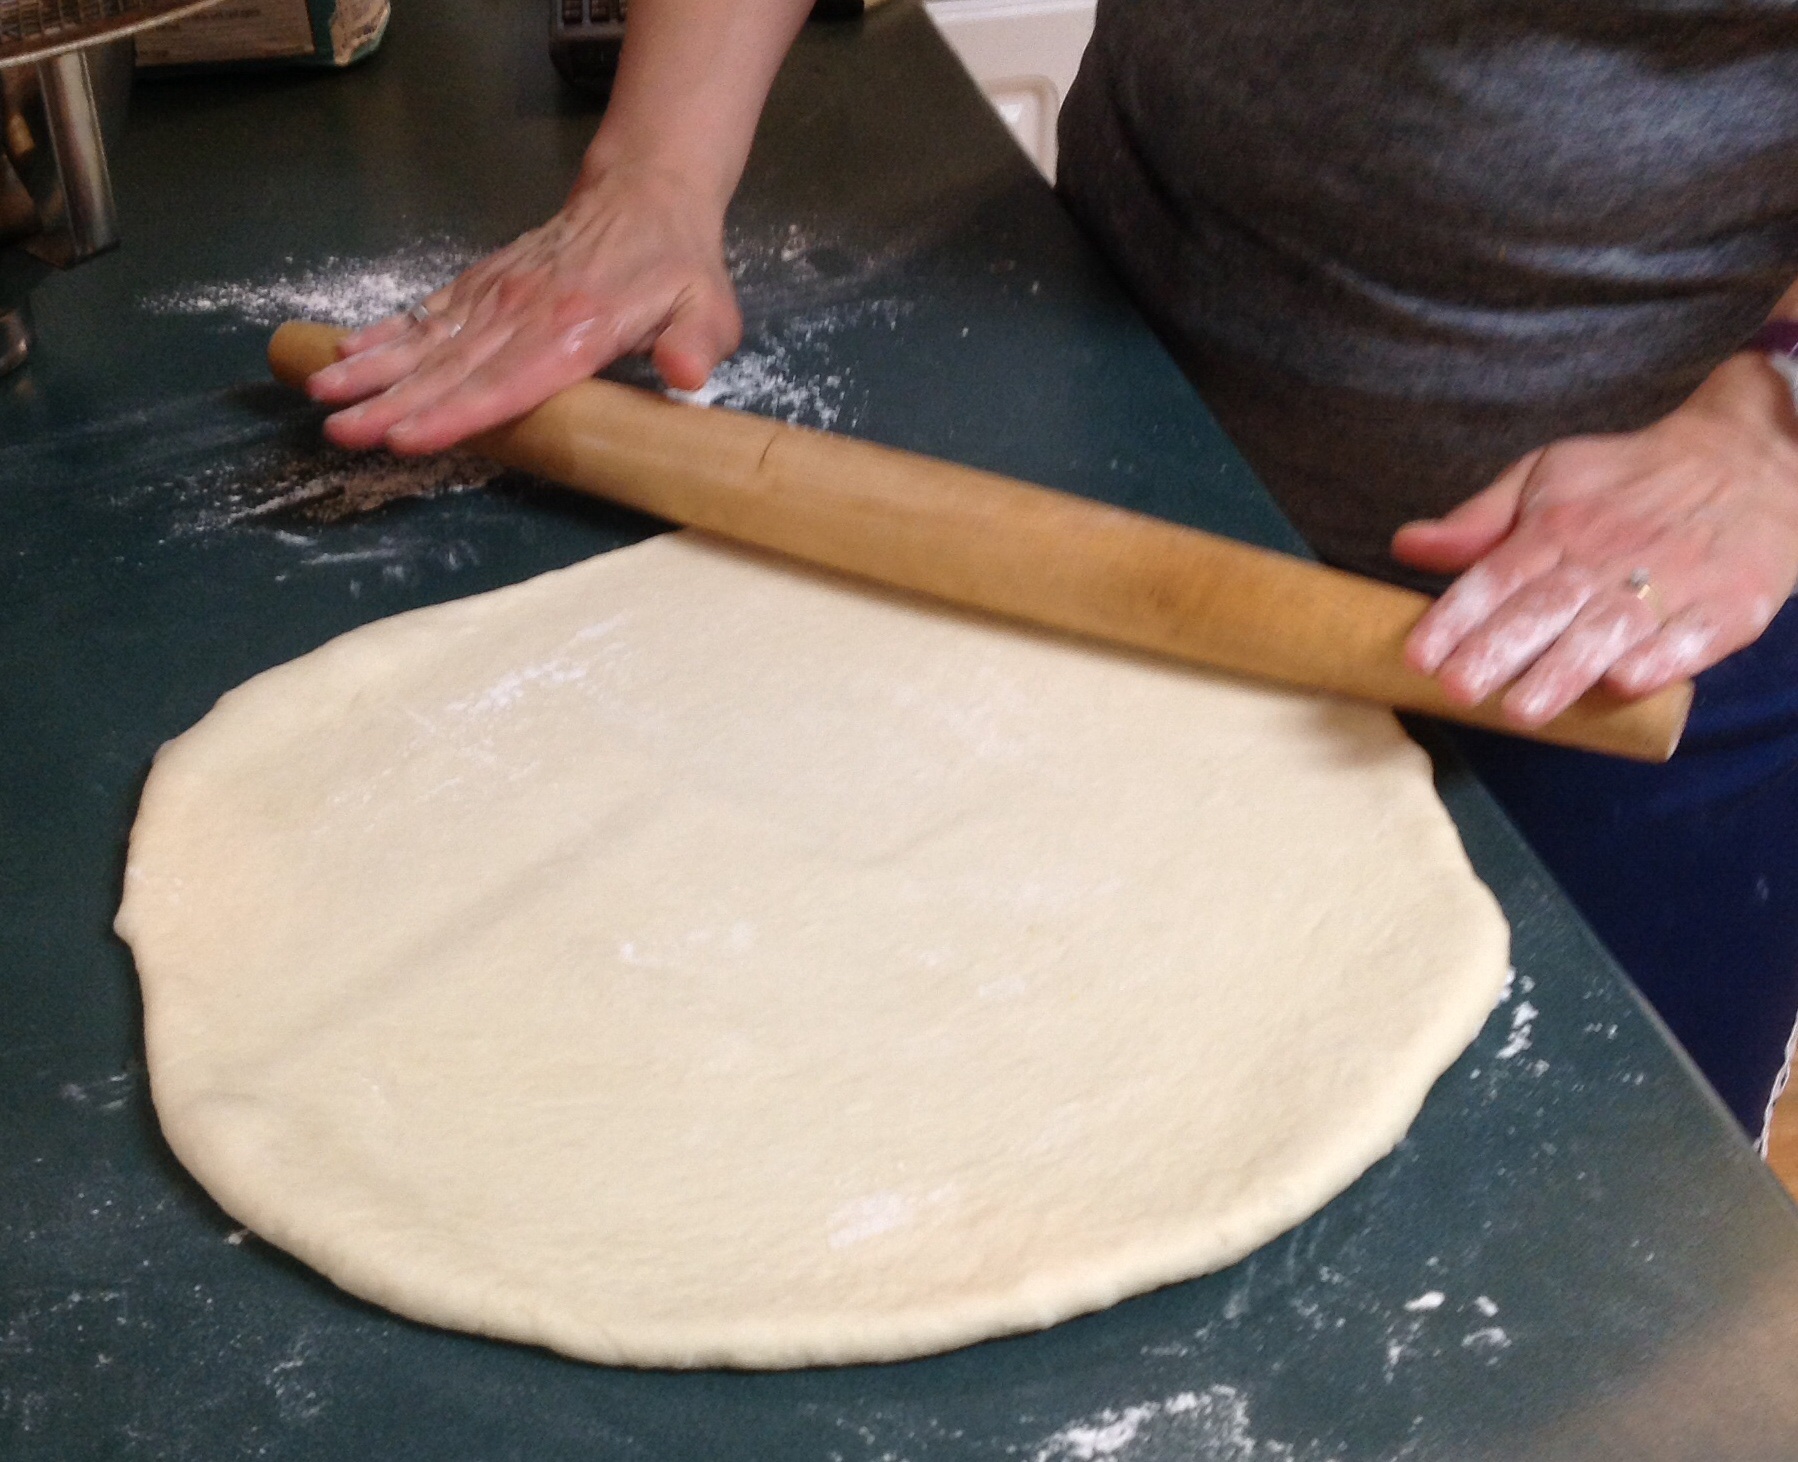
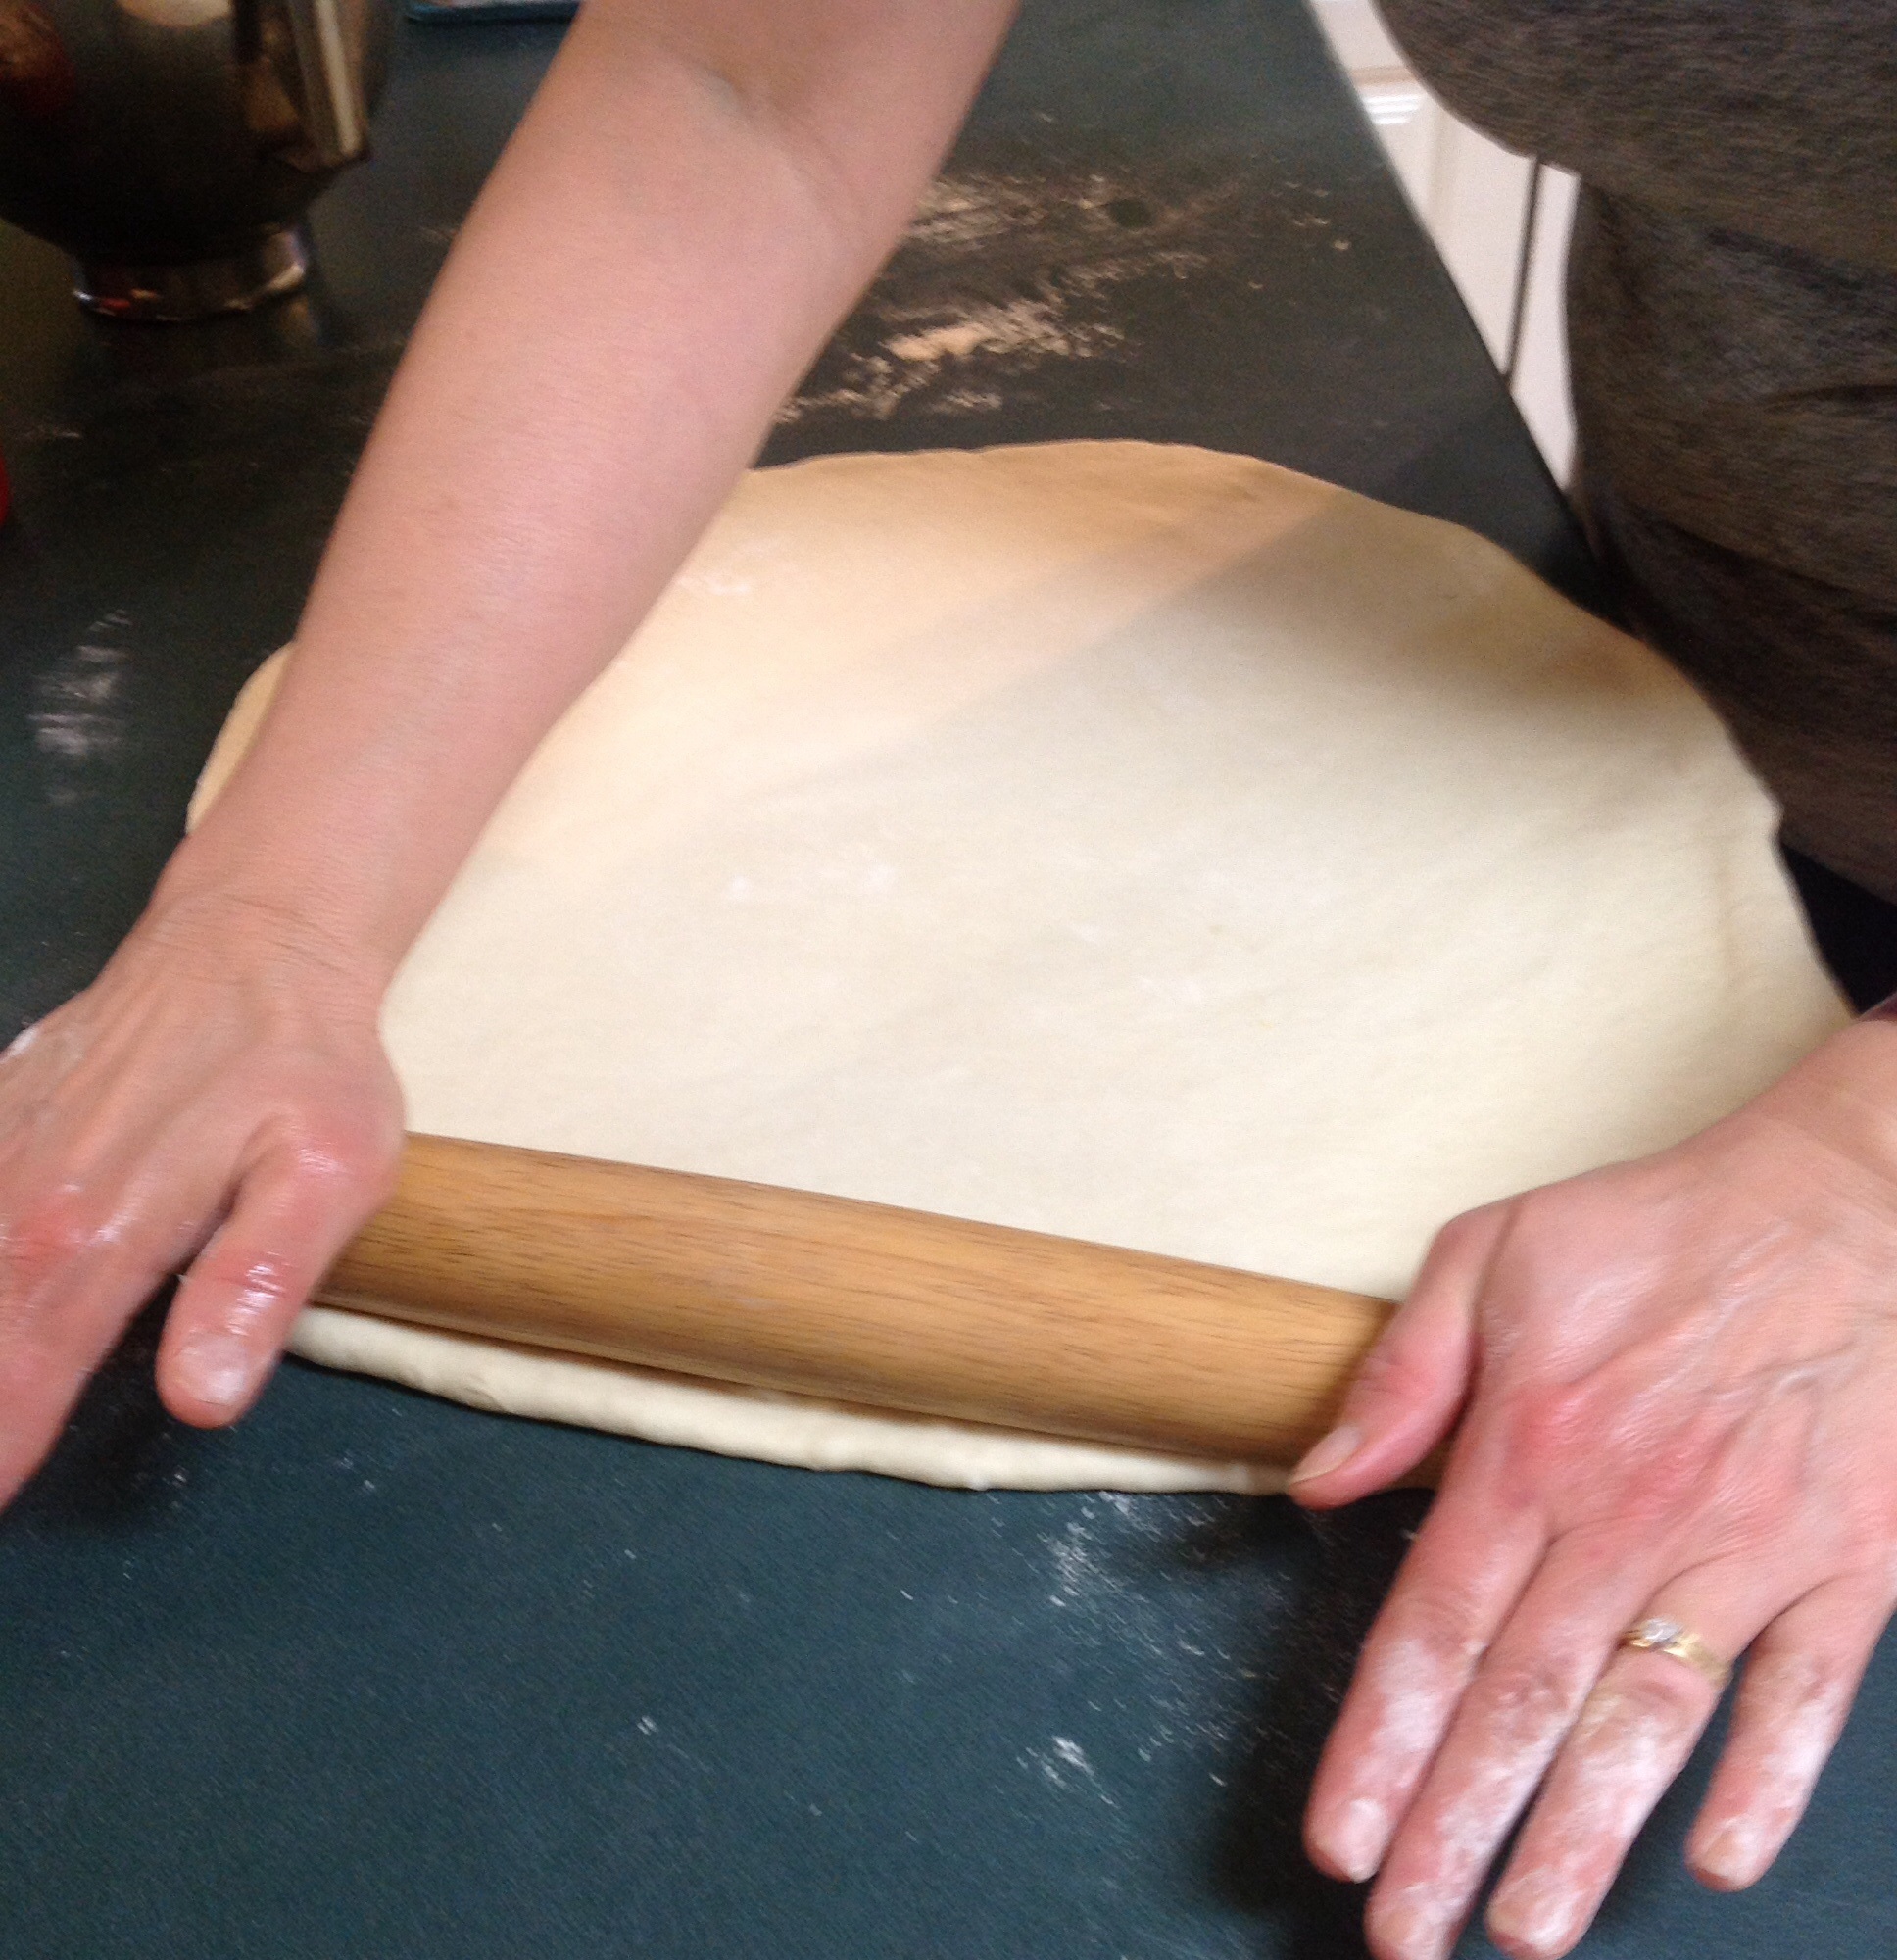
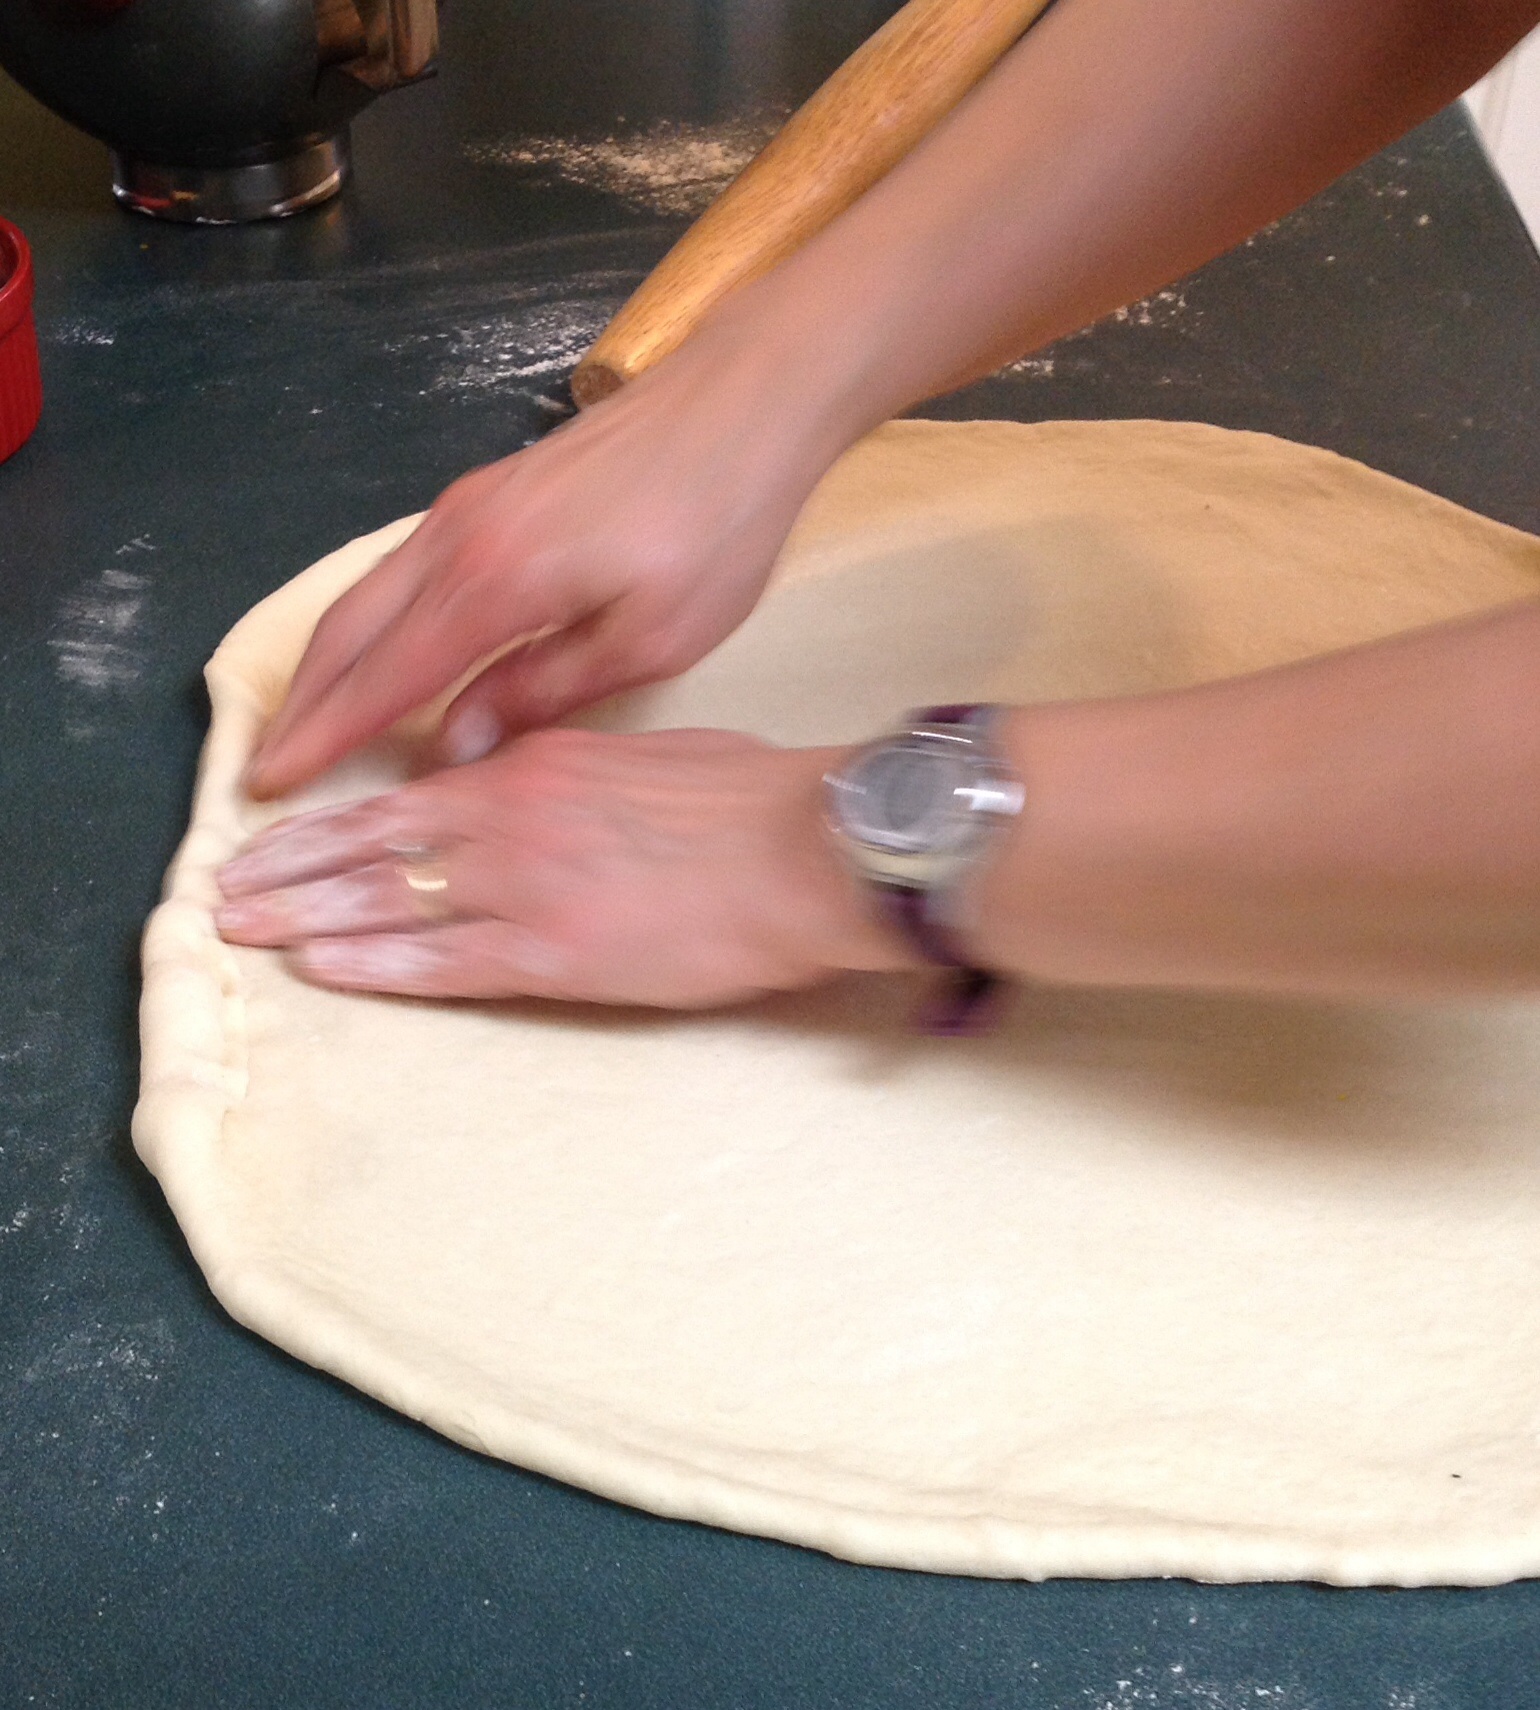
Punch down the dough and let it sit covered on your counter for 5 mintues. This will give the gluten (the protein that gives the dough its structure) time to relax and make the dough easier to roll. On a floured surface, form your dough into a flat circle. With a rolling pin, start in the center and roll up to, but not over, the top edge. Repeat, but roll from the middle down. Give the dough a quarter turn and repeat. (Imagine your dough has a clock face, and turn the top (12) to the 9 o’clock position.) Keeps doing this until the dough is close to the size of your pan. Then start rolling out in all directions around the circle, to get the final shape and size. Through the rolling process, make sure dough isn’t sticking to your counter.
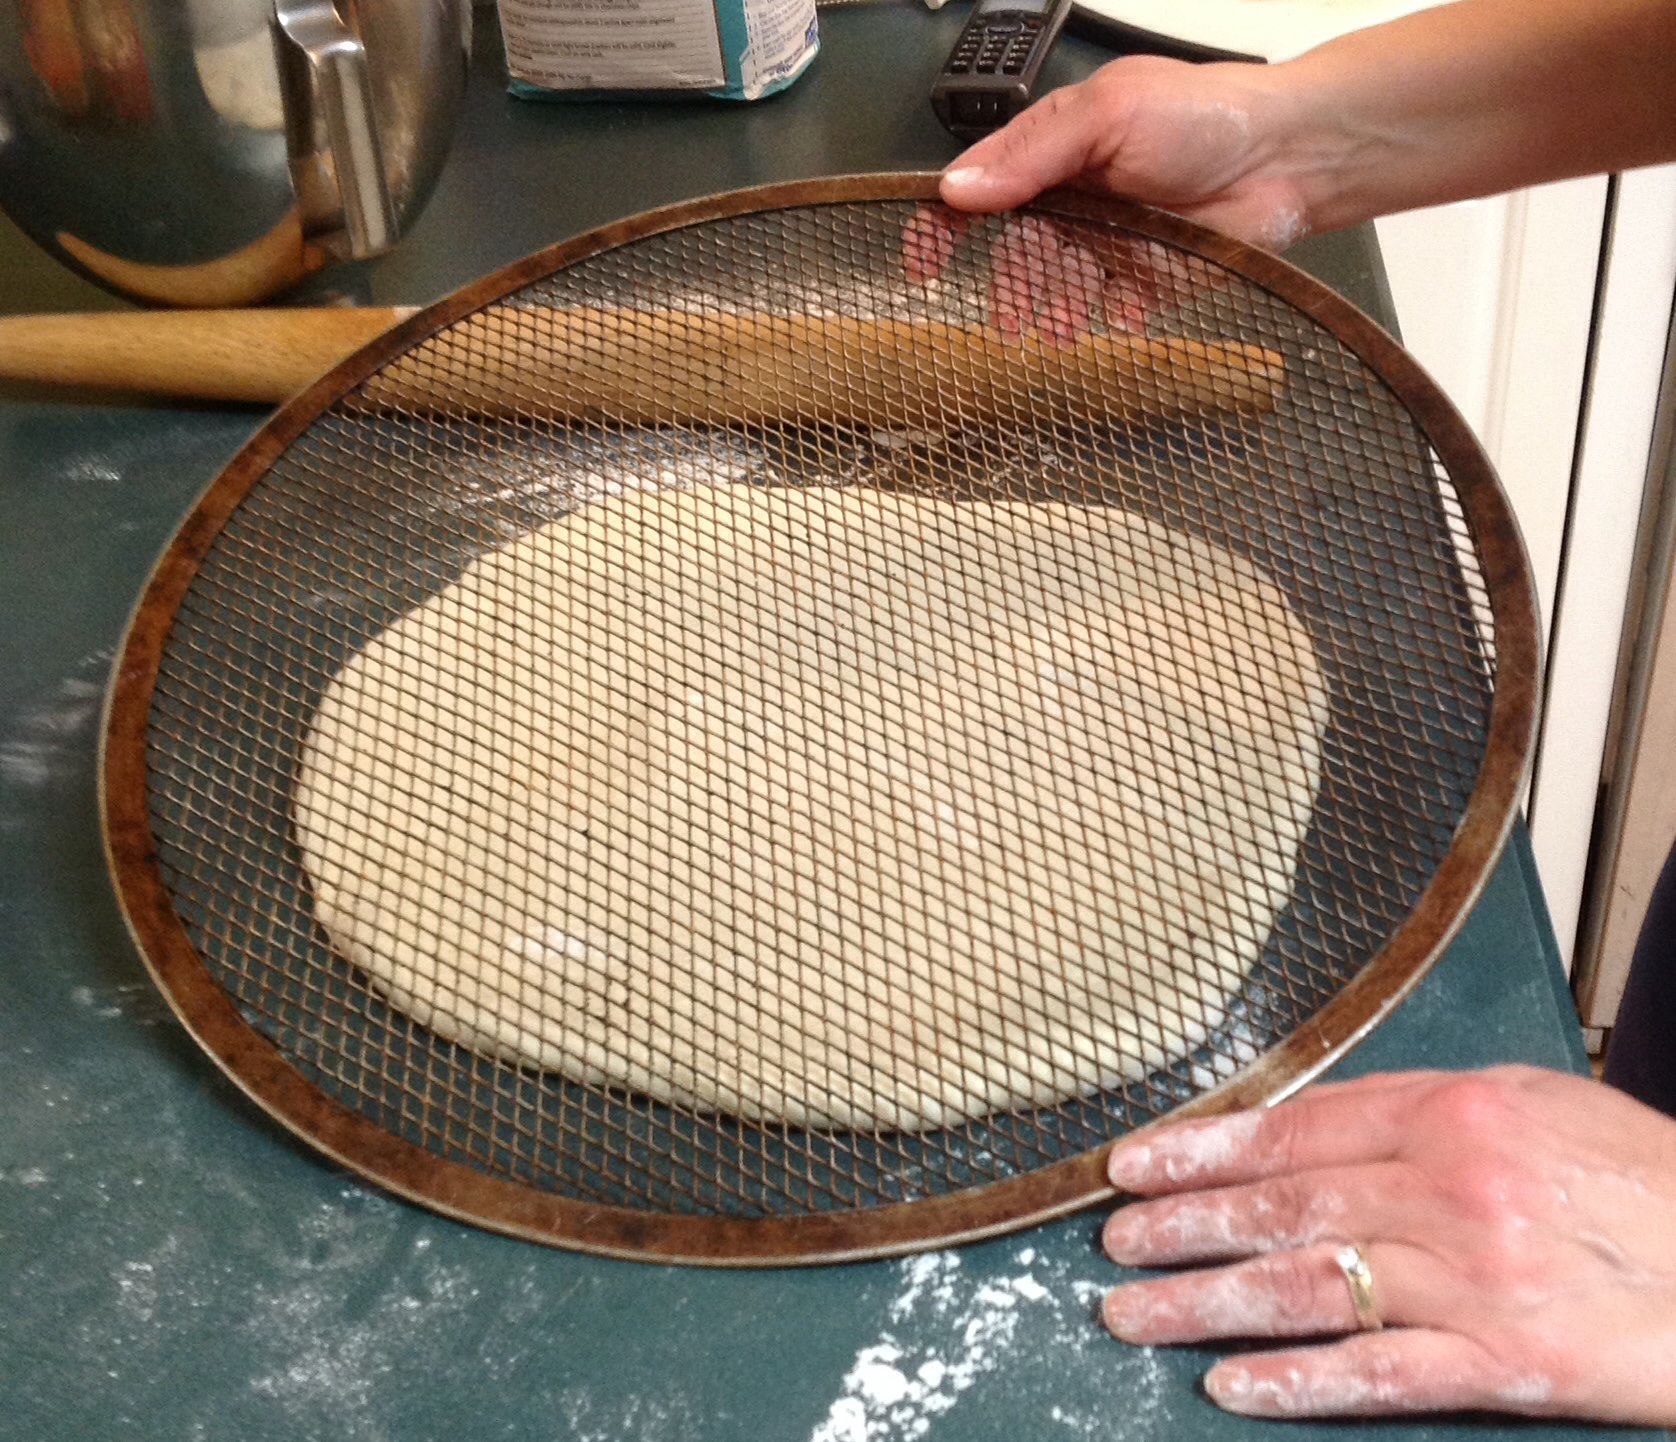
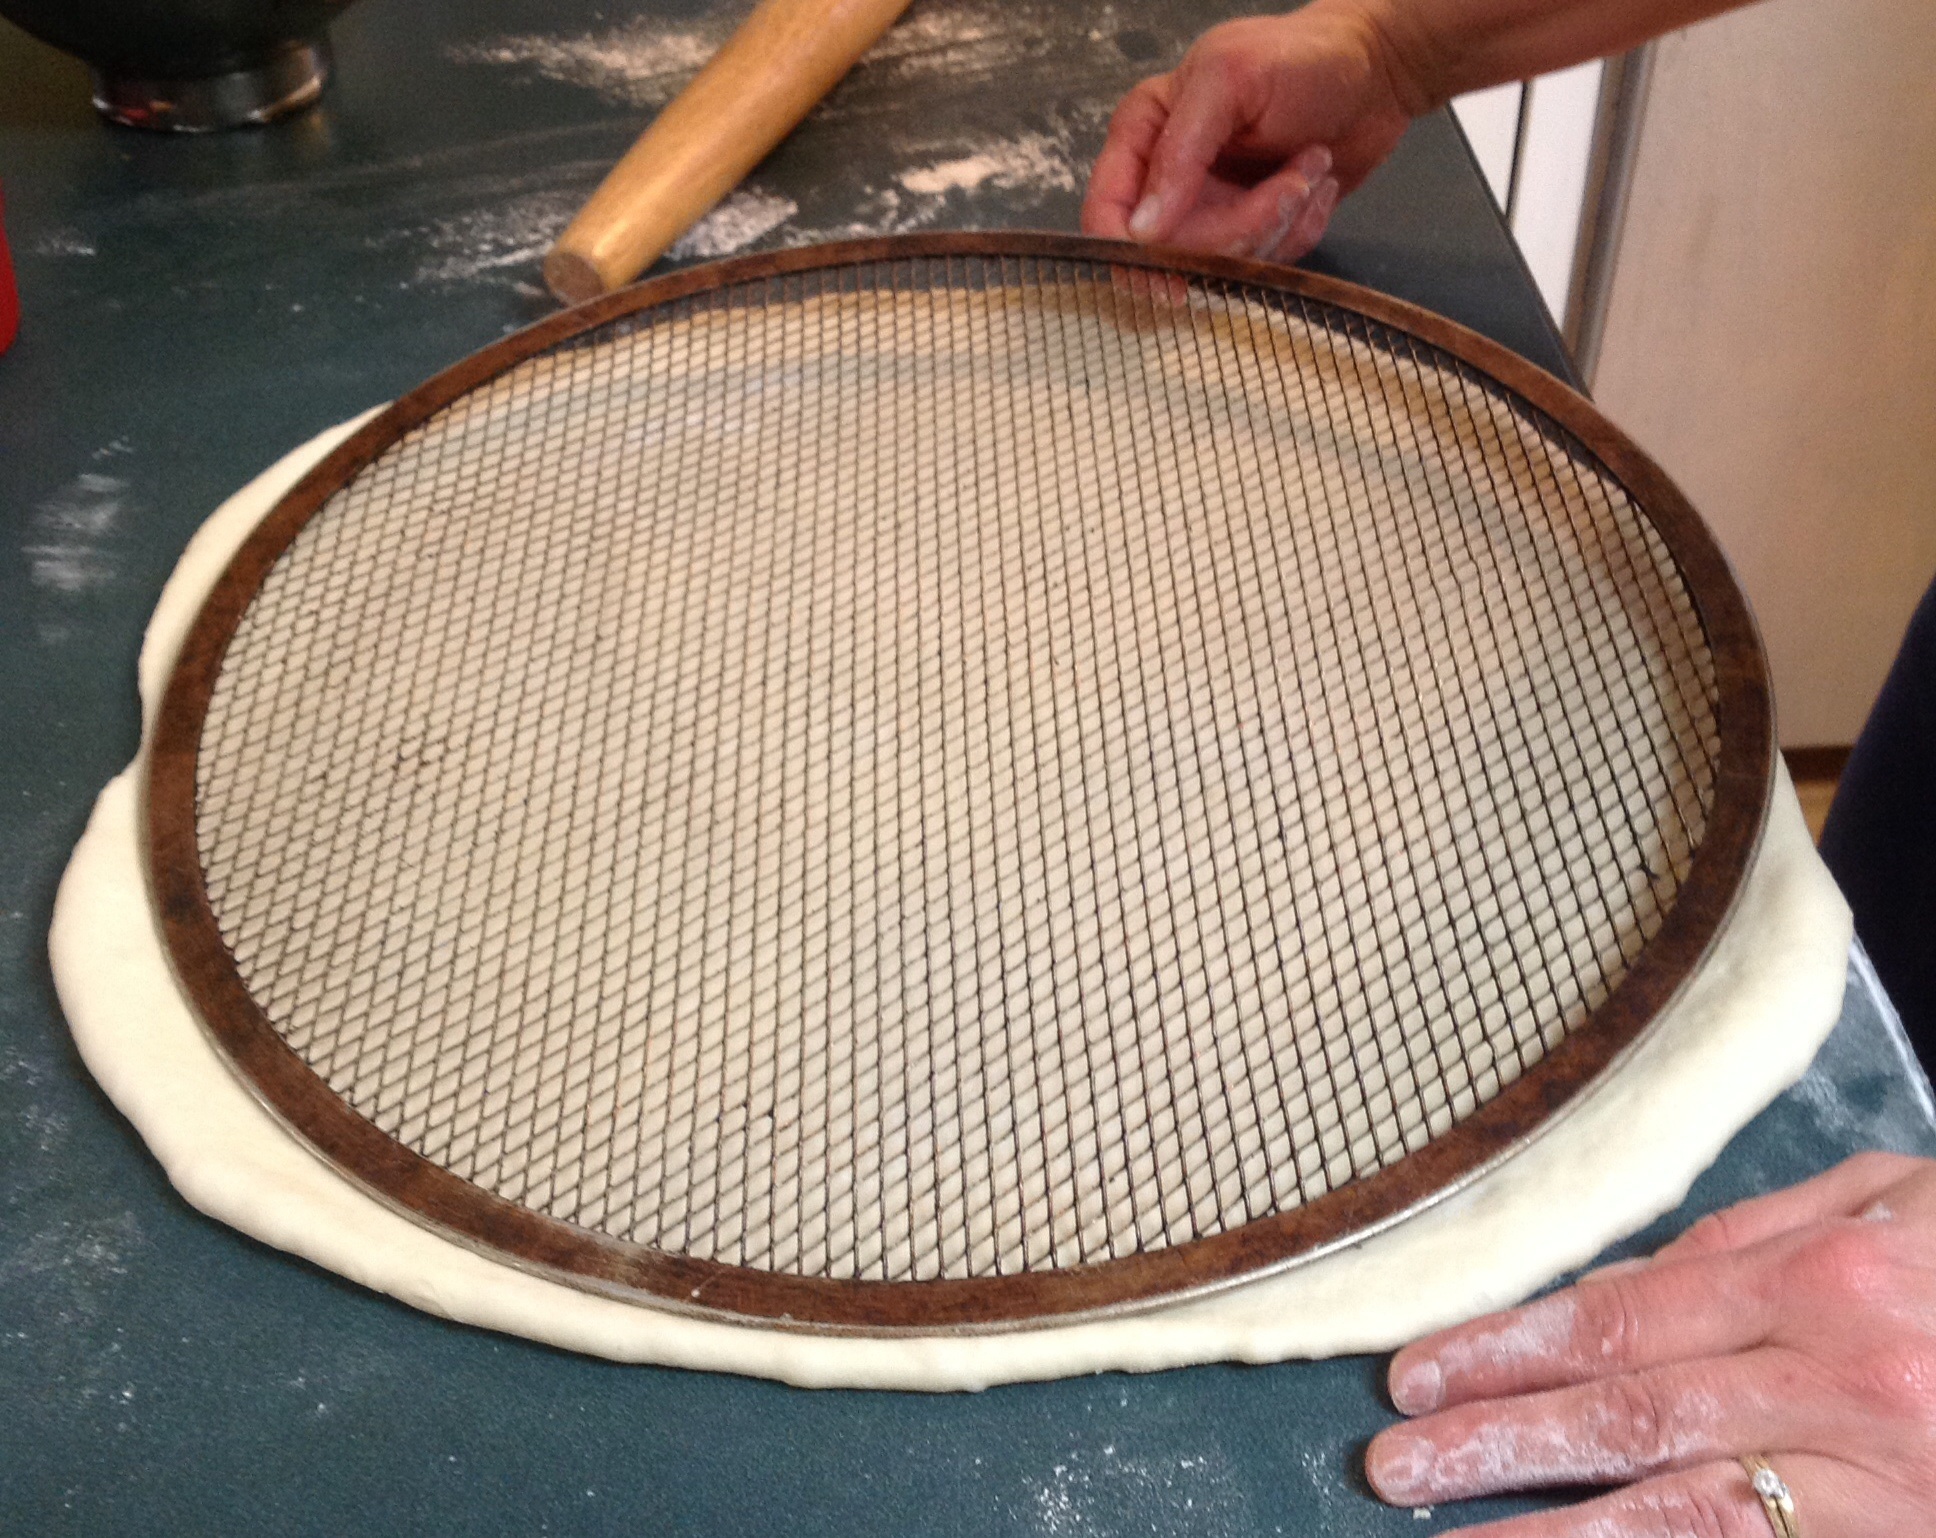
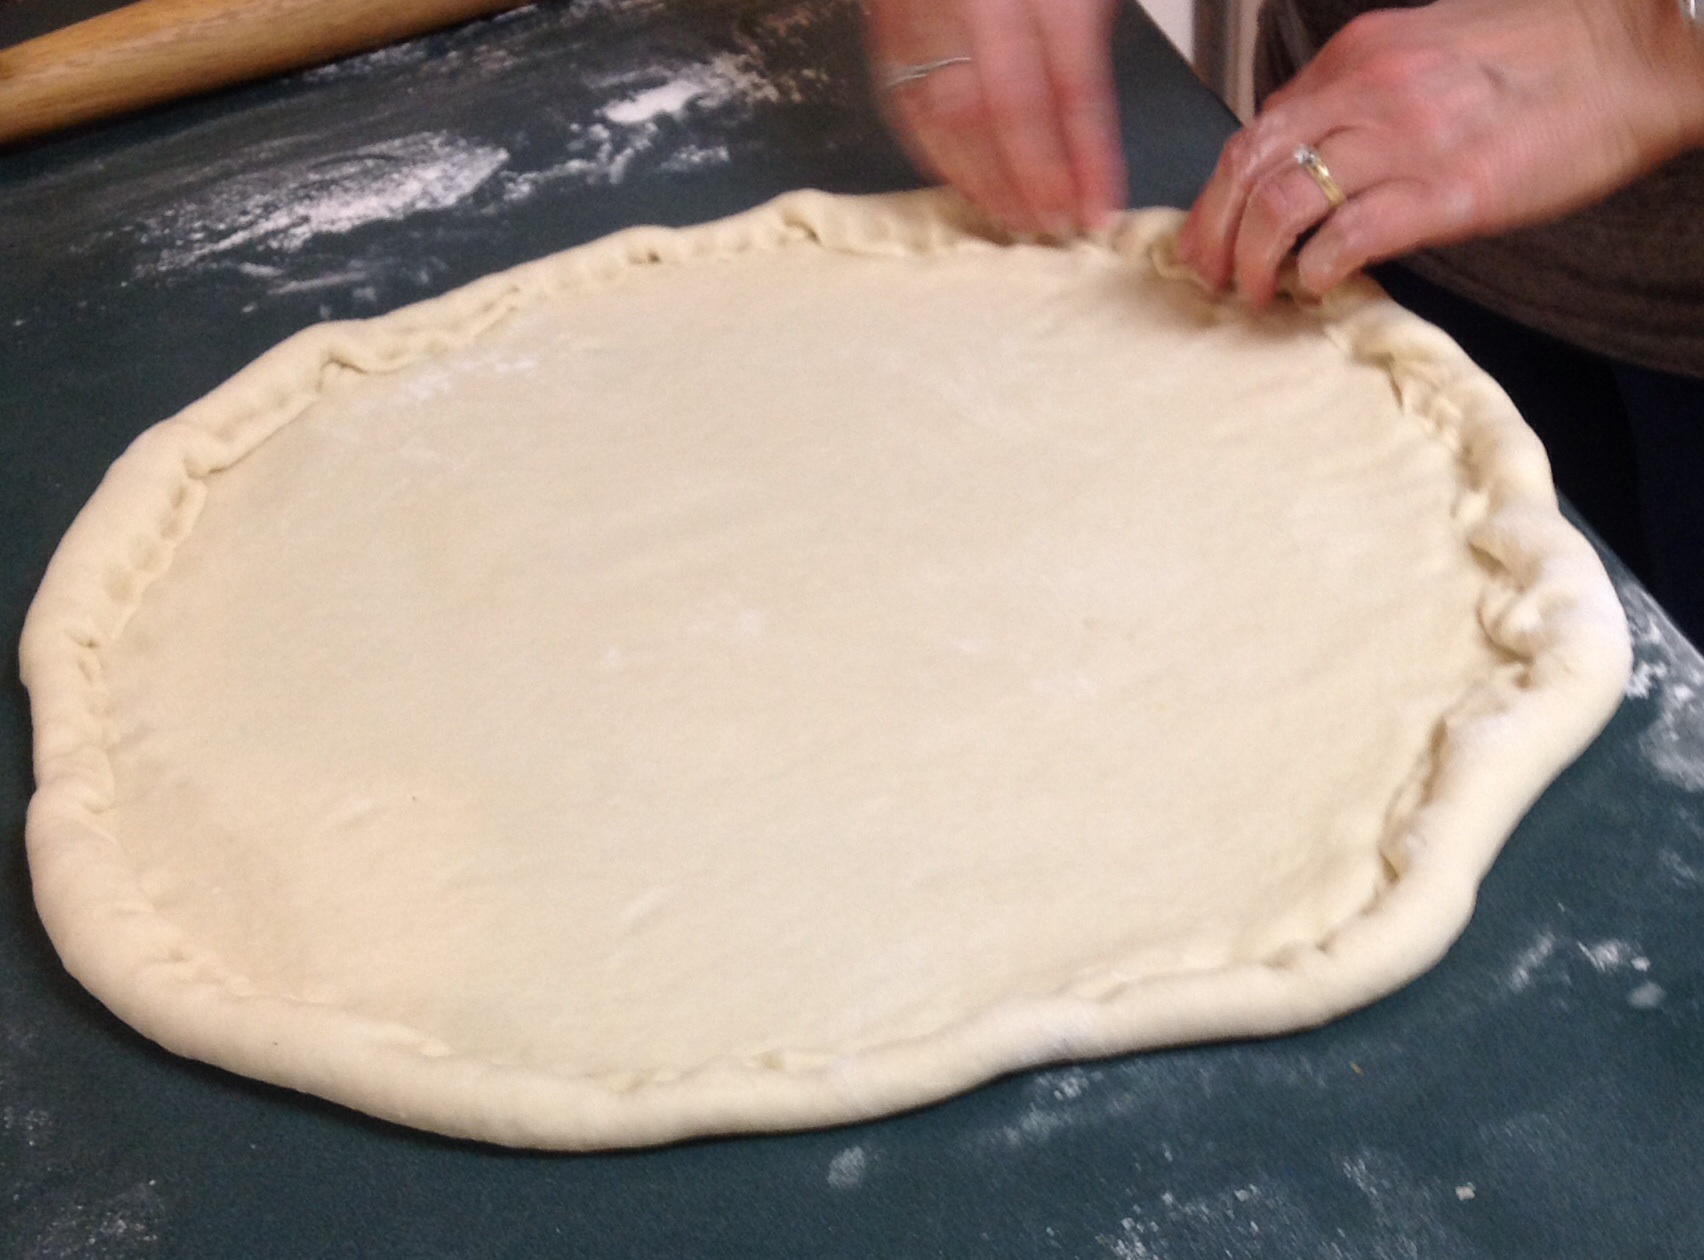
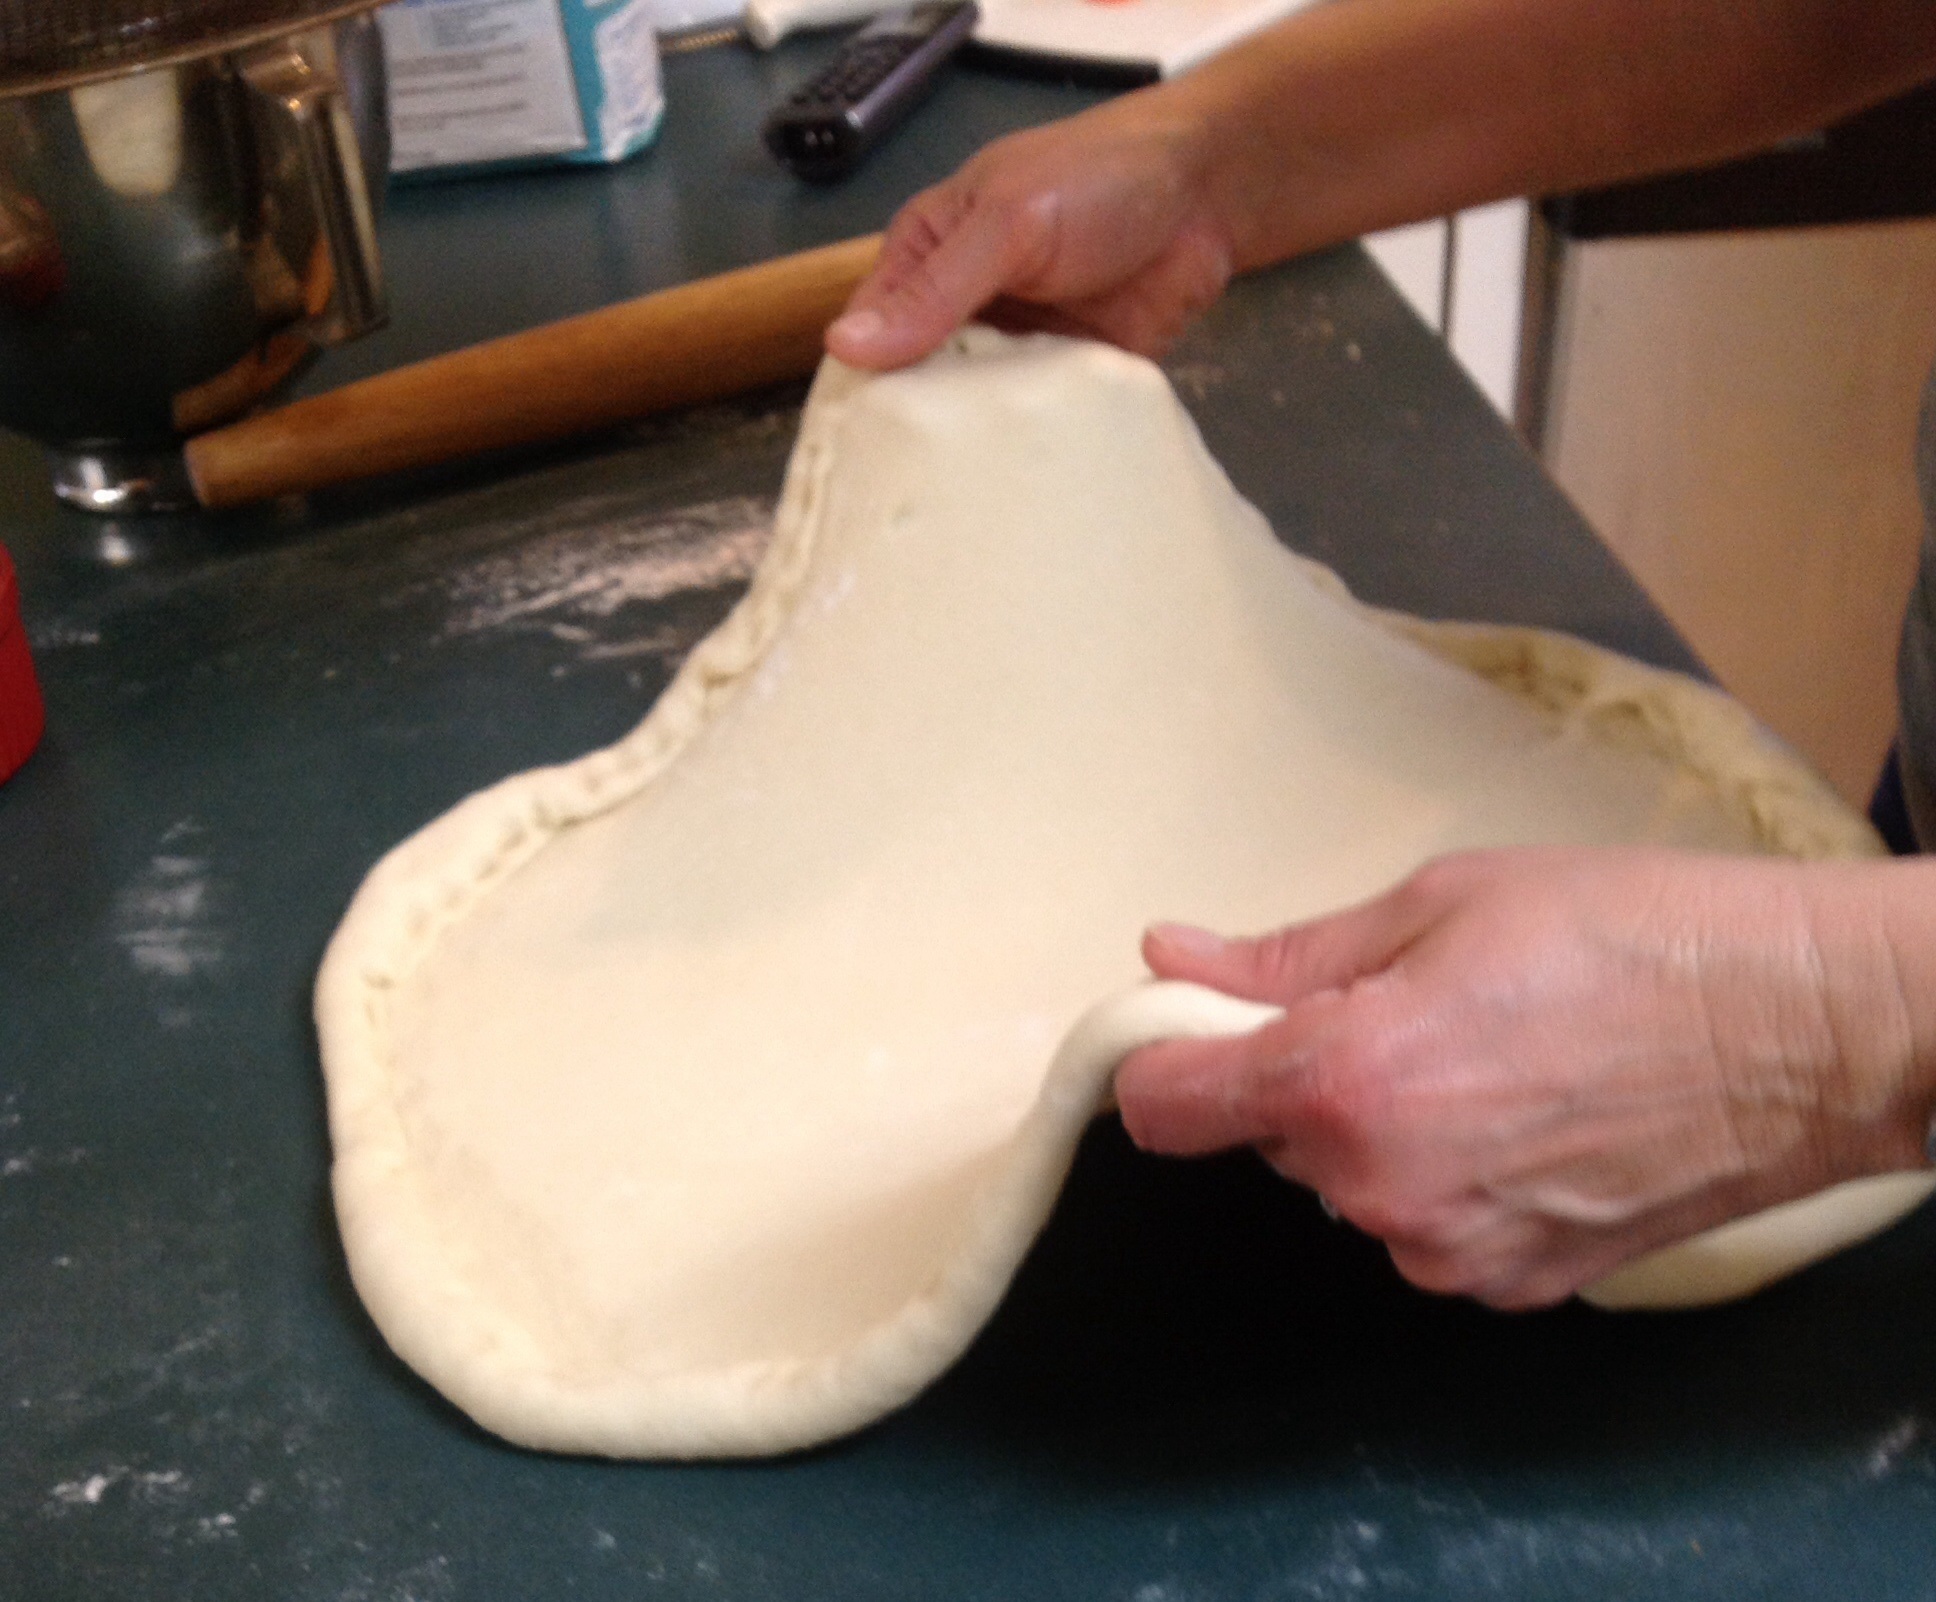
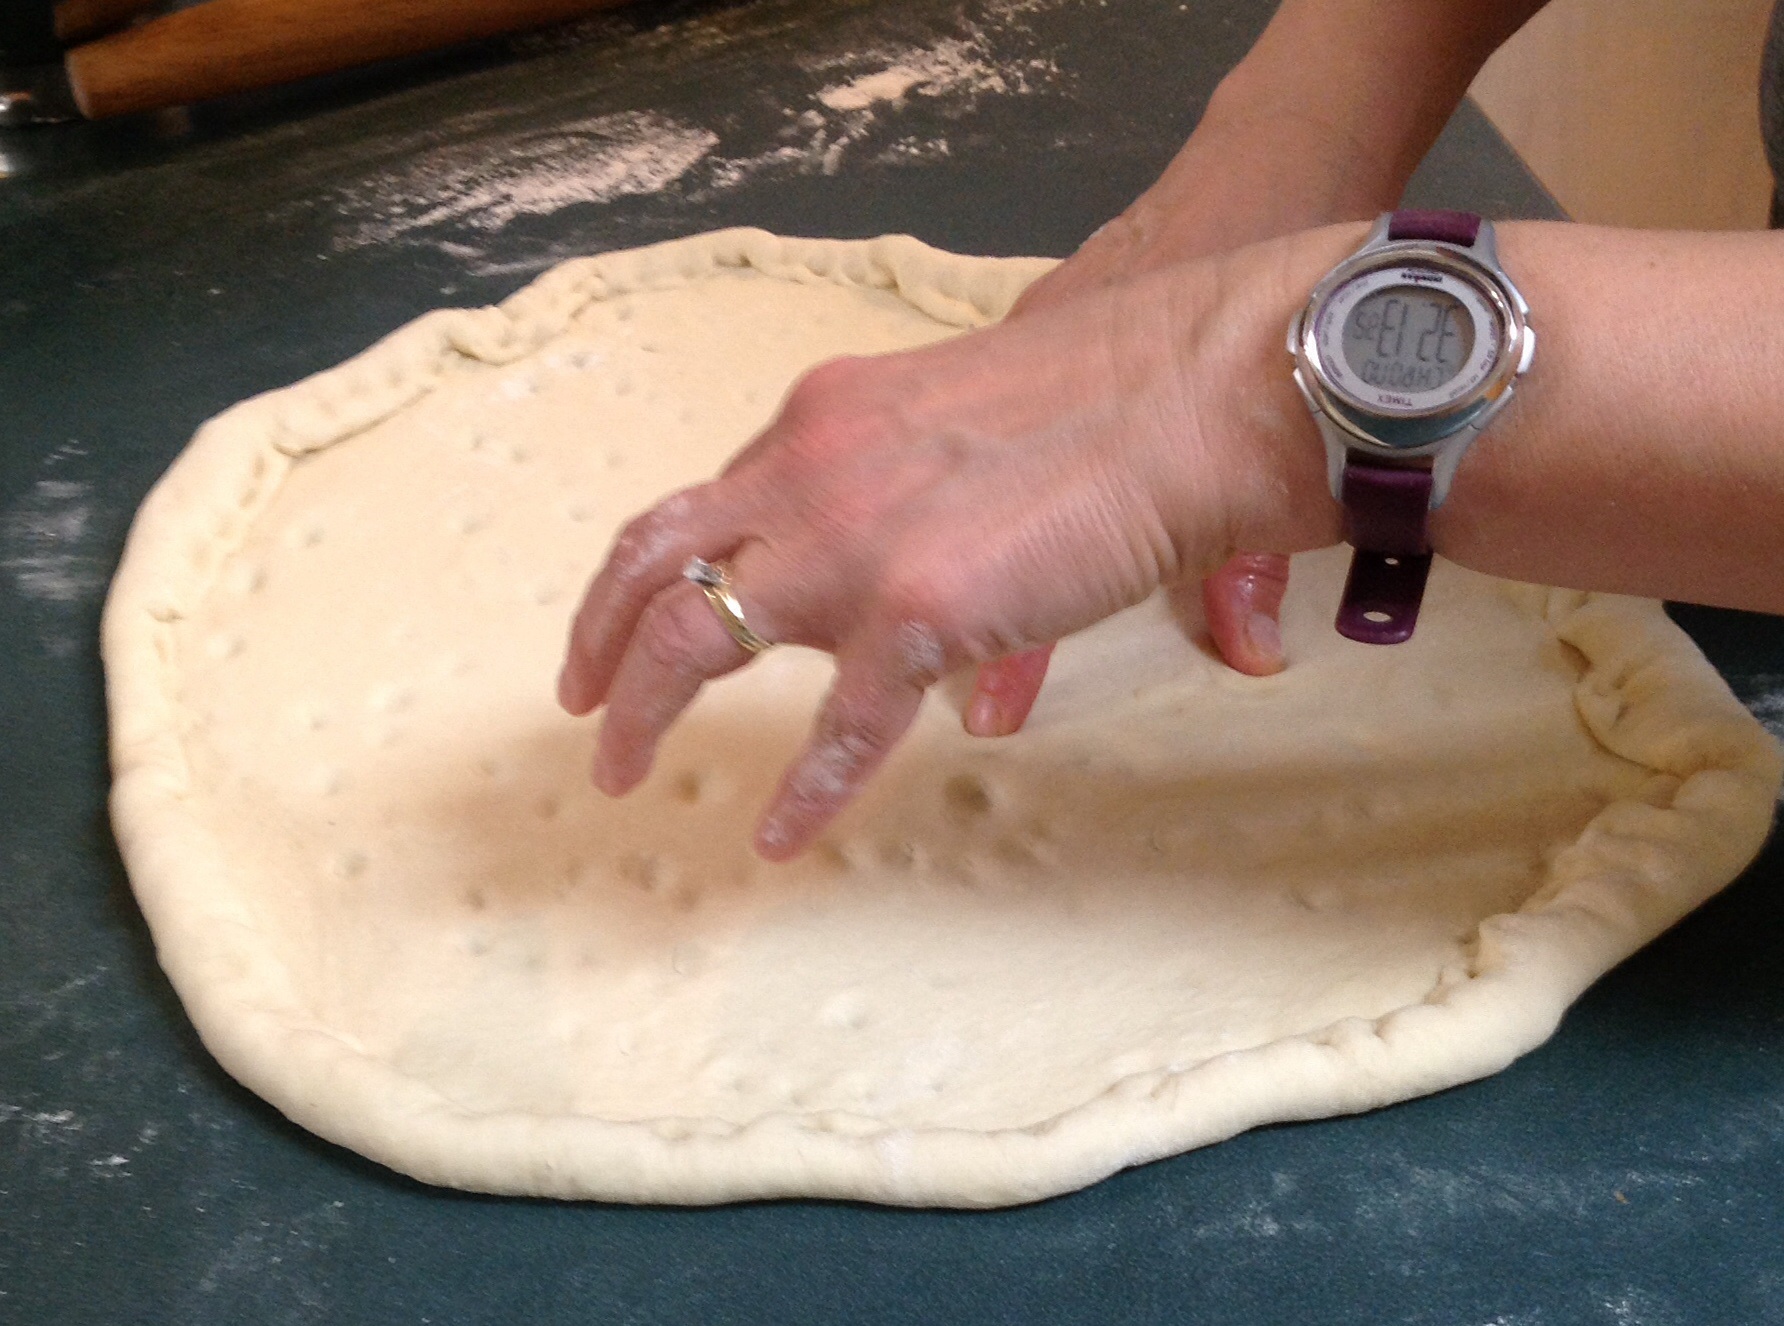
Roll up the edges and seal by a firm pinch. I will ‘dock’ the dough with my fingers, to help minimize bubbles in the dough later and give the sauce a place to stick better. The dough is sturdy, so don’t be afraid to move it onto your pan. My pan is a pizza screen found at restaurant supply stores. It’s dirt cheap (less than $10 for a large one), makes a nice bottom crust, and I can use it for other things as well. They come in many sizes. I use the smaller ones to help turn cakes out of pans, dry fondant pieces for cake decorating, etc.., heating up frozen food in a toaster oven, etc. You get the idea!
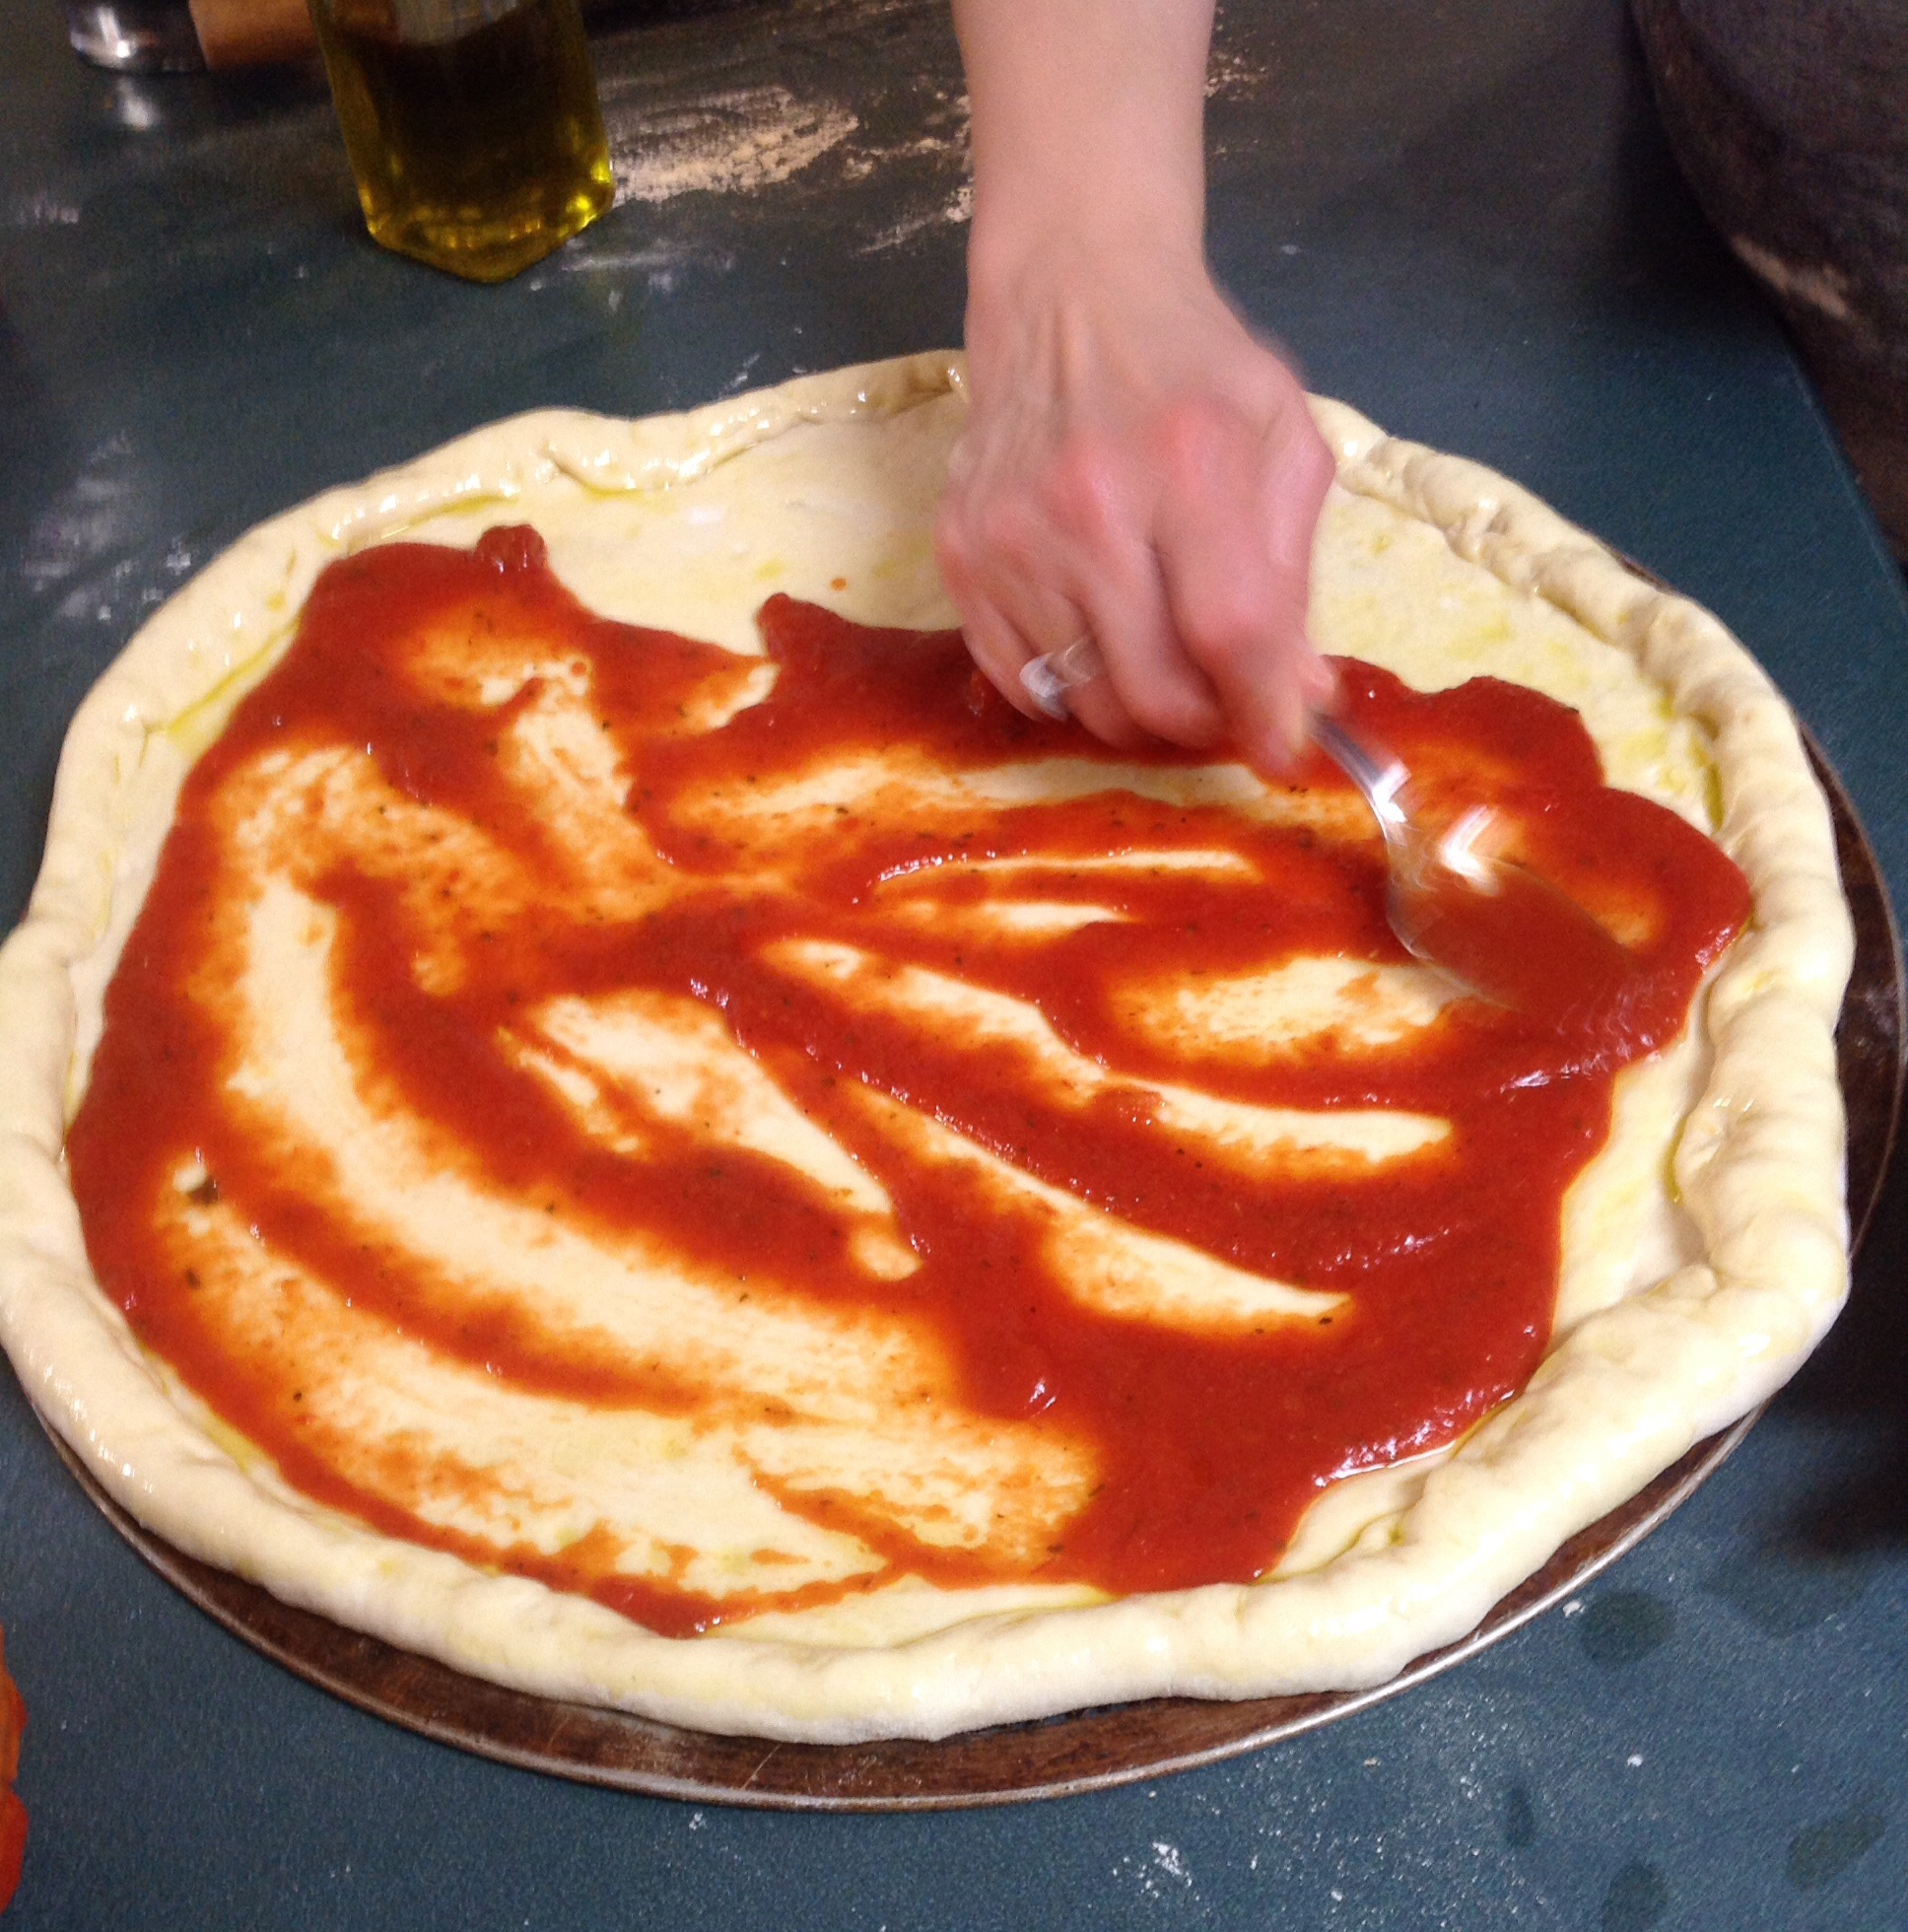
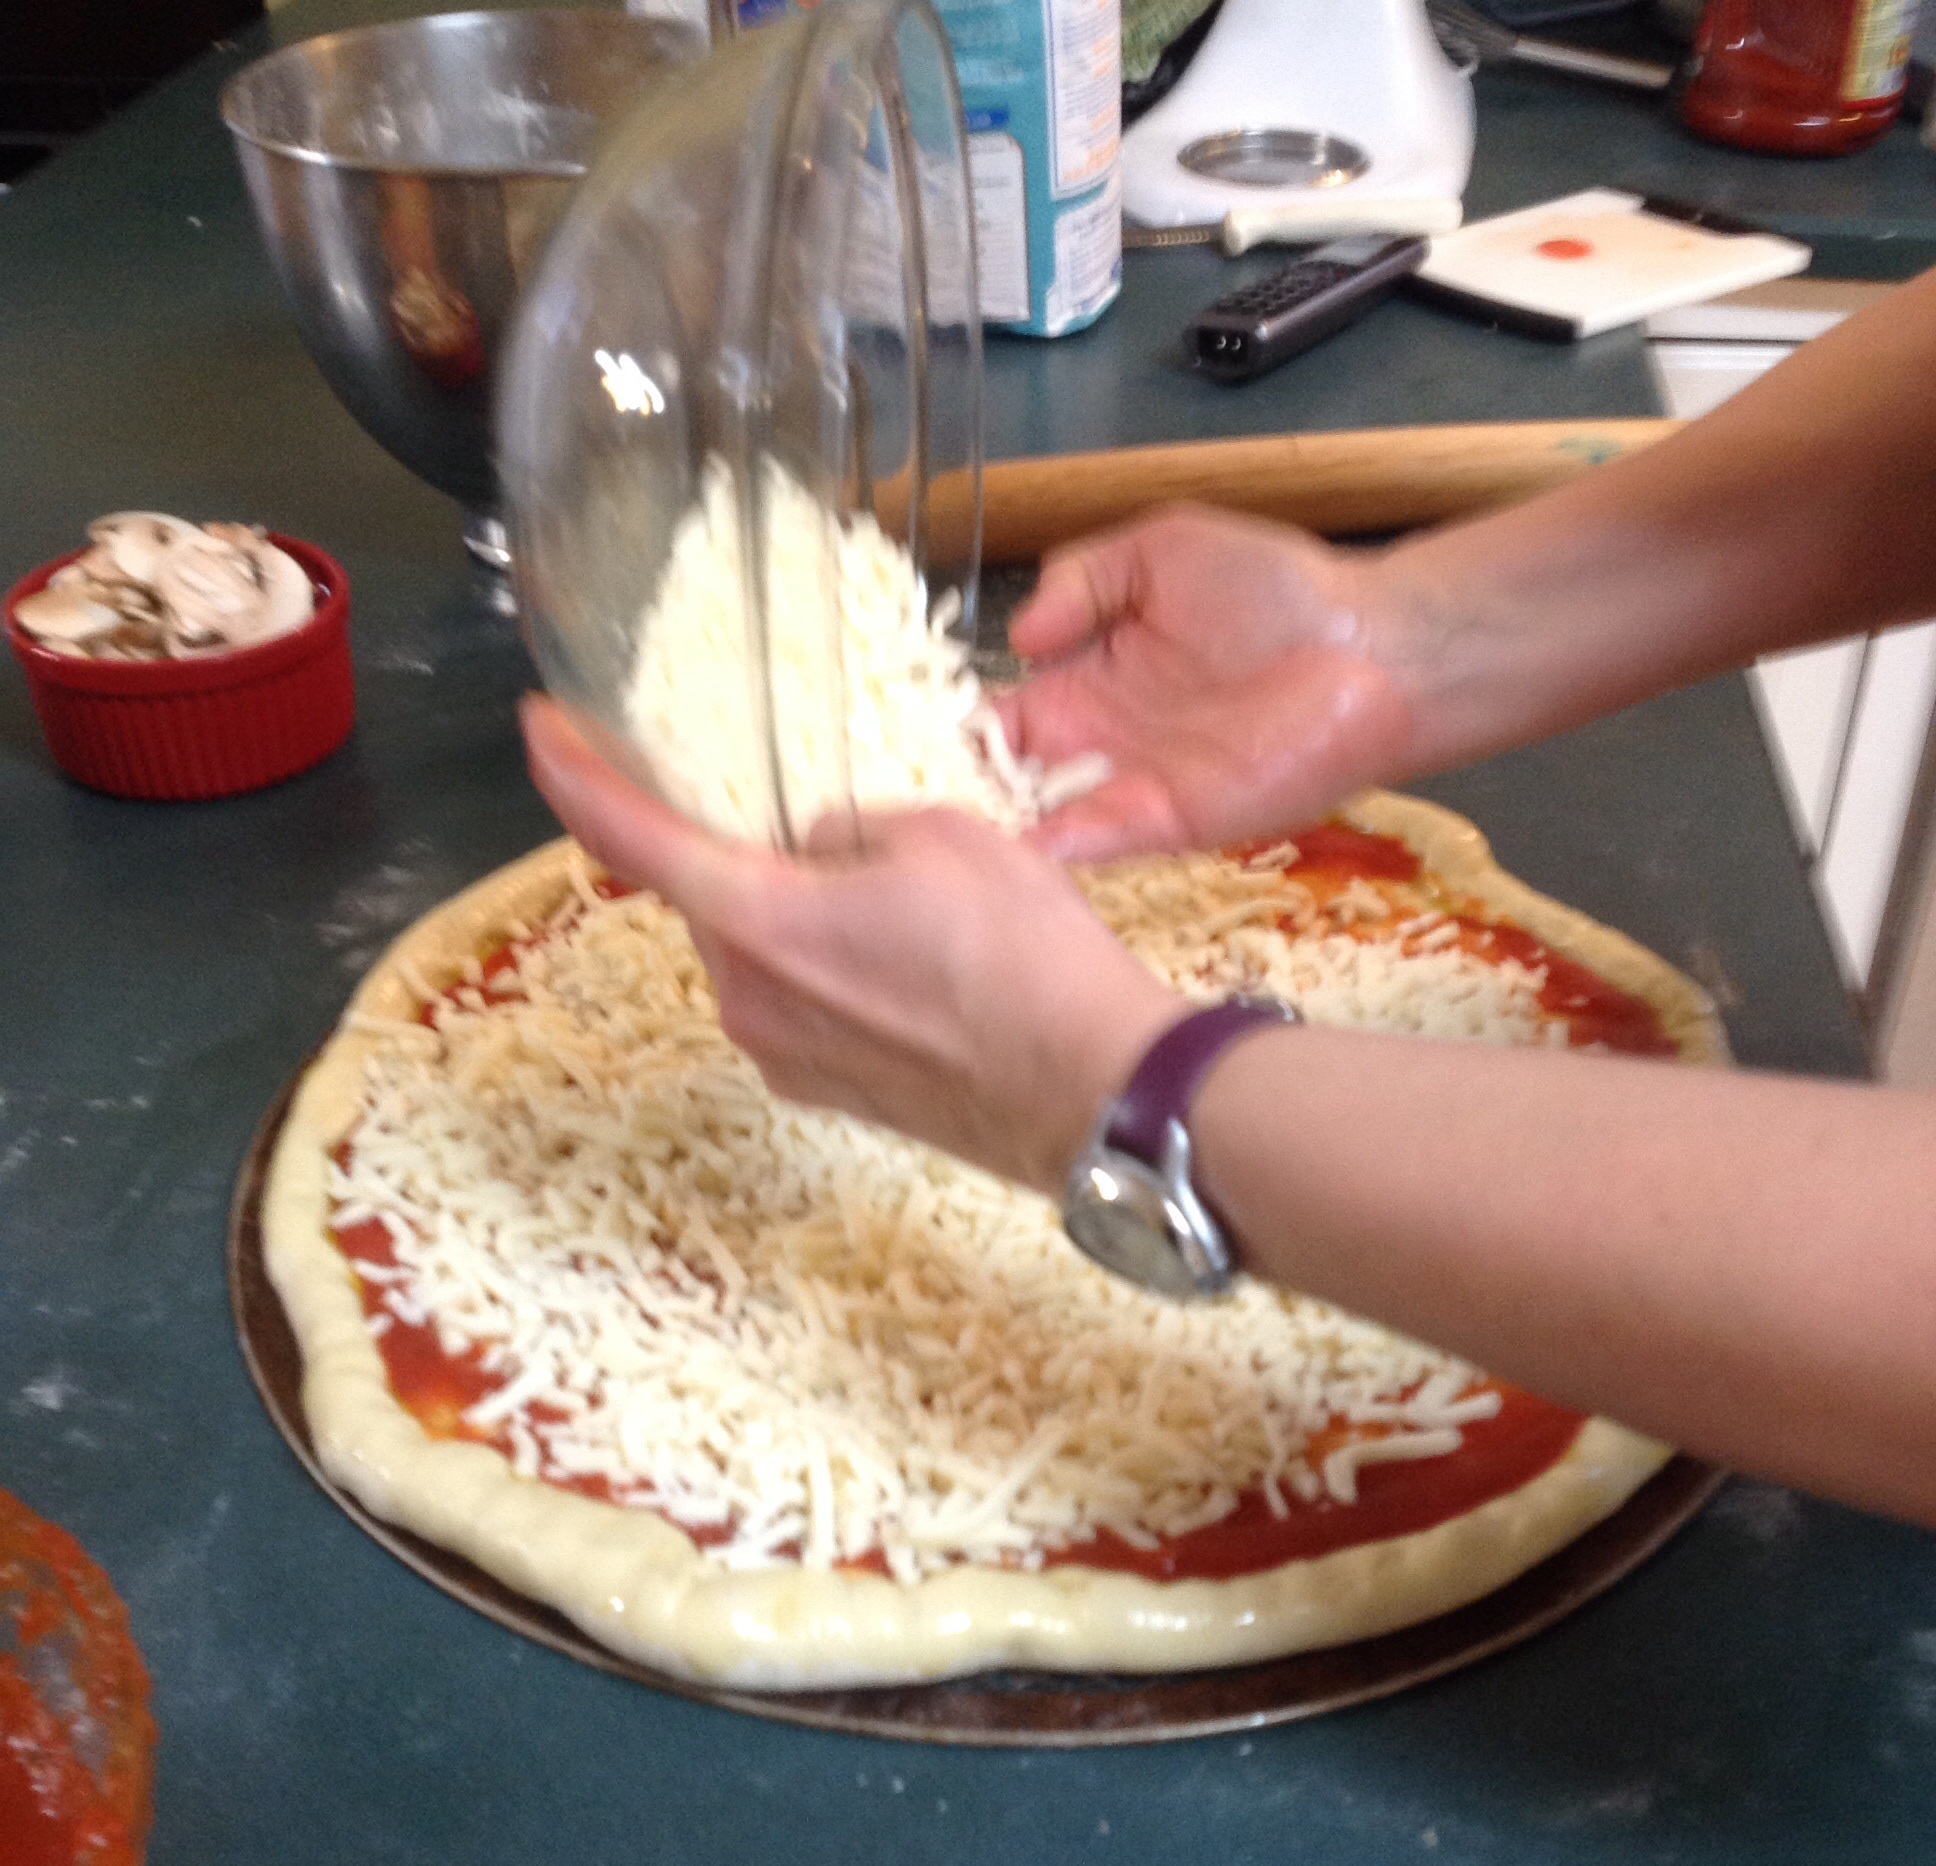
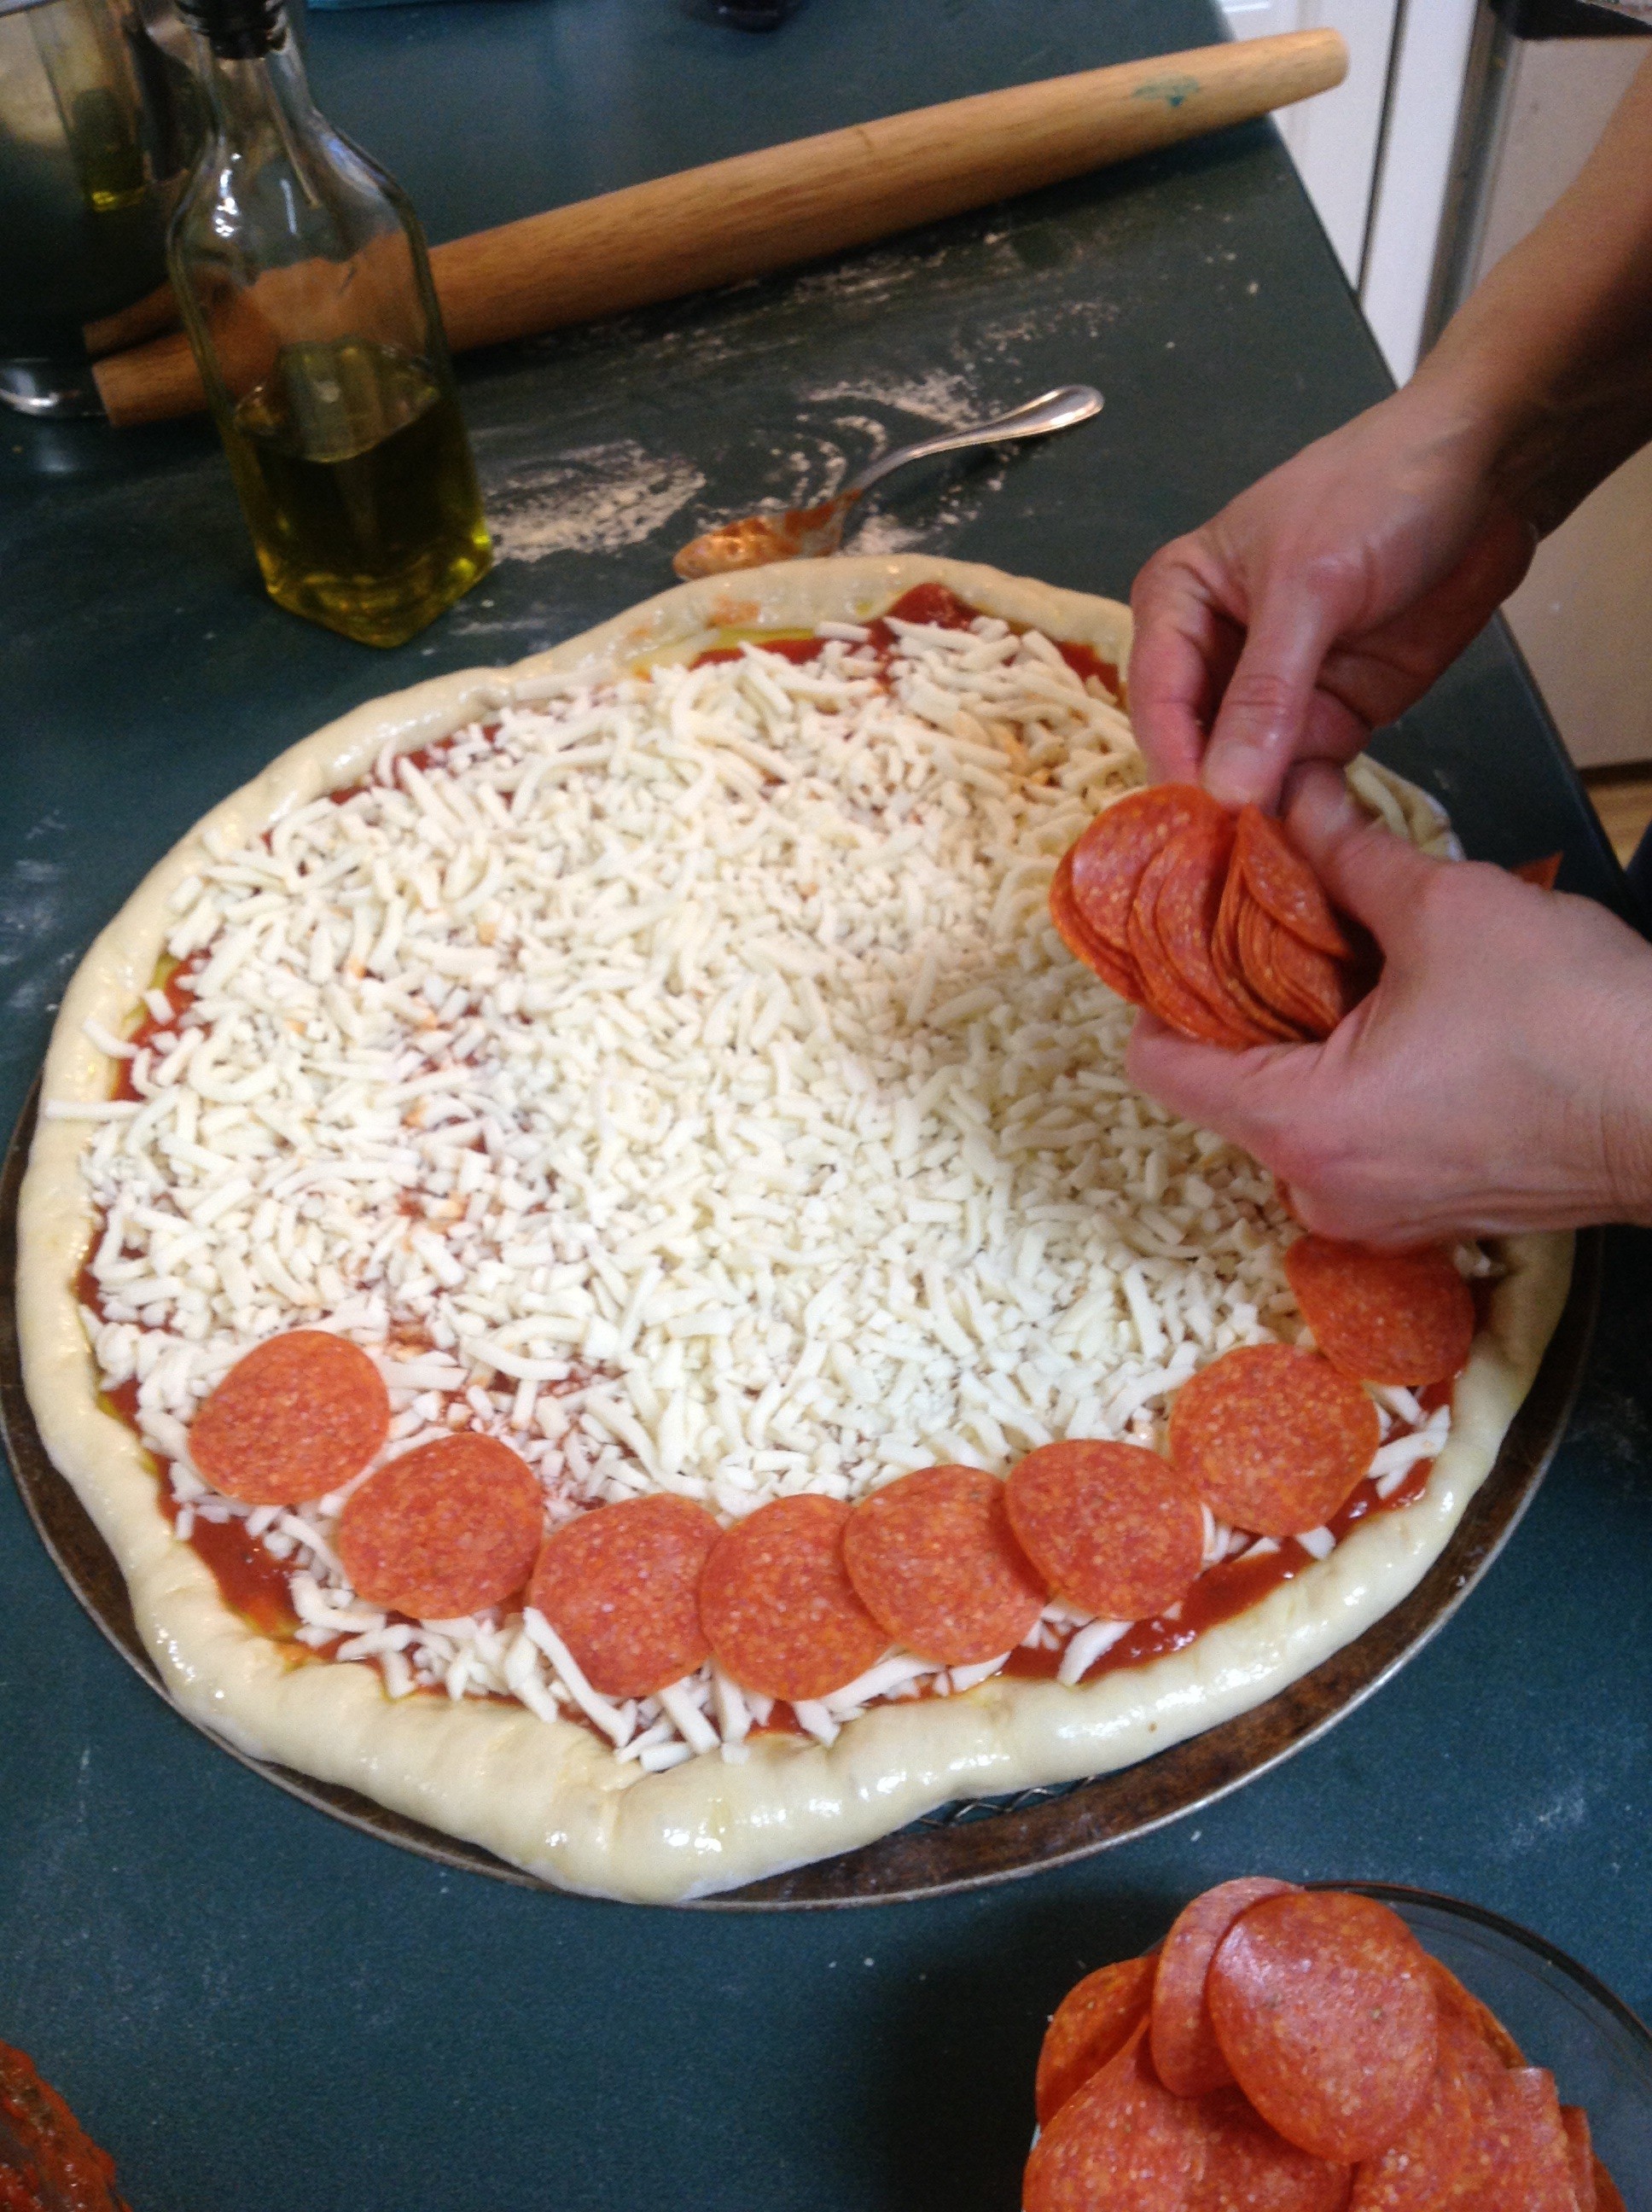
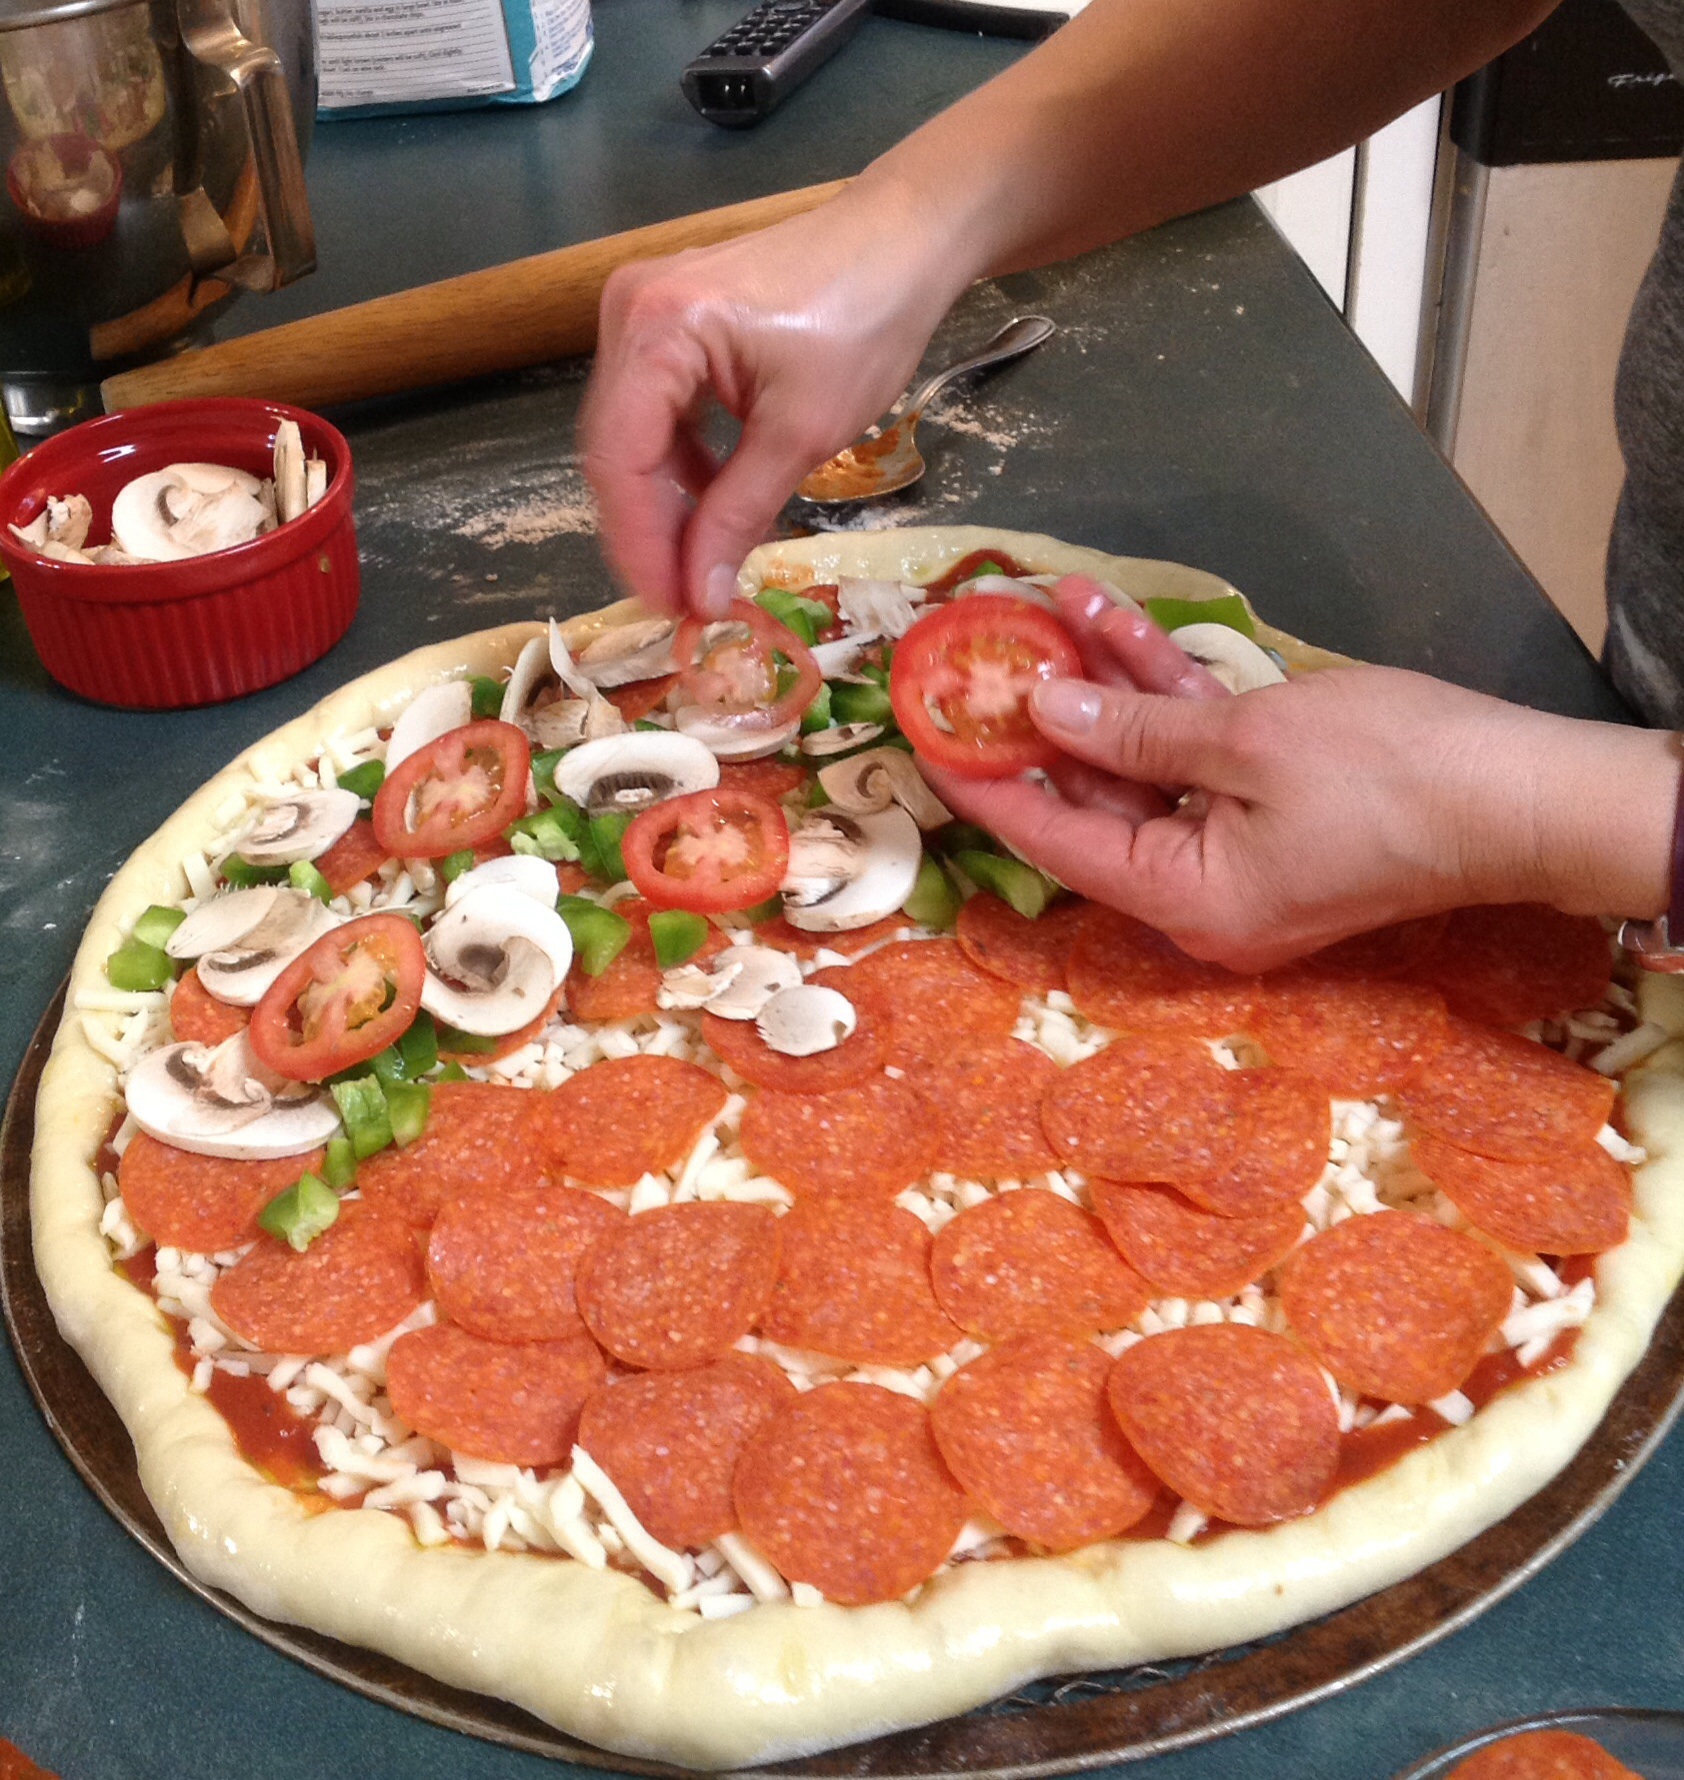
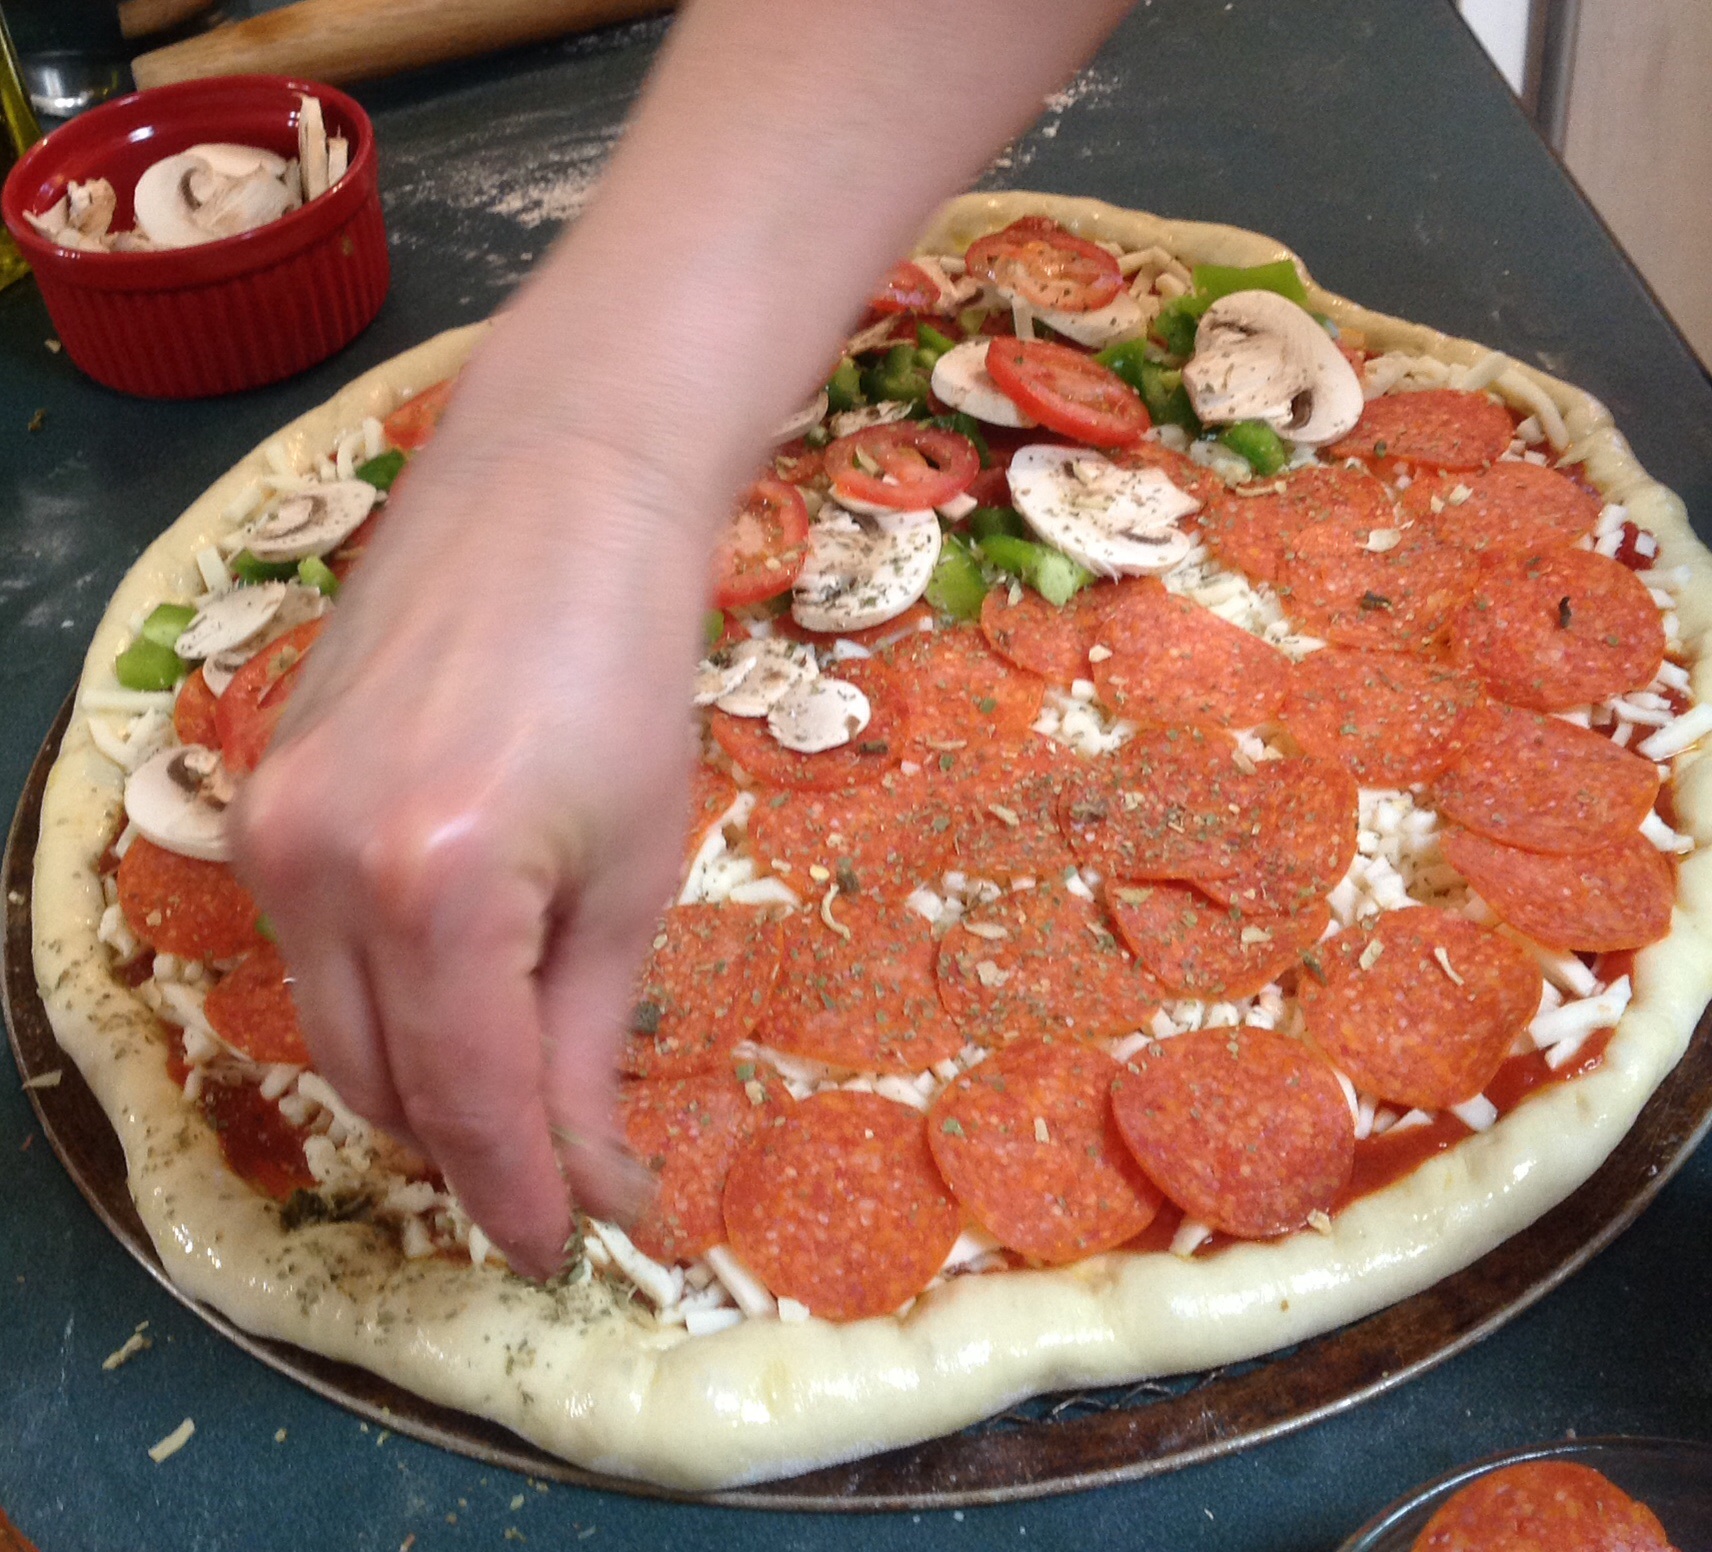
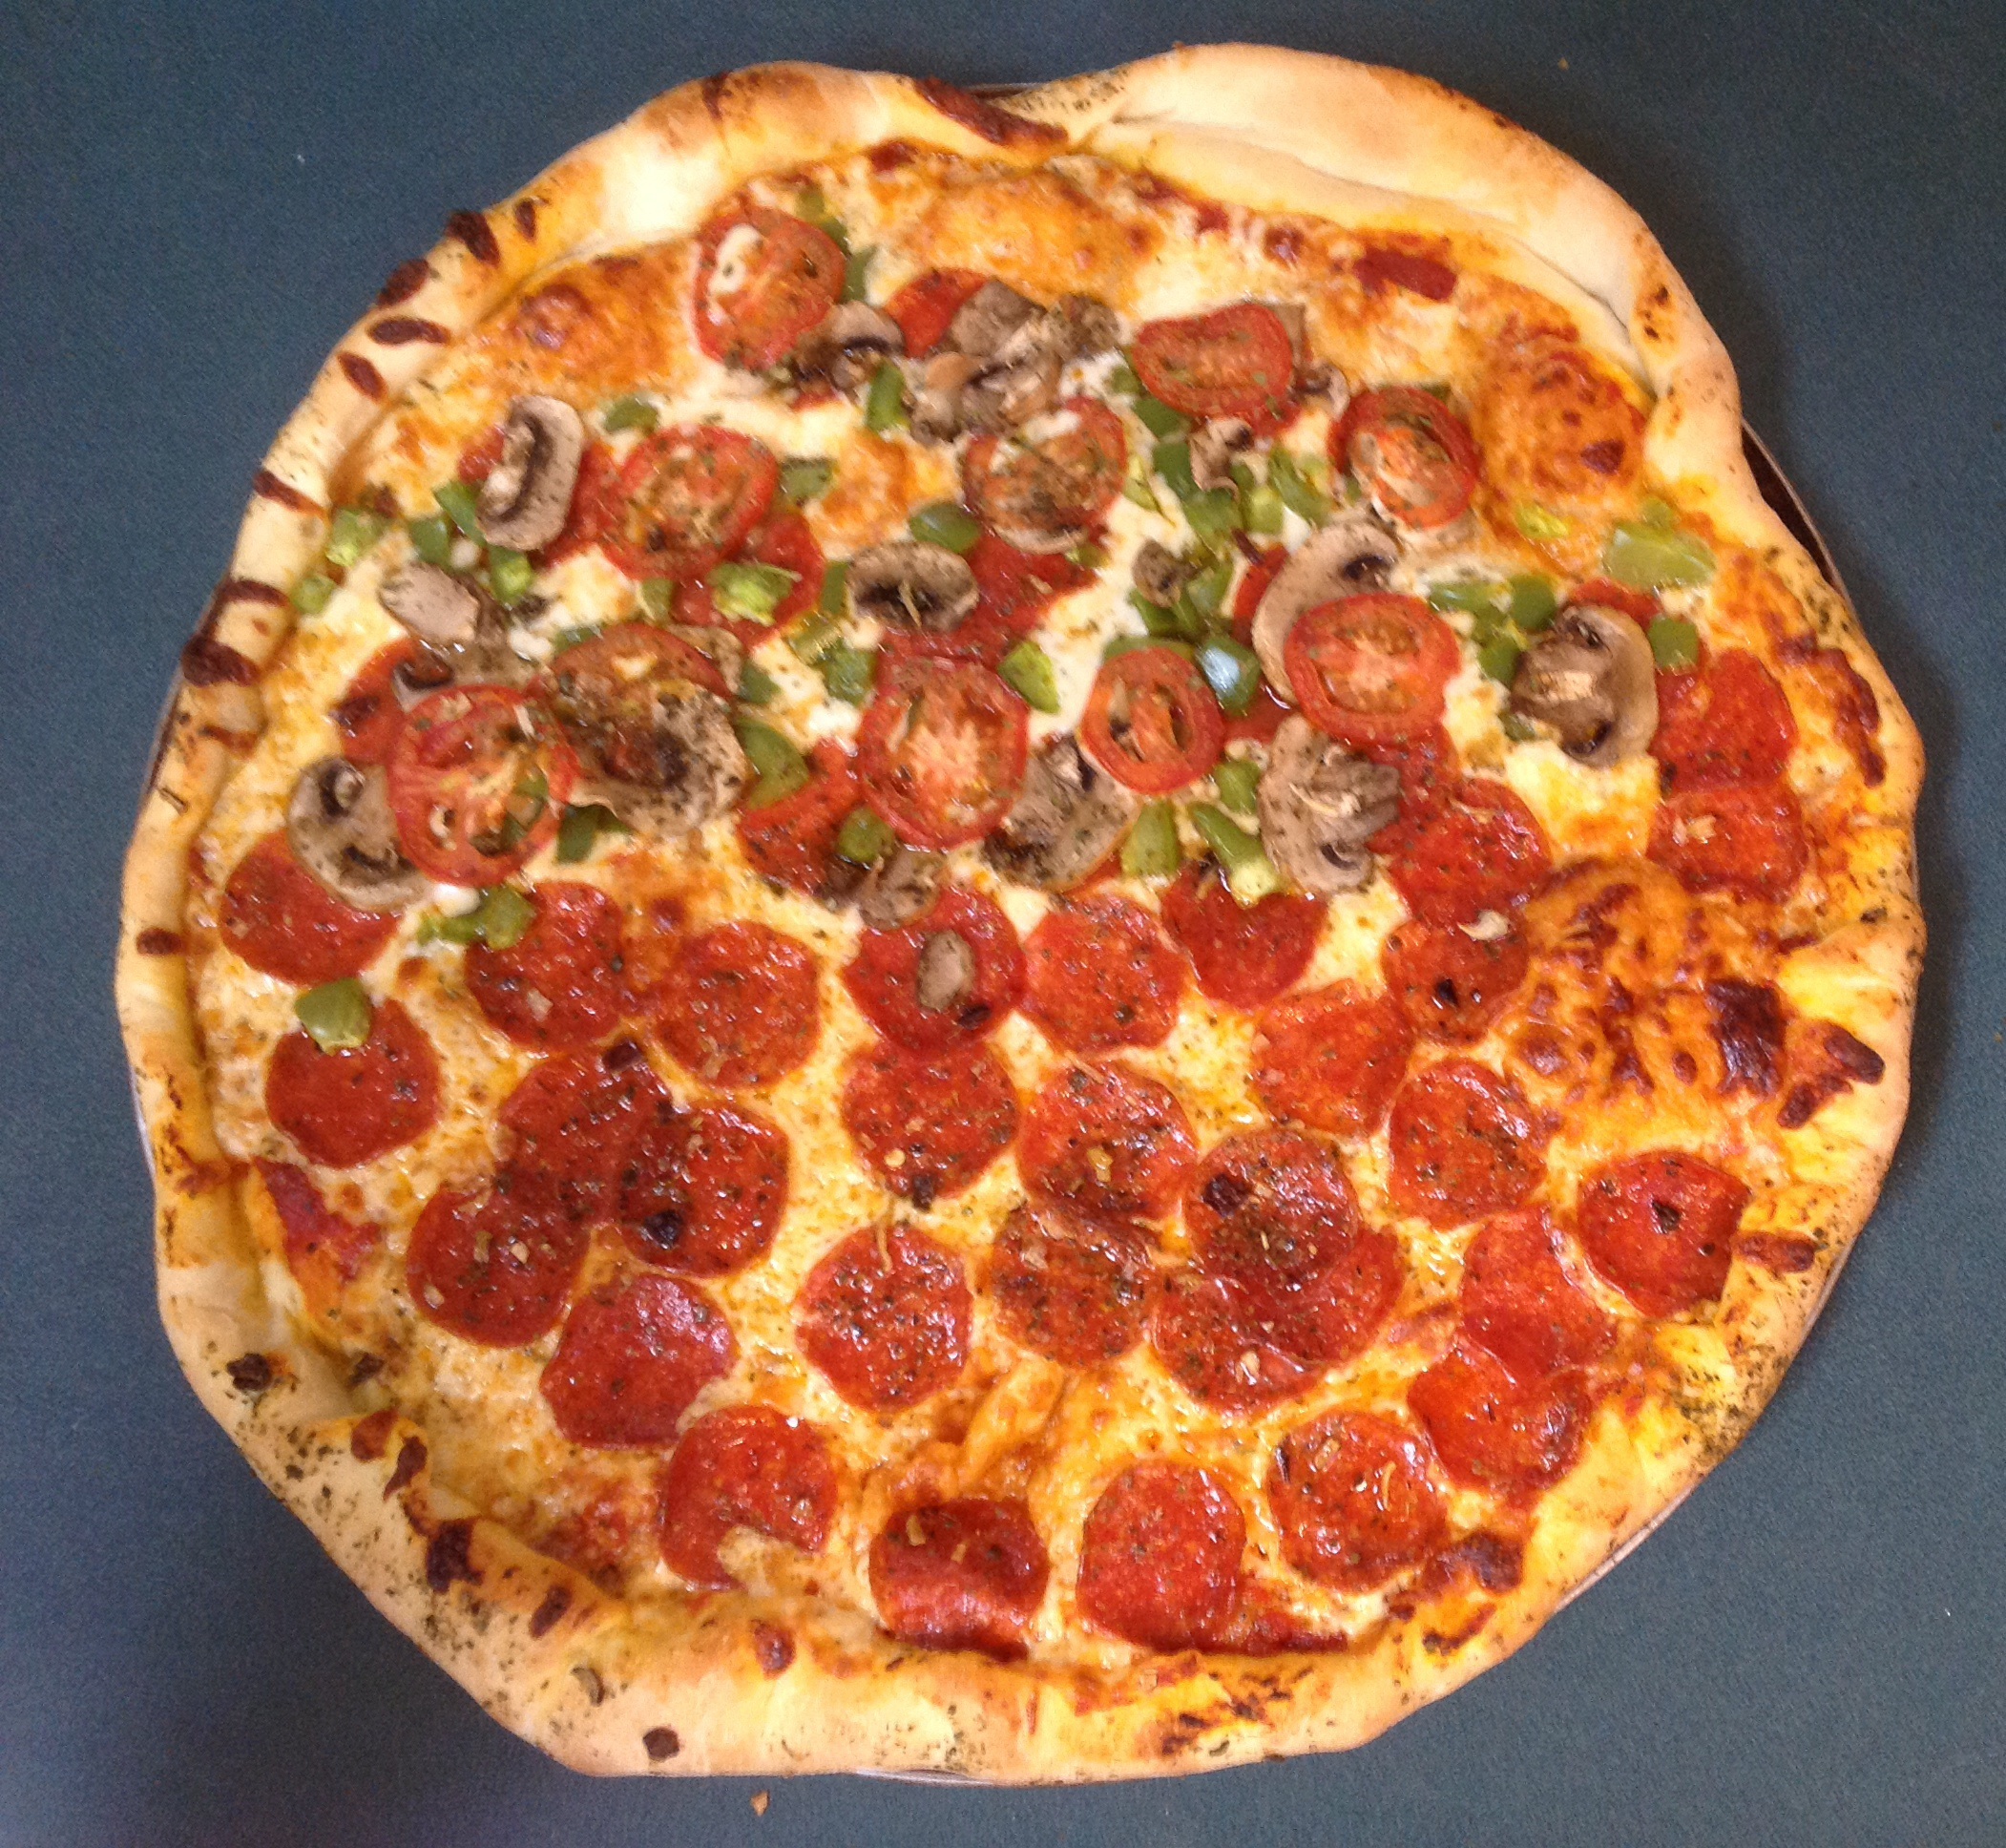
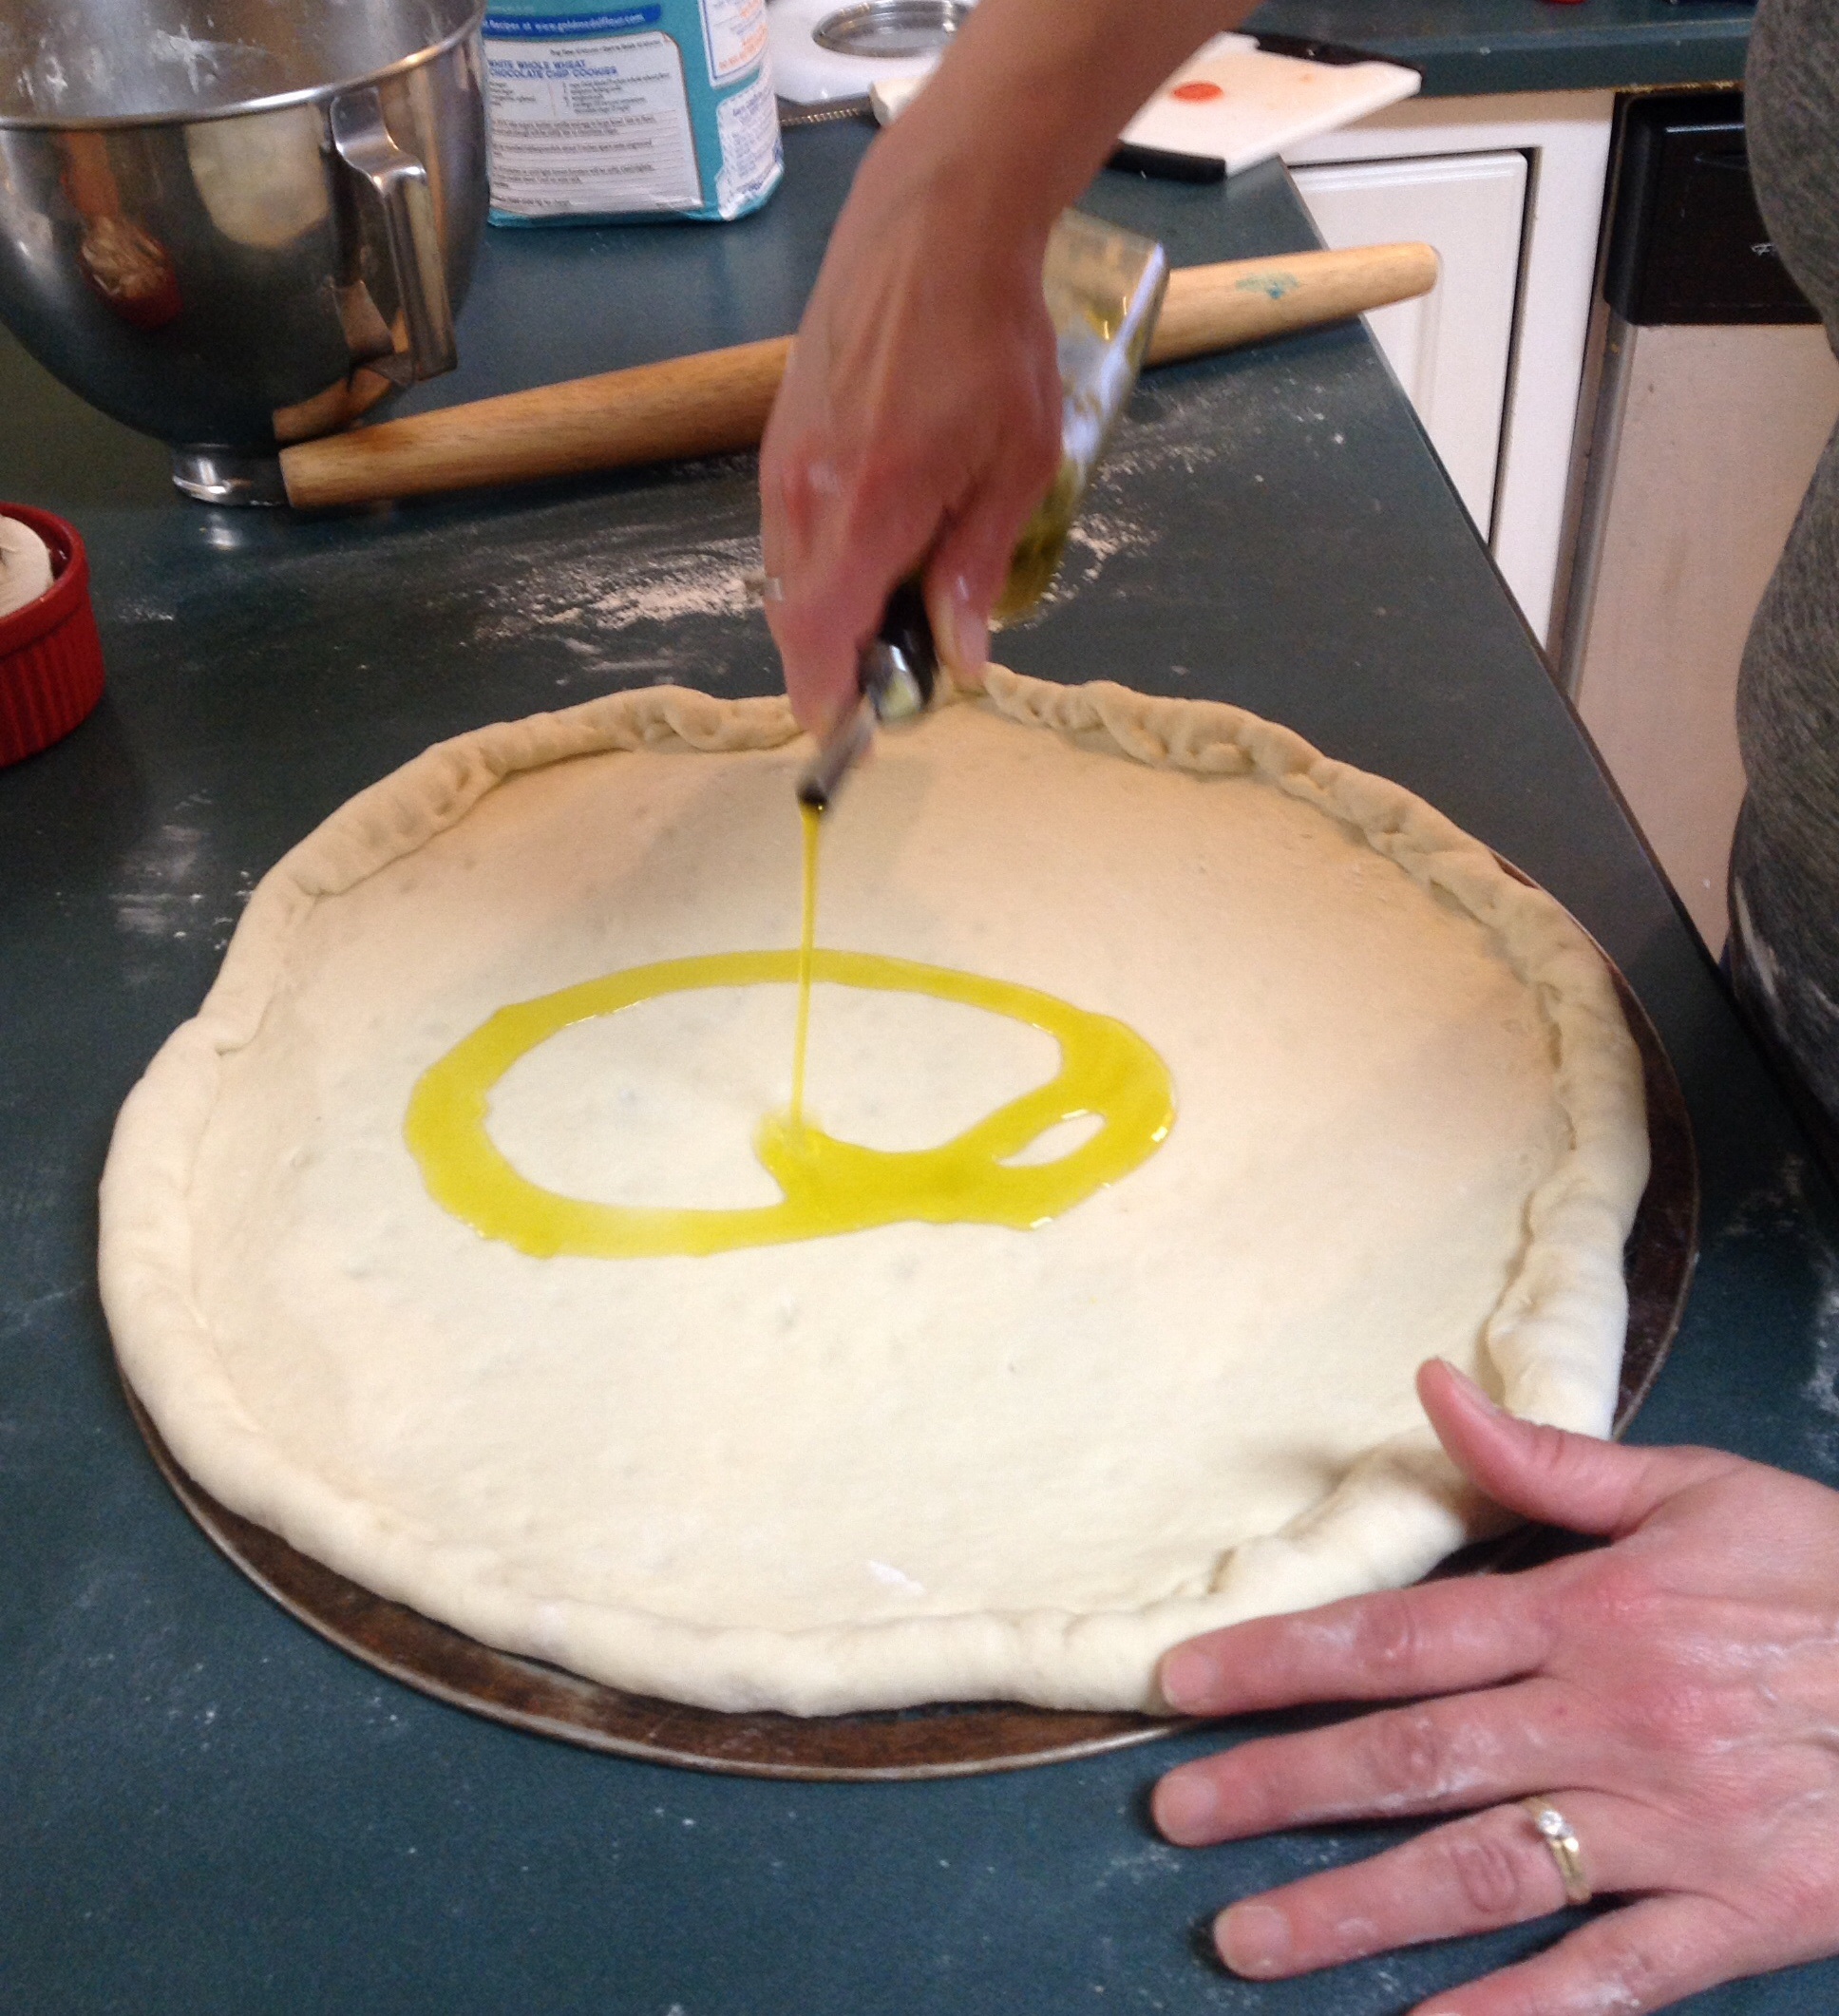
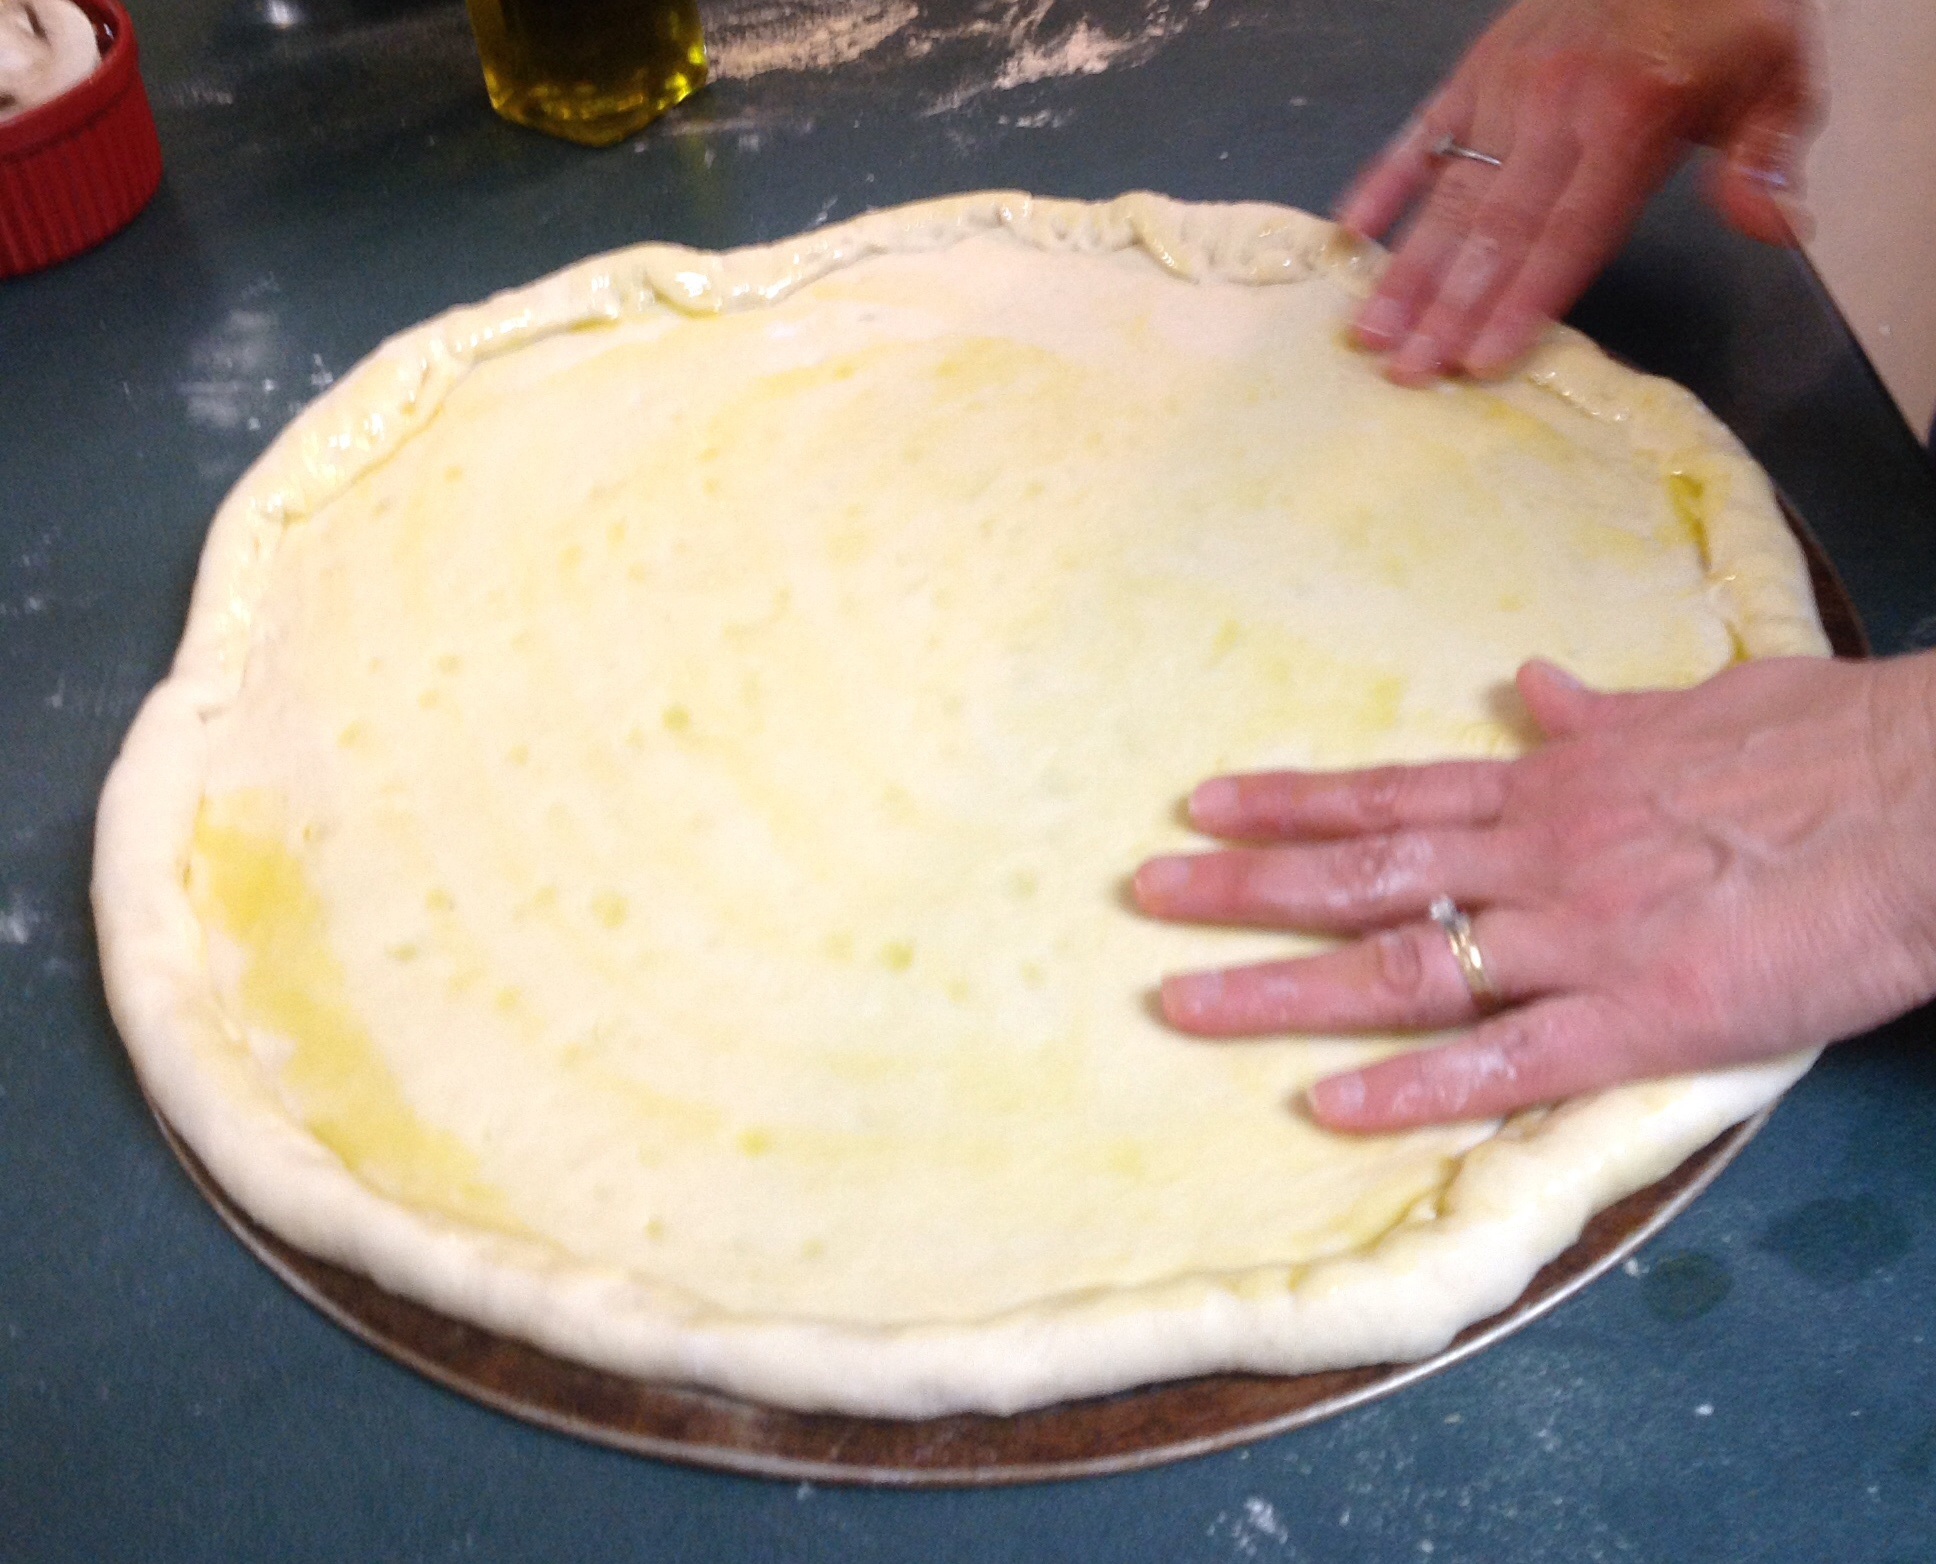
Drizzle a little olive oil onto the crust and spread out evenly over the entire surface, including the outer crust. This helps,the crust brown nicely and keeps the interior from getting soggy from the sauce. Spread out your favorite sauce (to be honest, I use jarred spaghetti sauce to save time) and top with mozzarella cheese and your favorite toppings. For this example, I did each half different, because my hubs isn’t a big veggie fan. You can sprinkle some favorite Italian herbs on top if you wish.
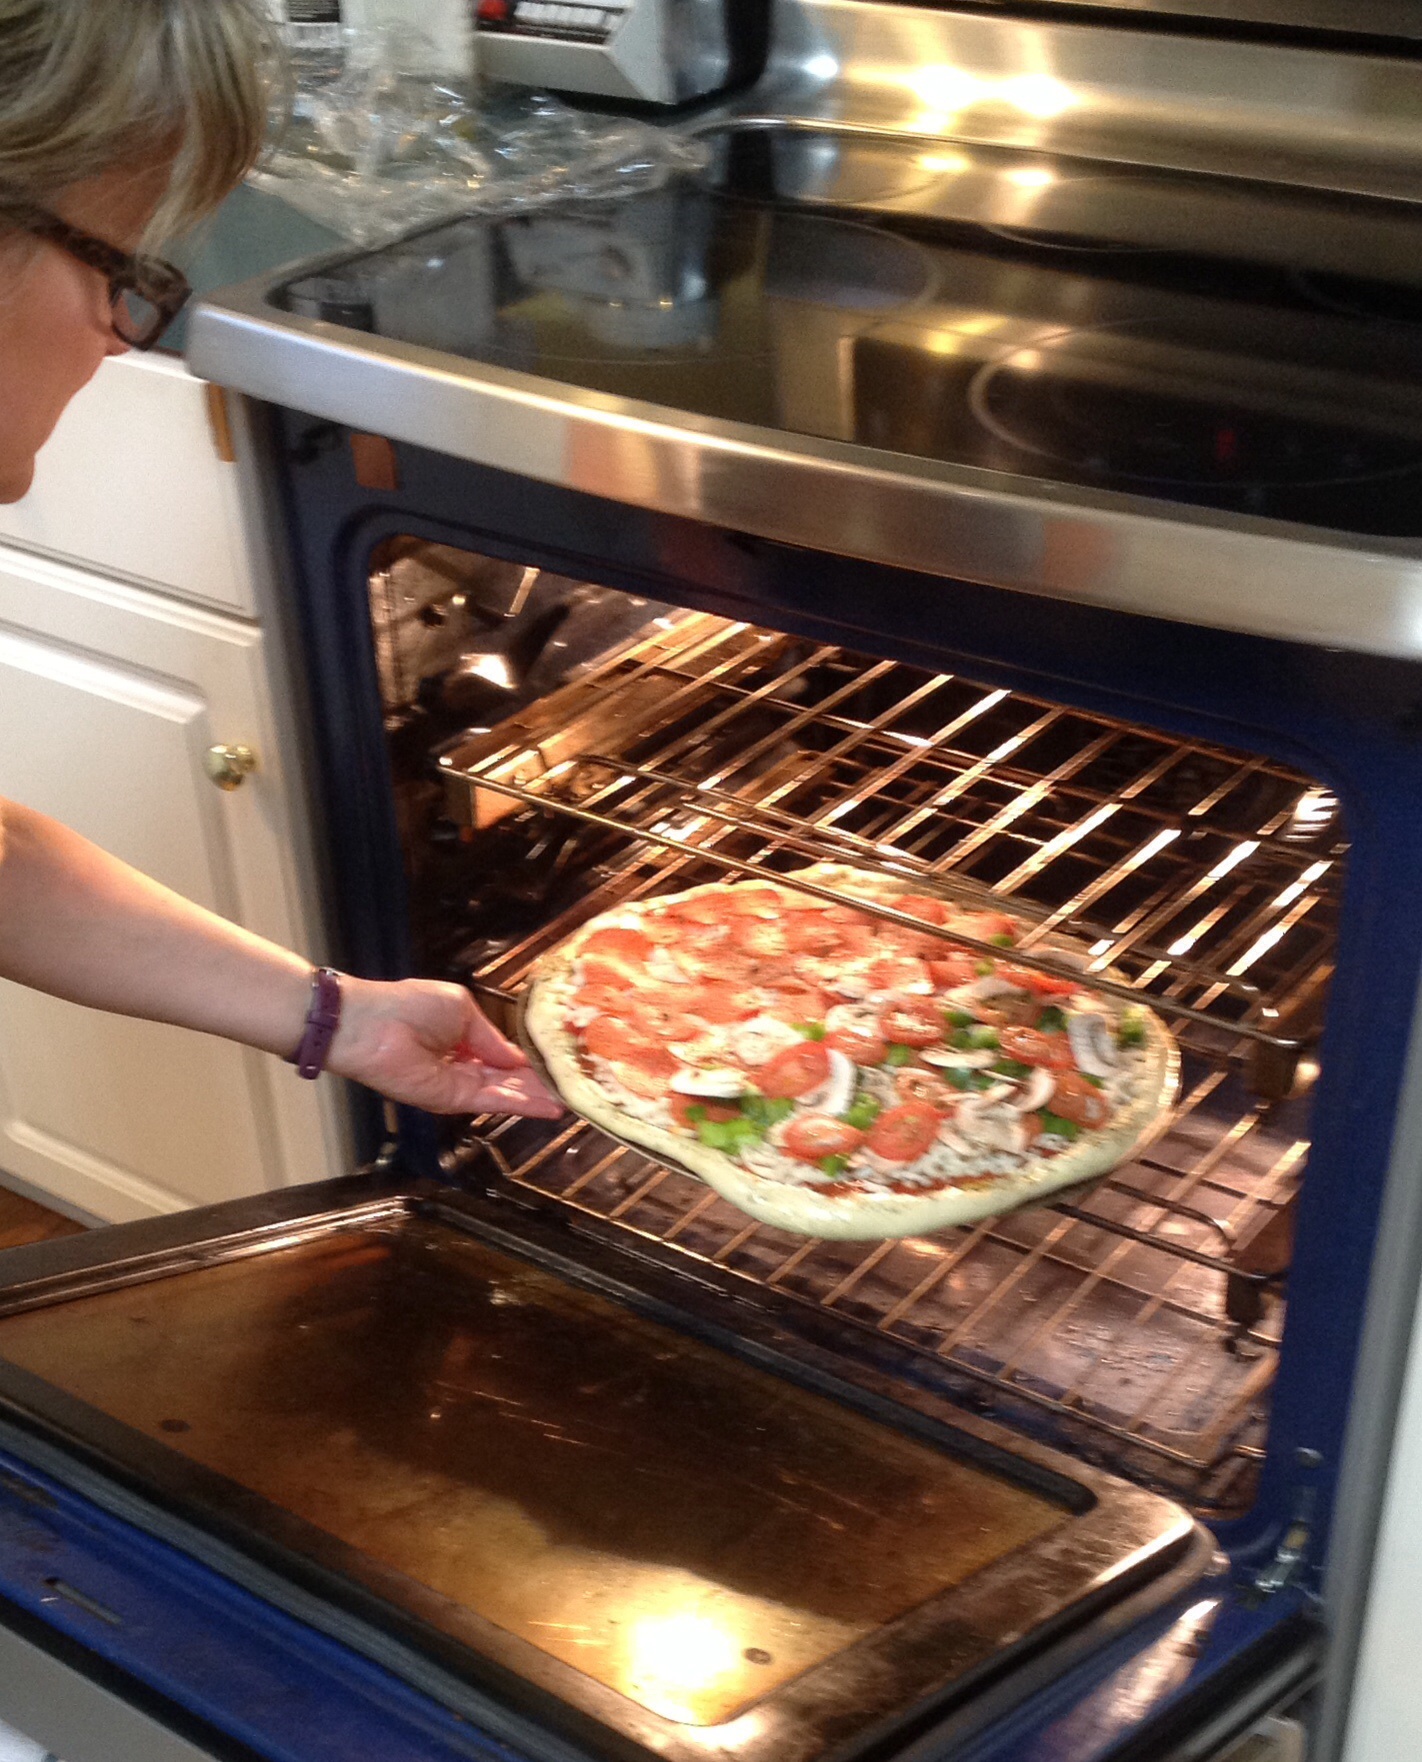
Put on the middle rack of a 415 degree oven and bake for 10 minutes. Then start checking the bottom crust, to make sure it doesn’t brown too quickly. You can move pizza to the upper rack if the bottom starts to get done before the top. You may need to adjust the temperate based on your oven.
Remove the cooked pizza and let it cool for a few minutes before cutting, to give the cheese time to set up a bit. It’s ok if your pizza looks a bit ‘rustic’ like mine does in the picture. I was in a hurry and didn’t realize one side wasn’t pinched as well as it should have been, so it unrolled during baking. But that’s fine and it tastes the same!
Here are a few variations and ideas for this easy, versatile dough:
1) When I make the dough for my family, I use white wheat flour for about 1/3 of the flour. This is a whole wheat flour, but it’s not as ‘heavy’ as traditional whole wheat, as it’s made from a different variety. I like the added fiber and it makes the dough even higher in gluten, giving it a more chewy texture. Because of the added fiber, you will need to add a little less flour. The dough will tell you how much flour you need if you listen to it.
2) Kid-friendly Mini Pizzas. This is the PERFECT way to get kids into the kitchen. Give them each their little wad of dough and let them create their own little pizzas with the toppings they choose. Bake several at a time on cookie sheets and let them enjoy the fruit of their labor. This is great for when your kids have a party, as the main meal. It combines the food and a fun activity, all in one!
3)Bread Sticks: Take the exact same recipe, roll it out to fill your pan ( I don’t use my pizza screen for this one as the dough would push through it), then cut through the dough on the pan to make breadsticks. You can spread olive oil on top, let them rise for 15 minutes or so, then bake. They are easy to pull apart and go great with pasta.
4)Sweet dough variation: I will put up a separate post detailing this one, but for those already comfortable with bread making, I will give you the basic facts. I use the same recipe, substituting warm milk for water, butter for oil, plus toss in two eggs. This makes wonderful bread sticks which are finer in texture, and delicious monkey bread. For the monkey bread, take dough that has risen once, punch it down, form it into golf ball-sized balls, dip in melted butter, roll in cinnamon sugar, and place in a greased/sugared Bundt pan. Let rise until doubled and bake at 375 until nice and brown. Turn out on a plate, top with your favorite vanilla glaze, and use a stop watch to see how quickly the whole thing disappears. Don’t worry…I’ll give a detailed blog post for this one soon!