Any chocolate lover will LOVE this delicious cake. And ANYONE can learn how to make it. I’ll show you how, step by step. And if you’d like to learn more amazing cake recipes and techniques, and you live in the Tri-Cities area, I can teach you in person at my latest ETSU baking class, Let Them Eat Cake 2. Go to tinyurl.com/ETSUCake2 for all the details.
I’ll show the techniques to putting this tasty treat together first, then share the recipes for each component at the end. Enjoy!

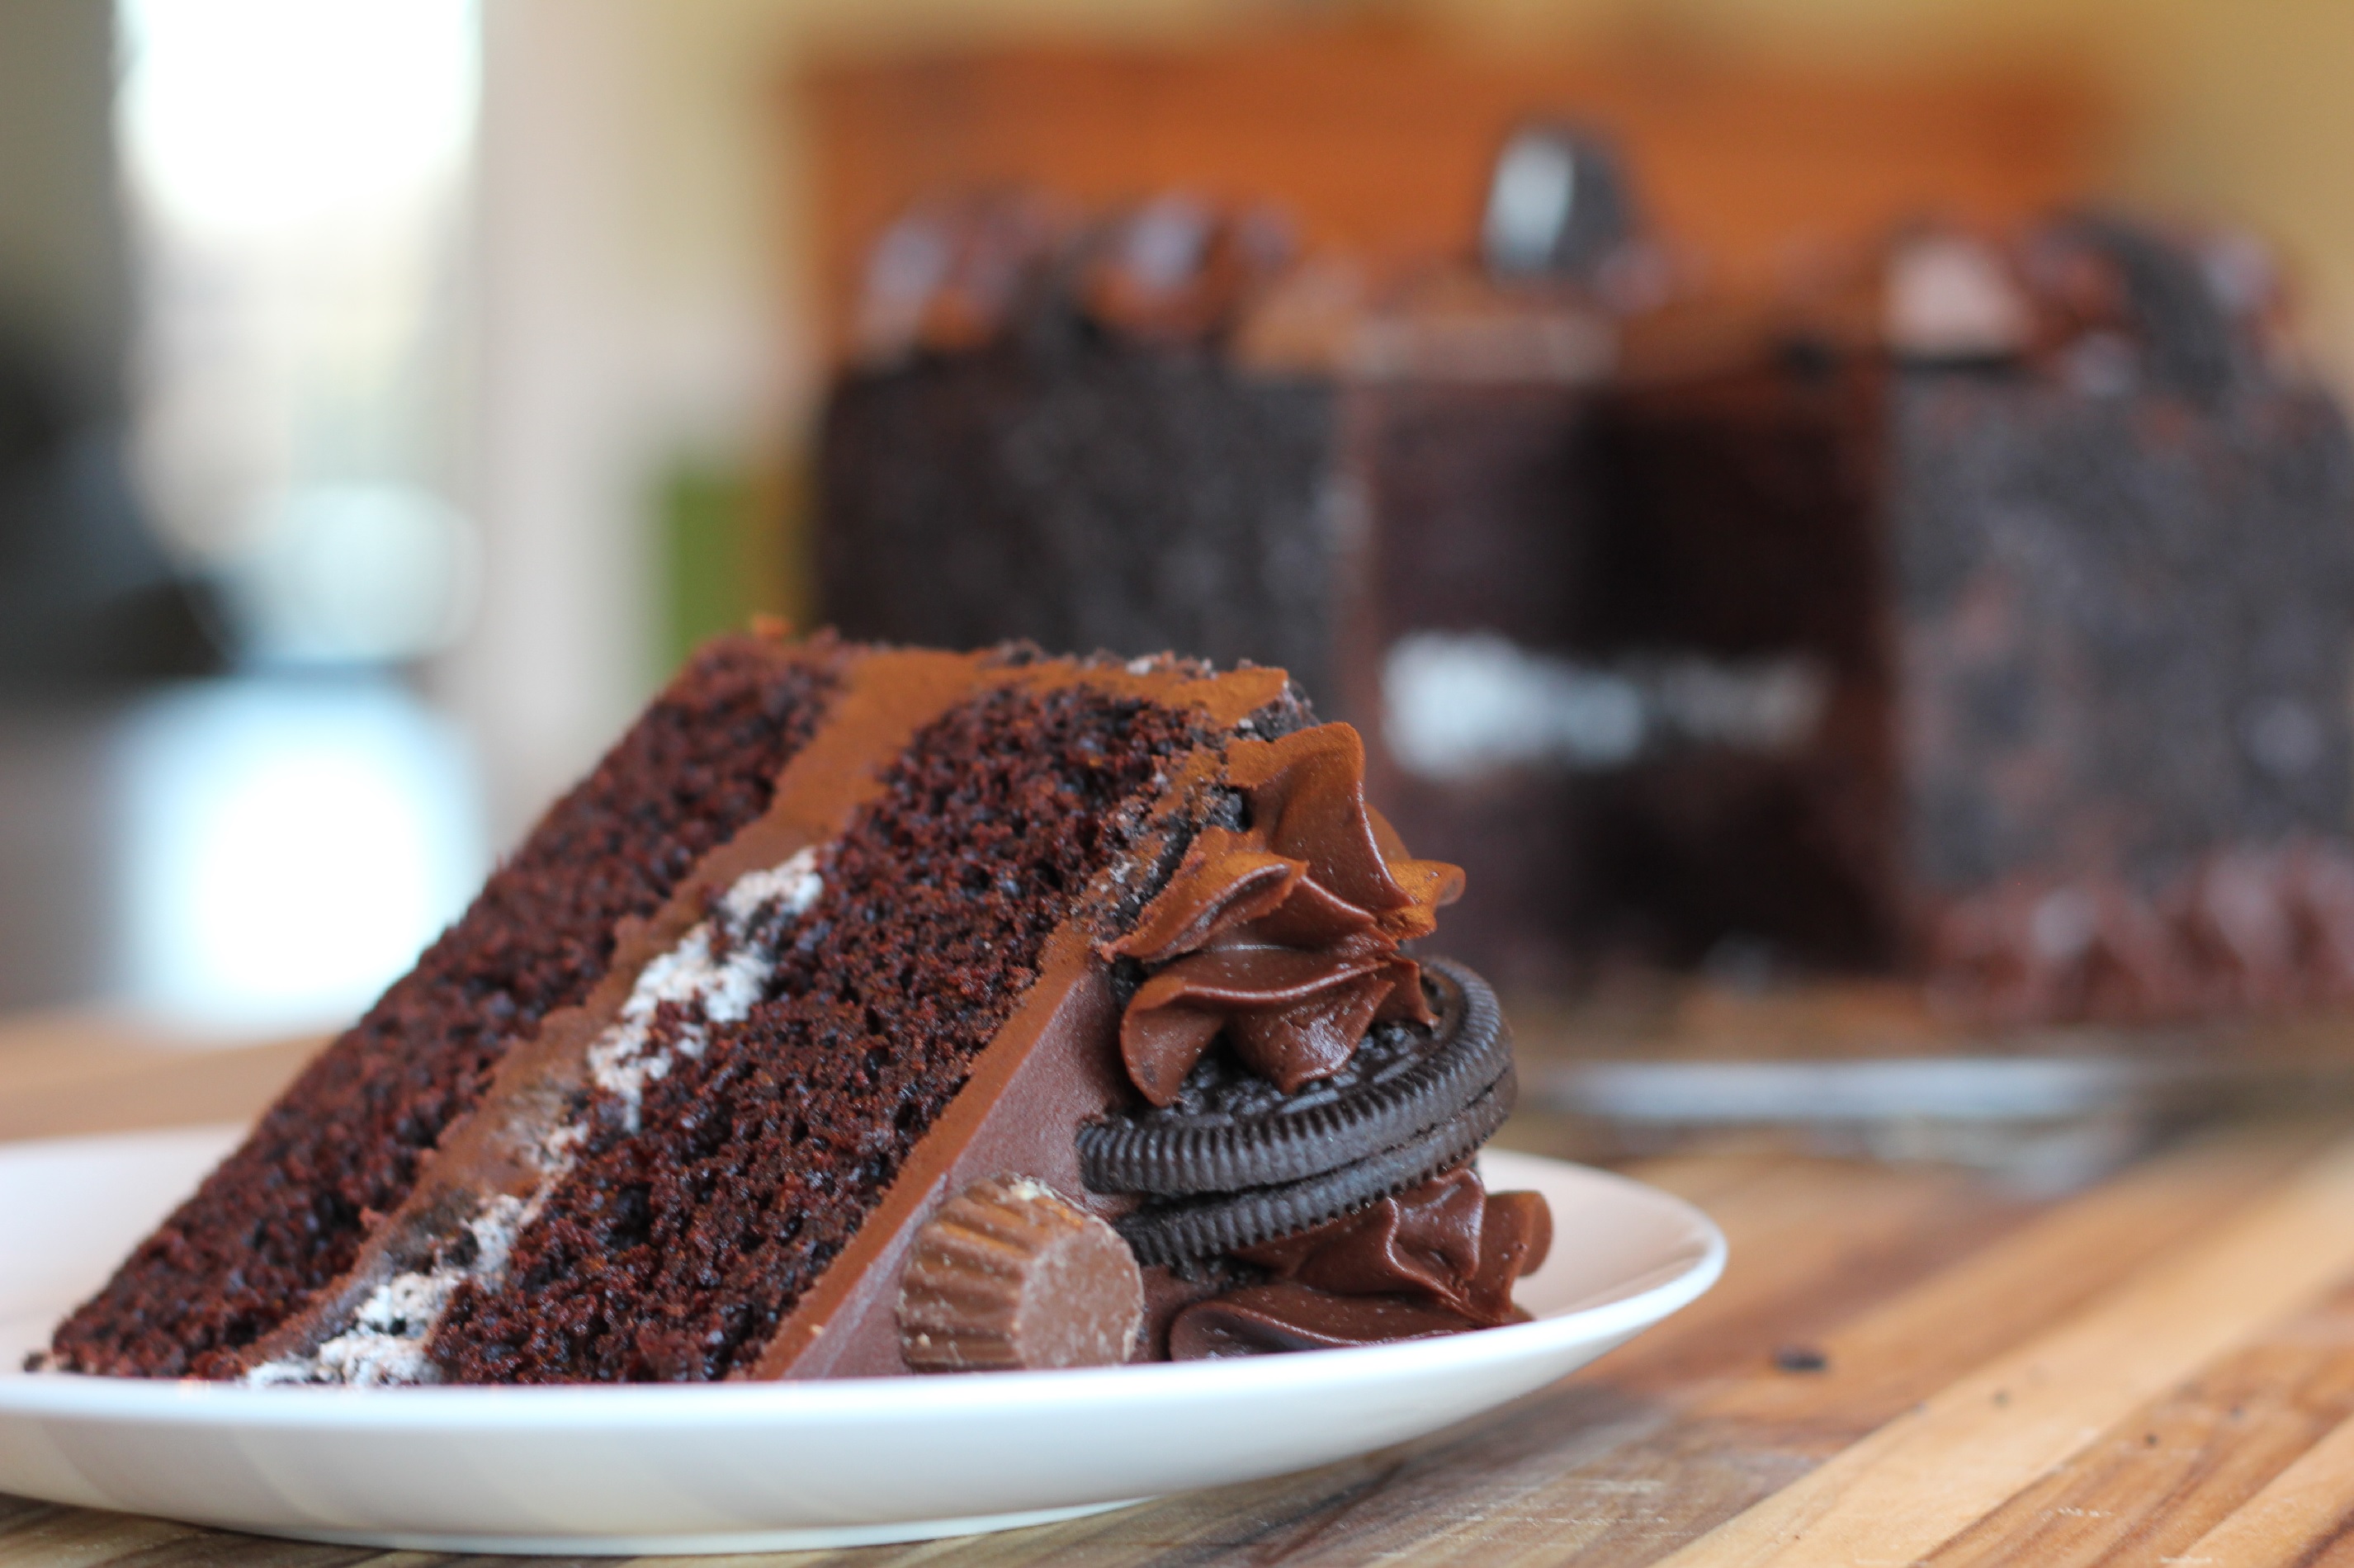
Cookies and Cream Cake
This delicious combination of moist cake, rich ganache, light Cookies and Cream filling, and scrumptious chocolate buttercream is appealing to both the palate and the eye. And you’ll see that it’s well within your reach to create. It’s perfect for a birthday or whenever you need to feed a crowd. In class we will do a two-layer version, but at home you can certainly do three layers for more height.
Recipes: Easy Chocolate Layer Cake, Easy Chocolate Buttercream Frosting , Cookies and Cream Filling, and Chocolate Ganache.
To prepare:
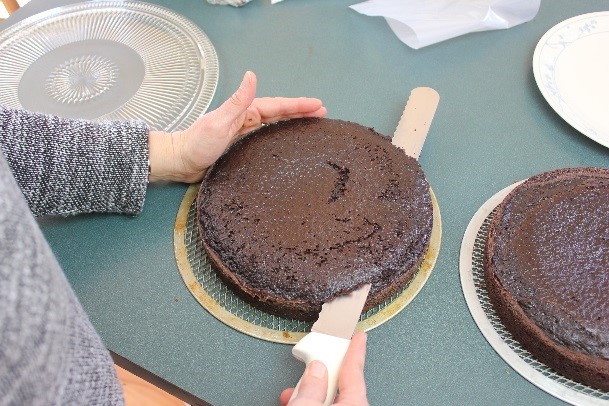
Bake the cake layers. Once cooled, crown the tops if necessary and chill them well, either in the refrigerator for a few hours or even freeze them in advance. Make the ganache and cool it to a spreadable texture. (You can also make it well in advance, store it in the refrigerator, and warm it slightly in the microwave when you’re ready to use it.) Make the chocolate buttercream. Last of all, make the Cookies and Cream Filling. It needs to be kept cold, and because the whipped cream in it is not stabilized, it will start to deflate within a few hours of making it. I find it works best when I use it right after I make it.
To assemble:
Have a serving platter or plate ready and smear some of the frosting in the middle of it, to act like ‘glue’ to attach the cake layer. Place one layer down, centered well. (It is easy to re-center a single layer. It is NOT easy to re-center a stacked cake!) Take your buttercream and pipe a frosting ‘dam’ around the inside edge on top of the bottom layer. If you don’t have a piping bag with a large, round tip, you can use a plastic storage zippie bag and cut a hole in one corner.

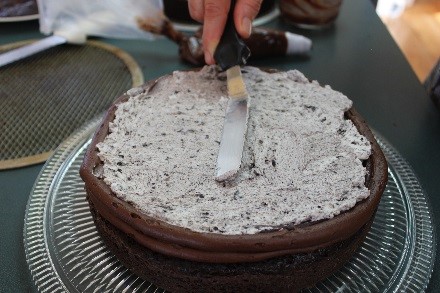
You will need to put two layers of frosting down, to be high enough to accommodate the thickness of your filling. Spread ganache inside and up to the side of the dam. Place Cookies and Cream filling on top of ganache, reaching the top of your dam. Spread smooth and level.

Take your next cake layer, and place it cut side down, on top of the filled layer. (This makes for easier frosting later.) Press down gently and check for level. If your filling is level, the next layer should be level, too. Make sure layer is centered.
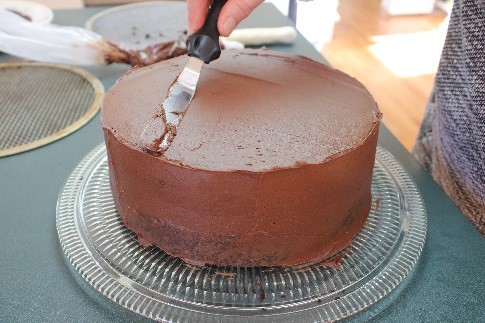
Now it’s time to ‘crumb coat’ or ‘dirty ice’ the cake, to seal in any crumbs and make a good foundation for the final frosting later. I like to start on the sides to seal in those layers and the filling, then work my way up to the top. This layer will be thin. It’s OK if the cake still shows through in places. Put the frosted cake in the refrigerator, 30 minutes at least, but you can leave it overnight if need be.
To finish:
Put a final layer of frosting on the chilled cake, starting at the top, and working down to the sides. How you finish your cake is up to you. One option is to cover the sides in cookie crumbs, and use some halved cookies and frosting decoration on top. You can use favorite chocolate candy bars, like Kit Kats, on the sides and/or top. You can ice the entire cake smooth and use some simple piping to set it off, or do a ‘rustic’ finish all over. For a colorful version, decorate with M & Ms. You can cover the entire cake with Cookies and Cream filling or put some of it on top as decoration. As you can see, the possibilities are only limited by your imagination!

If you are coating the sides with crumbs, I will tell you that it is a messy job! I put the cake over a tray to make clean up easier. Make sure the final layer of frosting is ‘fresh’ and not ‘set up,’ as that makes the crumbs harder to stick. Once the crumbs are pressed into the sides, and this might take several turns of the cake to accomplish, then you can clean up the bottom of the platter. I like to use cookies cut in half (a serrated knife and sawing motion keeps cookies from breaking apart), along with some chocolate candies and simple piped ‘stars’ of frosting on top for decoration.
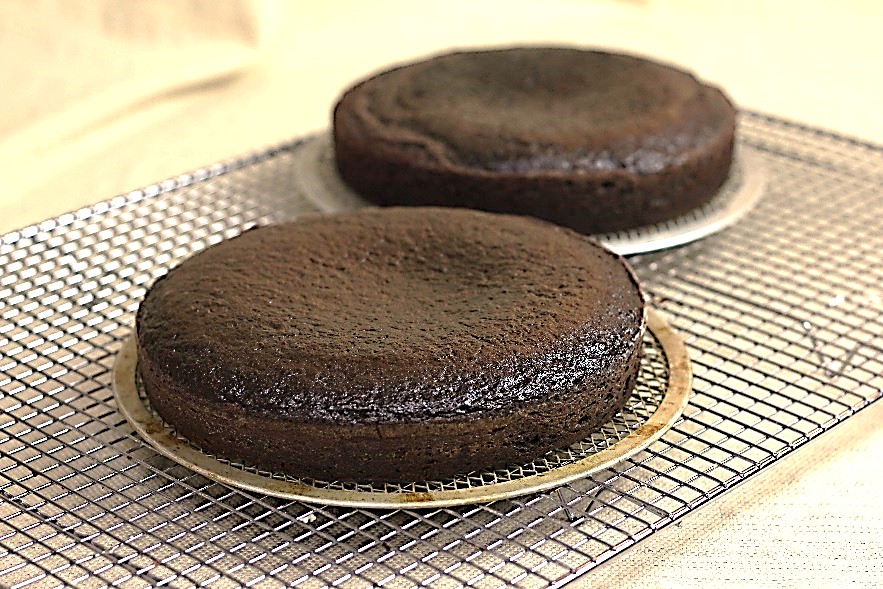
Easy Chocolate Layer Cake
Makes one 9-inch round
(For the Cookies and Cream cake, you’ll want to double this recipe to make either two layers of cake, or bake one cake a little thin, one thicker, and torte the thicker one to create 3 cake layers.)
This cake is so rich and moist and easy to make, you’ll wonder why you ever used a box mix before. And it uses inexpensive cocoa powder for its chocolatey goodness, saving you a little time and money.
In one large bowl, thoroughly whisk together:
1 cup sugar
1 cup all-purpose flour
½ cup unsweetened cocoa powder
½ tsp. baking powder
¾ tsp. baking soda
¼ tsp. salt
Add the following to the bowl, all at once, and mix completely:
1 large egg
½ cup warm coffee
½ cup milk
¼ cup vegetable oil
1 tsp. vanilla
Batter will be thin. Pour in a greased, lined, and floured pan and bake at 350°F for about 30 minutes or until set in the middle. Cool in the pan for 10 minutes then turn out, right side up, on a cooling rack. Cake is very moist and perfect with some hot fudge sauce and whipped cream!
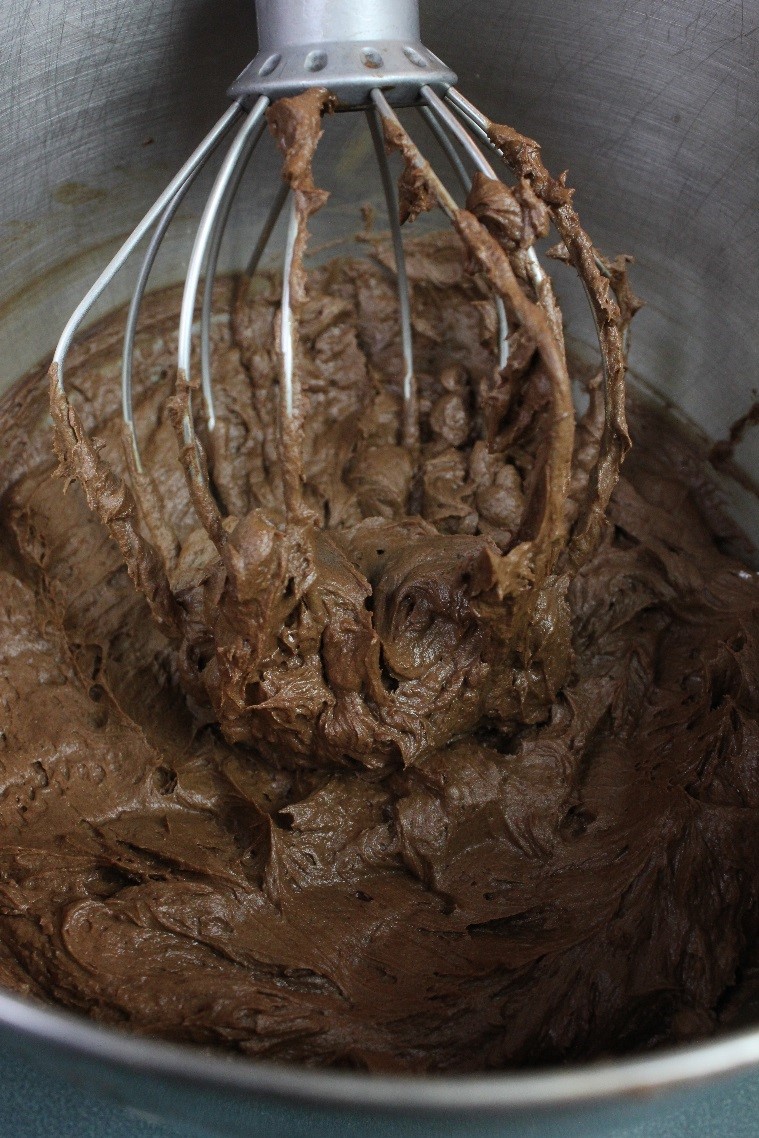
Easy Chocolate Buttercream
Super simple, rich and chocolatey, with a creamy, spreadable texture, this quick and easy buttercream is so good, you might just spread it on everything! OK, maybe not that good, but I’ve heard it’s awesome on graham crackers. I love that this uses inexpensive cocoa powder, which is so much easier and cheaper than having to melt chocolate.
In a mixer bowl, mix together well, until very creamy:
1 ½ cups unsalted butter, room temperature
2/3 cup unsweetened cocoa (sift it in if it’s lumpy)
Add in and mix:
3 ½ cups powdered sugar
Add in and mix:
3 tbsp. milk or cream
2 tsp vanilla extract
For a thinner consistency, add in more milk or cream, a teaspoon or so at a time, and remix. Store covered until ready to use.
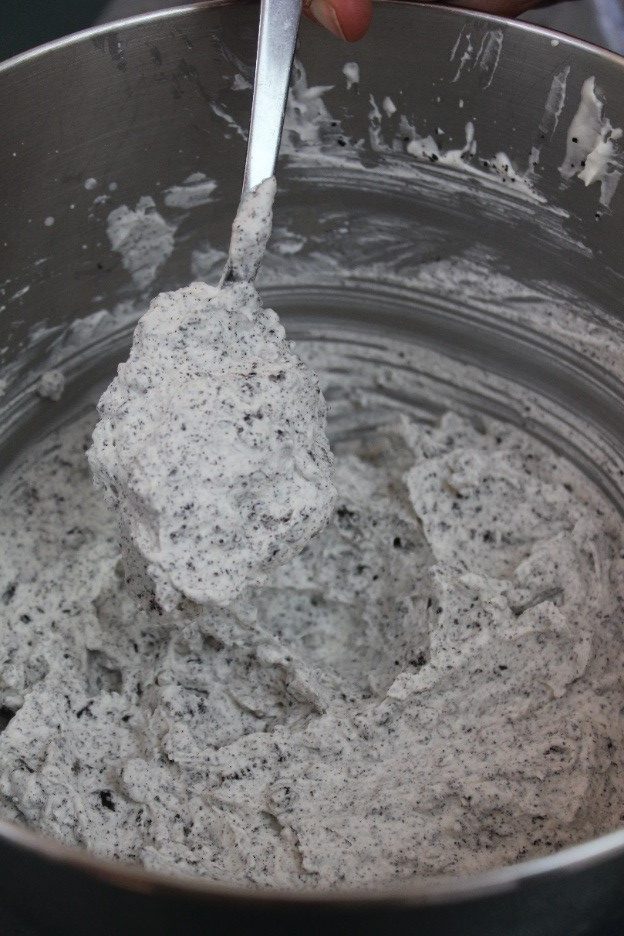
Cookies and Cream Filling
First, make sweetened whipped cream. You’ll need:
1 cup of COLD heavy cream
3 tbsp. powdered sugar
1 tsp. vanilla extract
Simply combine ingredients in your mixer bowl and with the whisk attachment, beat until you reach nice soft peaks. Take crushed chocolate sandwich cookies, about a dozen or so, and fold into the whipped cream. You can add more or less cookie crumbs to taste. This filling will need to be kept cold until ready to use and/or serve. It’s so simple, but so delicious!
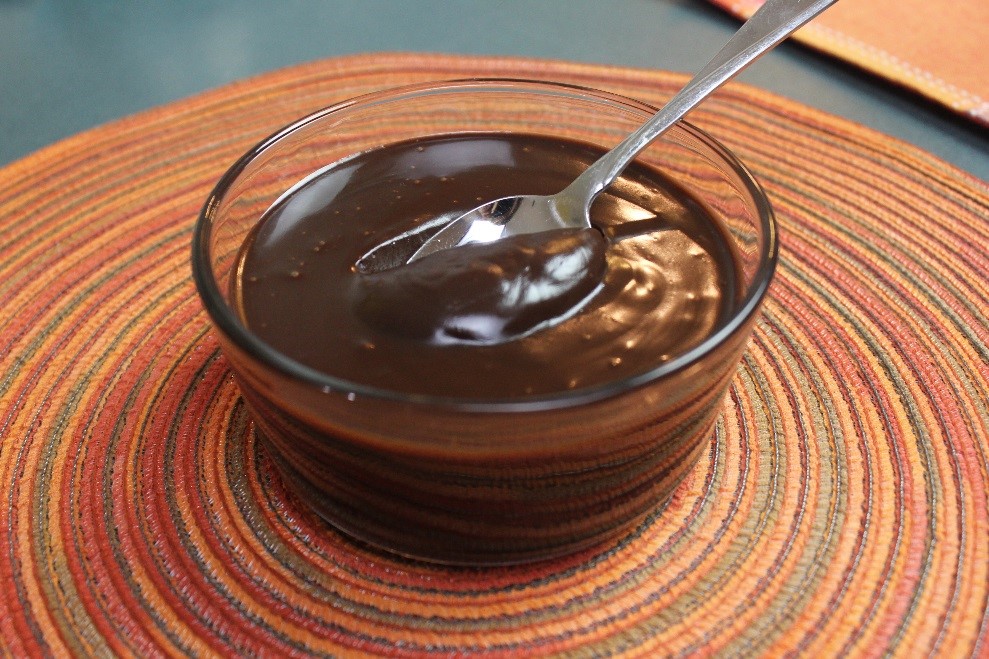
Chocolate Ganache
In a microwave safe measuring cup, bring to a boil in your microwave:
¾ cup heavy cream (NOT milk. Evaporated milk could be substituted in a pinch)
Add:
1 ¼ cup semi-sweet or dark chocolate chips (8 oz.)
You can use finely chopped, nice quality chocolate instead if you like. Stir briefly, then cover up the hot mixture and let it set for about 10 minutes. Stir until very smooth. Add in:
1 tbsp. vanilla extract, or your favorite liqueur.
For a mocha version, add a spoon of instant coffee or instant espresso powder to the cream before adding the chocolate. Recipe is easily doubled.
Comments 4
i gained 5 lb just looking at the finished cake and going thru the instructions.
Author
Betty,
I have to admit it’s hard to have just one slice, but it’s great for a special occasion when you get to splurge!
Blessings,
Julie
I love this
Author
Peggy,
Thanks! It’s one of our family’s favorites.
Blessings,
Julie