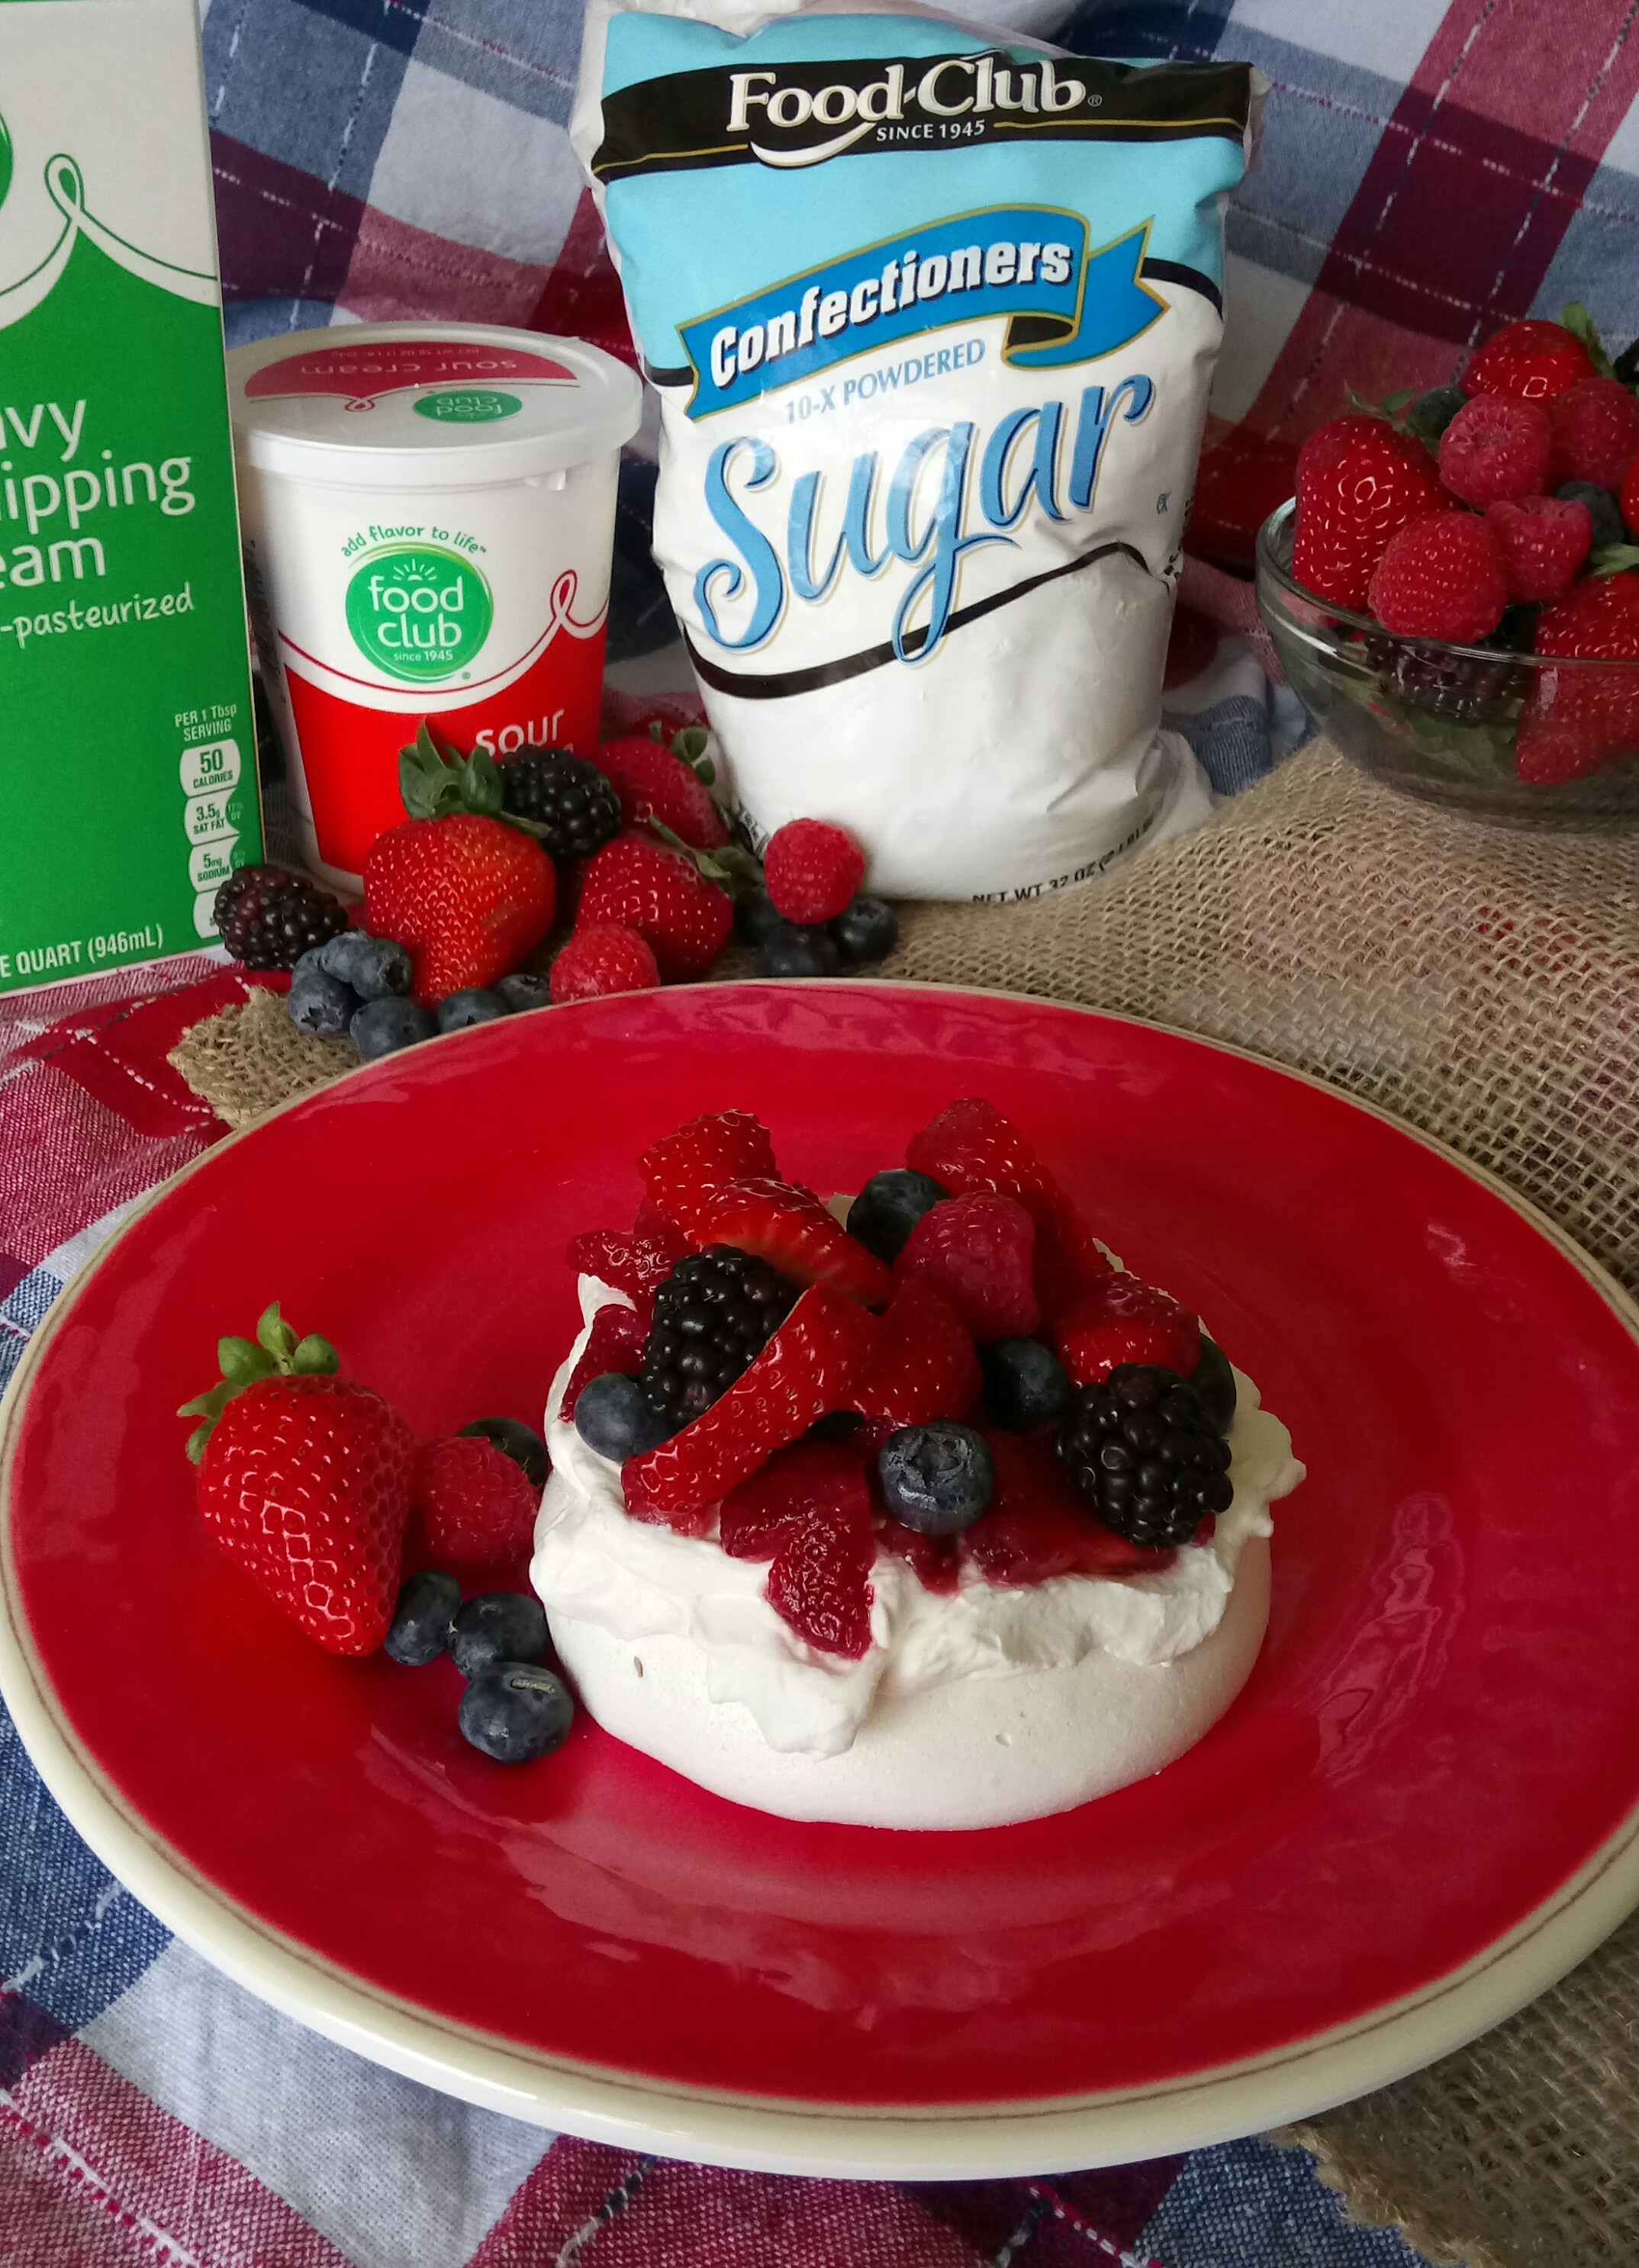
We certainly love our strawberries here in East Tennessee and I’m always looking for new ways to enjoy these spring favorites. And there’s no better way to savor the seasonal flavor than with a scrumptious Strawberry Pavlova. This unique dessert, named after a famous Russian ballerina from the early 1900s, is often served at celebrations in Australia and New Zealand, but it’s true origins remain unclear. Wherever it came from, this crisp-yet-mashmallowy meringue topped with whipped cream and fresh fruit is sure to delight your taste buds. It’s the perfect warm-weather dessert when you want something light and airy, not rich and heavy.
And don’t think that strawberries are the only topping. Any season fresh fruit will do: blueberries, raspberries, blackberries, even cut up kiwis. (Remember, it’s popular in New Zealand!) You don’t even need to sweeten your berries first. That bit of tang will help cut through the sweetness of the meringue and the cream.
A few tips for making the meringue: for this one, you want a marshmallow-like center, not a disk that is crunchy all the way through. And if you over bake it (like I did once) that’s just what you’ll get! To get that chewy inner texture with a crisp crust, we’ll be adding a little cornstarch mixed with vinegar and baking at a low heat. I’ll walk you through the steps in the recipe below:
Strawberry Pavlova
4 large egg whites
1 cup of sugar (preferably made super fine by running through a food processor for 1 minute)
1 teaspoon vanilla extract
2 teaspoons corn starch
2 teaspoons vinegar
Before you get started, preheat your oven to 250°F. Prepare a cookie sheet with a piece of parchment paper. This recipe will make one 9-inch round, or several smaller ones if you prefer. (A smaller size is what I used in my picture above.) Draw your desired circle(s) on one side of the paper, then turn it over and place on your cookie sheet, as a guide. You can tack the edges down with dots of meringue later, if your paper doesn’t want to stay in place.
Separate your eggs, making sure not one speck of yolk is left in them. It’s easier to separate eggs when they are cold, but you’ll want your whites to be room temperature to get maximum volume when it’s time to whip them. Be sure your mixing bowl and whisk attachment is spotless.
Begin mixing your whites at low speed and slowly up the speed to medium, until your whites are at soft peaks. Then start adding your sugar, a spoonful at a time, while continuing to increase your speed until it is at the highest speed. Once all the sugar is added, continue mixing until the peaks are stiff. (You can stop the mixer, dip in your whisk attachment, pull it out, and the whites should make stiff points. If they are still pretty droopy, keep beating on high.)
Once peaks are stiff, mix in your vanilla, either by hand or by mixer. Mix together your vinegar and corn starch, and sprinkle it over the stiff egg whites, folding it in by hand with a spatula.
Now comes the fun part! You can make any size and shape disks that you wish, and no special equipment is required. Using your pre-drawn circles as your guide, spoon out the meringue onto the parchment-covered cookie sheet and use the spoon to create your disk (or disks if you want smaller ones.) Don’t make these too perfect. They actually look better if left rustic in shape. One full recipe can make one large 9-inch circle, but you may prefer individual sizes. It’s up to you. Making a slight indention in your circle(s) will give a place to hold the cream and fruit later.
Put the cookie sheet into the oven and let bake at 250°F for one hour. Turn off the oven, open the oven door for a peek and to let out a little heat, then close the door and let them cool for 30 minutes with the door shut. Set the pavlovas out to finish cooling, then store them in an air-tight container until ready to use. This can be up to 3 days in advance. And with the high humidity we can have here in the spring, if you don’t store them carefully, they can lose all their lovely crustiness quickly. Speaking of crustiness, expect to see some cracking and crumbling of your pavlovas. This is how they are supposed to look.
Once you’re ready to serve, simply top your pavlova with a generous amount of sweetened whipped cream. In a mixer bowl, combine together
1 cup of COLD heavy cream
3 tbsp. powdered sugar
1 tsp. vanilla extract
Beat with the whisk attachment until you reach nice soft peaks. For a bit of extra flavor, I like to add a few spoonfuls of sour cream to my whipped cream once it is stiff. After you’ve topped your pavlova with the whipped cream, pile on your favorite fruit, sliced or cut as needed. The meringue will start to soften once the whipped cream is added, so serve right away. Some recipes say they stay good for a few hours or to refrigerate for an hour before serving. That’s all up to you. But I sure wouldn’t want to wait too long! (And neither will your diners. The ones I tested here at home didn’t last a minute!)